Spinach Stuffed Portobello Mushrooms

Spinach Stuffed Portobello Mushrooms

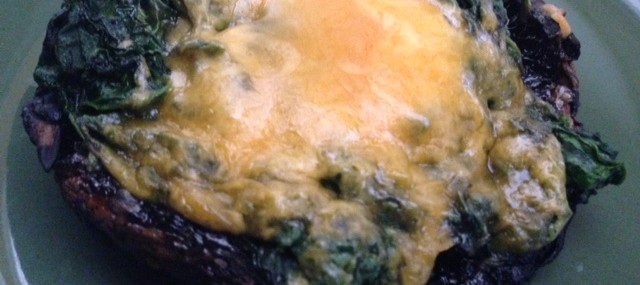
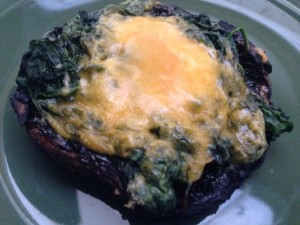
Stuffed PortobelloI’m on a low carb diet and to try to mix things up a bit for lunch, I decided to forgo my usual spinach salad for spinach stuffed Portobello mushrooms.

I can grill the mushrooms on a Sunday, stuff them and store them in sealed containers to have anytime during the week. The addition of cheese creates a mock-indulgent treat that satisfies my cheesy cravings. These are also vegetarian-friendly, not that I’m one!

Ingredients:

  • ¼ cup, plus 2 Tbsp. olive oil
  • 4 Tbsp. Balsamic vinegar
  • 4 large Portobello mushrooms, stems and gills removed
  • 2 garlic cloves, finely minced
  • 2 9-ounce bags of double washed baby spinach
  • ½ tsp. each salt and red pepper flakes
  • ½ cup sharp Cheddar cheese, shredded

Directions:

  1. Heat a grill to medium-high heat (could also do this in a 400 degree oven for 20 minutes).
  2. Whisk together the ¼ cup of oil and the vinegar to create a marinade.
  3. Slather the marinade on the mushrooms caps and gills side. Place the mushrooms on the hot grill, close the lid and cook for 4-5 minutes on each side. Remove from grill and set aside. Leave the grill on.
  4. In a large sauté pan over medium-high heat, warm the remaining 2 tablespoons of oil for 2 minutes. Add the garlic and cook, stirring frequently, for 1 minute. Add the spinach (it’ll seem like a lot at first) and the salt and pepper flakes and cook, stirring frequently, for about 3 minutes or until fully wilted.
  5. Divide the cooked spinach mixture between the four mushroom caps and top with cheese. Carefully return the mushrooms to the grill, close the lid and cook for another 2-3 minutes or until the cheese has melted.
  6. At this point, you can eat the mushrooms or allow them to cool and store in the refrigerator in airtight containers until ready to reheat in the microwave for 3 minutes.

Serves 4.

Chocolate Decadence Chip Cookies

Chocolate Decadence Chip Cookies

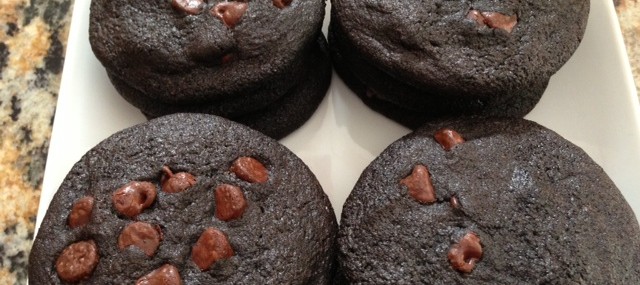
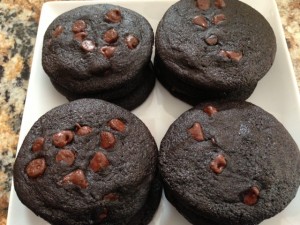
Chocolate CookiesI made these decadent cookies as take-home gifts for my guests at my recent Food & Wine Chickie Lobsterfest, but the excess of adult libations “made me” forget to actually give them out at the end of the evening – boo!

I sort of redeemed myself by bringing them to work where they received some pretty big kudos from my colleagues.

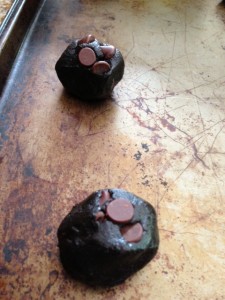
You might question how old my baking sheets are – and they are! They’re my Grand-Mother’s sheets and although not new and shiny, I love thinking of her as I bake.

Ingredients:

  • ½ cup unsweetened Dutch-process cocoa
  • 1 cup all-purpose flour
  • ½ tsp. baking soda
  • ½ tsp. Kosher salt
  • 8 ounces semisweet chocolate chips
  • 8 Tbsp. butter
  • 1 ½ cups granulated sugar
  • 2 large eggs
  • 1 tsp. pure vanilla extract

Chocolate Cookie DoughDirections:

  1. Preheat oven to 325°F. Line baking sheets with parchment paper or coat with cooking spray.
  2. Whisk together cocoa, flour, baking soda, and salt in a medium bowl. Reserve for later use.
  3. Warm half the chocolate chips in the microwave for 30 seconds and stir. If not fully melted, microwave in 15 second increments until they are.
  4. Place the melted chocolate in the bowl of an electric mixer fitted with the paddle attachment. Add the sugar, the eggs and the vanilla. Blend together on medium speed until fully combined, about 1 minute. With the mixer on low speed, add the flour mixture, one tablespoon at a time until combined. Using a wooden spoon, add the remaining chocolate chips to the dough.
  5. Form dough into 1 ½-inch balls. Place the dough balls 2” apart on the parchment-lined baking sheets and bake for 15 minutes. Allow to cool on the baking sheets for 2-3 minutes, then transfer to wire racks to completely cool (if you can wait that long).

Makes 3 dozen cookies

Source: Adapted from Martha Stewart Living, June 2005

2013 Food & Wine Chickie Lobsterfest

2013 Food & Wine Chickie Lobsterfest

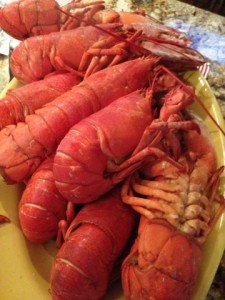
LobstersLast night, I had the pleasure of hosting my 4th annual Food & Wine Chickie Lobsterfest. I was blessed with perfect weather, sunny and 75 degrees, and the festivities took place outdoors.

Pork Belly Deviled Eggs

Pork Belly Deviled Eggs

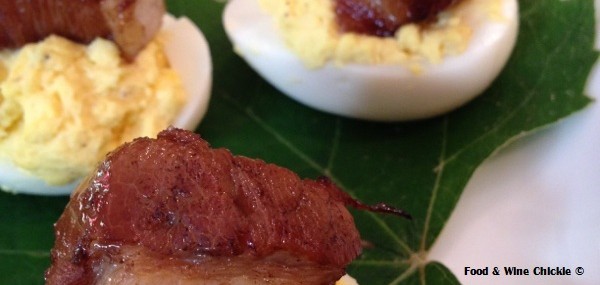
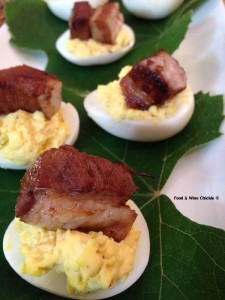
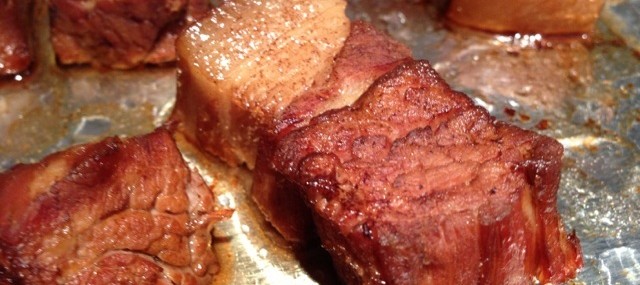
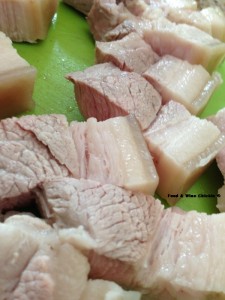
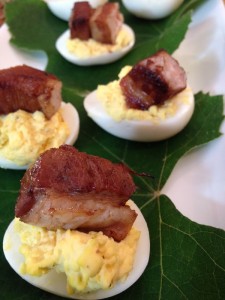
The evening kicked off with an aperitif of 2012 Banrock Station Pink Moscato, delicate pink in the glass with refreshing, lightly floral flavors and a 2012 Banrock Station Moscato, a slightly lemony, bright and light wine. These wines were paired with cruditées and pork belly deviled eggs. I’ll share my pork belly recipe this week, so be on the lookout.

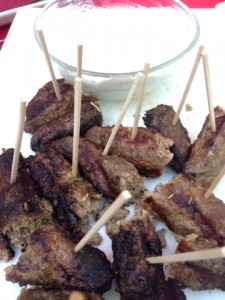
Lamb Kufta

Lamb Kufta

Next, came grilled chicken satay with Thai Peanut Sauce, a slight variation on my Chorizo and Manchego Bites using one of my favorite cheeses, Cabot Seriously Sharp Cheddar, and lamb kufta with Tzatziki sauce. These appetizers were paired with the highly-rated Domaine Sigalas Assyrtiko, a big mouthful of citrusy deliciousness.

Next came what folks came to my place for – lobster! For those of you who haven’t dared to make lobsters at home, here are fail-proof Lobster Boiling 101 techniques that will guarantee you great results. My whole family serves lobster with our Lemon Butter Sauce and I did again this time. It’s truly a great little sauce that is equally as tasty with fish or chicken. The two wines being poured with that course were both from the Finger Lakes: Red Newt Circle Riesling and Ravines Dry Riesling, one of Wine Spectator’s Top 100 wines last year.

Key Lime Pie

Key Lime Pie

At the request of my guy, I served my Zesty Key Lime Tart for dessert. It’s tangy and light and a great finish to a pretty rich meal.

Overall, it was a fun evening and one not terribly difficult to recreate at your home. If you decide to go for it and want help or tips, just message me!

Cheers,

Veronique

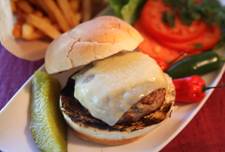
Jumpin’ Turkey Swiss Burgers by Chef Ariane Duarte

Jumpin’ Turkey Swiss Burgers by Chef Ariane Duarte

Jumpin Turkey Swiss BurgerI’m always on the lookout for a good burger recipe that uses proteins other than beef. I was sent the following recipe for a turkey burger with a kick, and since it’s by Ariane Duarte, Executive Chef of award-winning CulinAriane restaurant in Montclair, NJ and finalist on Bravo’s Top Chef, I knew I wouldn’t be disappointed. Chef Duarte has the following tip for this burger: “I created this recipe using Finlandia cheese due to the incredible robust flavor and great melting quality”.

Ingredients:

  • 2 pounds ground turkey
  • 1 or 2 jalapeño peppers, small dice (depending on how much heat you like)
  • ½ cup chopped cilantro
  • 1 Tbsp. ground cumin
  • 1 tsp. chopped garlic
  • 1 small onion, diced
  • Salt & pepper
  • 12 slices Finlandia Swiss or Light Swiss Cheese
  • 6 burger buns of your choice

Directions:

  1. In a bowl, combine all ingredients. Divide equally into 6 balls. Form into patties.
  2. Grill on high heat for four minutes on one side, then flip and cook three to four minutes on the second sider.
  3. Add two slices of Finlandia Swiss and allow to melt.
  4. Place the cheesy patties on then bun and serve with preferred condiments.

Serves 6.

Finlandia cheeses are available in the deli department of local supermarket chains and at high-quality neighborhood delis.

Ingredient Spotlight – Spaghetti Squash

Ingredient Spotlight – Spaghetti Squash

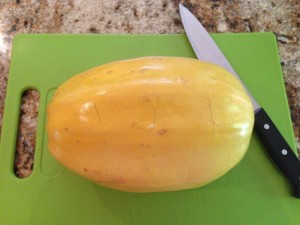
Spaghetti Squash

Spaghetti Squash

I’ve been on a low carbohydrate diet for a few weeks and one of the things I miss most is a big bowl of spaghetti Bolognese. I’ve been reluctant to try making this dish with spaghetti squash instead, but was pleasantly surprised when I finally caved and did just that over the weekend.

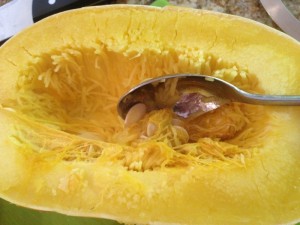
Remove Seeds

Remove Seeds

About Spaghetti Squash (Cucurbita Pepo):

  • Although it’s harvested in the fall, spaghetti squash can keep for up to 6 months in a cool place. That’s how we find it at the market year-around.
  • When cooked, the spaghetti squash’s flesh becomes strand-like much like spaghetti, hence its name.
  • Spaghetti squash seeds can be roasted just like pumpkin seeds.
  • Spaghetti squash is full of folic acid, vitamin A, potassium and beta carotene (especially in orange varieties).
  • It’s low in calories at about 40 calories per cup.
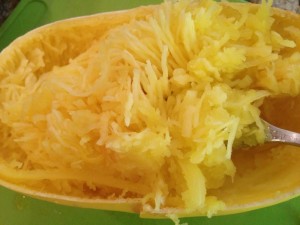
Pull Strings with Fork

Pull Strings with Fork

Here’s a fail-proof way of cooking spaghetti squash:

  1. Pierce through the flesh of the squash in about 10 places with a sharp, thin blade knife.
  2. Place a double layer of paper towel in the microwave and place the squash on them.
  3. Microwave for 12 minutes (for medium-sized squash), rotating every few minutes if your oven doesn’t have a rotating plate. Allow to cool for 5 minutes before attempting to handle.
  4. Cut the squash long ways.
  5. Using a spoon, remove the seeds and save them for roasting.
  6. Using a fork, pull strings of squash flesh away from the outer skin. Place the “spaghetti” in a bowl for intended use.
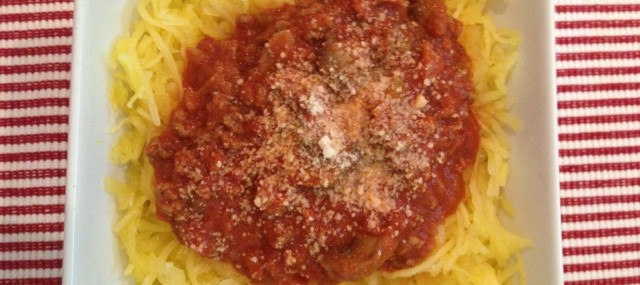
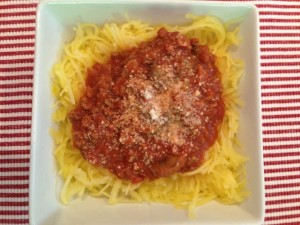
Spaghetti Squash with Meat Sauce

Spaghetti Squash with Meat Sauce

Since I had a major craving for meat sauce, I topped my squash spaghetti with traditional Quebec Meat Sauce I’d defrosted. YUM!!!!!!!

Have you had this fruit and if so, what’s your favorite way to enjoy it?

Veronique

No-Bake Blueberry Cheesecake

No-Bake Blueberry Cheesecake

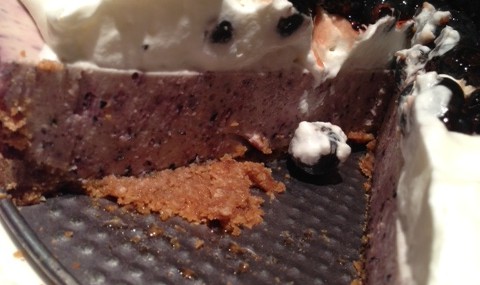
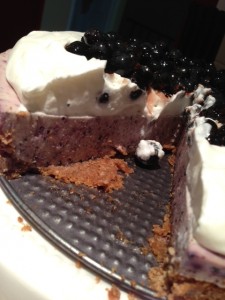
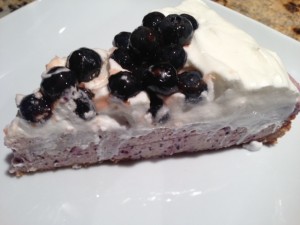
Cheesecake 2When I saw this beautiful dessert from the July 2003 issue of Bon Appetit, I knew it would be perfect for me Memorial Day barbecue. I’ve made some changes to the recipe and it’s light, pretty and delicious. I had the perfect quantity of blueberries from a giant container from my local Costco.

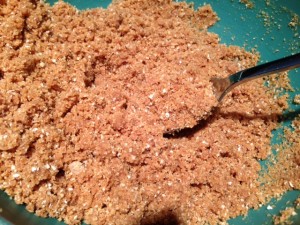
Crust with Butter

Crust with Butter

Crust Ingredients:

  • 9 whole Graham crackers or 1 ¼ cups Graham cracker crumbs
  • ½ cup old-fashioned oats (I used 2 envelopes of instant oatmeal and it was fine)
  • 3 Tbsp. brown sugar
  • 1/8 tsp. salt
  • 5 Tbsp. butter, melted
  • 1 tsp. pure vanilla extract

Filling Ingredients:

  • 1/4 cup water
  • 2 envelopes of unflavored gelatin (about 1 tablespoon)
  • 12-ounces cream cheese, softened
  • 1 cup heavy whipping cream
  • 1 cup granulated sugar
  • 1 Tbsp. freshly-squeezed lemon juice
  • 3 cups fresh blueberries
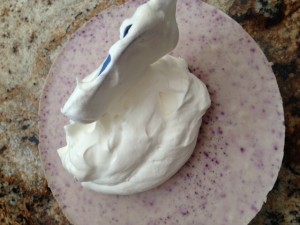
Whipped Cream Over Cheesecake

Whipped Cream Over Cheesecake

Topping Ingredients:

  • 1 cup chilled heavy whipping cream
  • 1 Tbsp. granulated sugar
  • 2-3 cups blueberries
  • 2/3 cup blueberry or strawberry jam
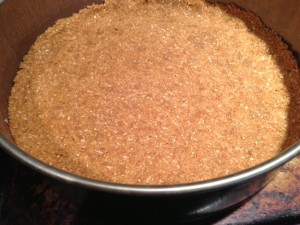
Crust Baked

Crust Baked

Crust Directions:

  1. Preheat oven to 350°F.
  2. Pulse first 4 ingredients in a food processor until mixture is finely ground.
  3. Add butter and vanilla to the crumb mixture and pulse a few times until moist crumbs form.
  4. Press crumb mixture onto bottom and 1 inch up sides of 9-inch-diameter springform pan. Bake crust until deep golden brown, about 12 minutes. Cool.
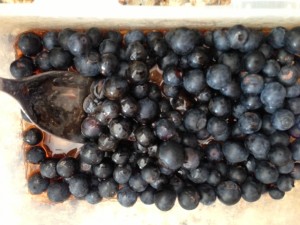
Blueberries with Jam

Blueberries with Jam

Filling Directions:

  1. Pour 1/4 cup water into small saucepan and sprinkle gelatin over. Let stand 10 minutes.
  2. Stir over very low heat just until gelatin dissolves. Set aside.
  3. Blend cream cheese, cream, sugar, and lemon juice in a food processor until smooth. Add blueberries and puree until smooth with some blueberry bits, about 20 seconds.
  4. With food processor running, add warm gelatin mixture through feed tube and blend well.
  5. Pour filling into crust. Cover with plastic wrap and chill overnight. (Can be made 2 days ahead).
  6. Run knife around pan sides to loosen cake. Release pan sides. Transfer to platter.

Cheesecake 1Topping Directions:

  1. In the bowl of an electric mixer, beat cream and sugar until firm peaks form.
  2. Spread cream mixture thickly over top of cheesecake.
  3. Place blueberries in a medium bowl.
  4. Heat jam in microwave for 20 seconds or until just melted.
  5. Pour jam over blueberries and toss to coat. Mound coated blueberries in center of cream, leaving 1-inch plain border. Chill cake at least 1 hour and up to 1 day.

Serves 10.

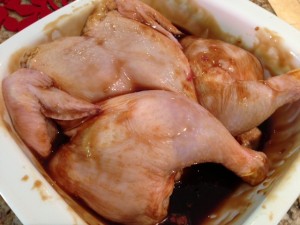
Ginger Dressing Marinated Whole Grilled Chicken

Ginger Dressing Marinated Whole Grilled Chicken

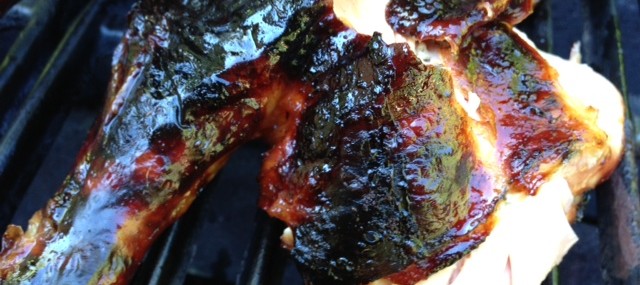
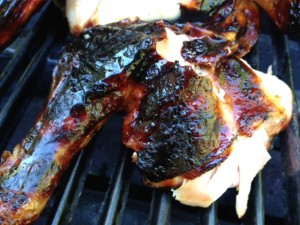
Chicken Gets Lacquered Skin

Chicken Gets Lacquered Skin

Whole chicken “butterflied” and cooked the grill is one of my favorite summertime dishes. I’ve marinated the chicken in many different concoctions but this ginger dressing is still my favorite.

Chicken Marinating

Chicken Marinating

Don’t have the time or inclination to make your own ginger dressing? No problem, just buy a high-quality dressing. The sugars from the marinade will turn the skin a dark lacquer once grill while the meat will be moist and delicious.

Ingredients:

  • 4-pound whole chicken
  • 2 Tbsp. minced fresh ginger (about a 3-inch piece)
  • 3 garlic cloves, finely minced
  • ¾ cup olive oil
  • ⅓ cup rice vinegar
  • 3 Tbsp. honey
  • ½ cup soy sauce
  • ¼ cup water

Directions:

  1. Wash the chicken under cool running water then pat dry with paper towels.
  2. Place the chicken breast-side down on a cutting board. Using heavy-duty kitchen scissors, cut along each side of the chicken’s backbone then discard the bone or save it to make chicken stock. Flip the chicken so it’s breast-side up then flatten it by cracking it open.
  3. Place all the remaining ingredients in a glass jar (I used a Mason jar), close the lid tightly and shake well until fully combined.
  4. Remove the lid and microwave the dressing for 45 seconds, just long enough for the honey to dissolve. Allow to cool then close the lid and shake again.
  5. Marinate the chicken in the cooled ginger dressing for about 2 hours, then, remove most of the dressing with your hands – don’t use paper towels as you want some dressing on the bird.
  6. Heat a gas grill to medium. Place chicken, breast-side up, on the grill, close the lid, lower the heat to medium-low and cook for 25 minutes. Using tongs, flip the chicken and cook another 25 minutes.
  7. Remove chicken from the grill once a meat thermometer reads 160 degrees when inserted in the thickest part of the leg – this might mean cooking 5-10 minutes past the original 50 minutes.
  8. Allow the chicken to rest for 15 minutes wrapped in foil. This will help the chicken reach a 170 degree internal temperature. Cut the chicken in portion-size servings.
Family, Friends and Food in Quebec

Family, Friends and Food in Quebec

Beet Salad

Beet Salad

Last weekend, I flew up to Quebec to surprise my dad for his birthday. As always, the weekend was filled with an abundance of food and adult libations.

Lobster Dinner

Lobster Dinner

Friday, the weather was nice and we opted to grill pork tenderloin kebabs that my brother-in-law, Etienne, had marinated in his special concoction a good part of the afternoon. Since it was also my mom’s birthday a couple days prior to my arrival, my nieces and me made my Chocolate Éclair Squares, an easy-to-fix, tasty and light dessert (perfect for Memorial Day celebrations).

Wines for Lobster Dinner

Wines for Lobster Dinner

Saturday, my sister Josée, her daughters and me decorated her home for dad’s party and began cooking for the memorable dinner party. On the menu was a springtime salad of roasted beets, heirloom tomatoes, red onions, Mozzarella and basil. My brother-in-law boiled some lobsters and made his now-famous Lemon Butter Cream for dipping – fantastic. Dessert was a plate of vanilla bean cupcakes and my Zesty Key Lime Tart (minus the meringue and topped with whipped cream instead). The wine lineup wasn’t half bad either.

Poutine

Poutine

Sunday morning, mom fixed us a big breakfast of eggs benedict with homefries and after spending the morning at our horse ranch, I headed back to the airport to catch my flight back to New Jersey. As I’ve grown accustomed to doing when I fly out of Quebec, I had a poutine to mark the end of my wonderful weekend.

Hope your weekend adventures were as delicious as mine were.

Cheers,

Veronique

Cremini and Spinach Crustless Mini Quiches

Cremini and Spinach Crustless Mini Quiches

Crustless QuichesI’ve been doing the South Beach Diet for a few weeks and found that making breakfast from scratch each morning wasn’t very convenient so I started making crustless quiches for the whole week on Sunday afternoons and it’s been great.

While you can vary what vegetables and cheeses you add to the egg cups, this is one of the versions I enjoy the most. Feel free to serve with a little salsa – it’s delicious.

Ingredients:

  • 2 Tbsp. butter, divided
  • 1 8-ounce package Cremini mushrooms, sliced
  • 1 10-ounce bag fresh baby spinach
  • 12 large eggs (sounds like a lot, but it’s really one egg per quiche)
  • ¼ cup water
  • ½ tsp. each salt and pepper
  • 1 cup shredded sharp cheddar cheese

Directions:

  1. Preheat the oven to 350 degrees.
  2. Coat a 12 muffin pan with cooking spray, be generous.
  3. In a large skillet, melt 1 tablespoon of butter over medium-high heat. Add the mushrooms and cook for about 5 minutes, until lightly golden, stirring frequently. Set aside.
  4. In the same skillet, melt the remaining butter and cook the spinach for 3 minutes, or until fully wilted. Set aside.
  5. In a large mixing bowl (I use an 8-cup measuring cup for easy pouring), whisk the eggs with the water, salt and pepper until fully blended, about 1 minute.
  6. Divide the mushrooms among the 12 muffin cups. Divide the spinach between the 12 muffin cups. Pour an equal amount of the egg mixture into the muffin cups over the vegetables. Sprinkle the cheese equally over the egg mixture.
  7. Place the muffin pan on a sheet tray to catch any drips and bake for about 25 minutes, or until the egg is no longer runny.
  8. Allow the quiches to cool in the pan for about 5 minutes then unmold and let cool completely.
  9. Store in an airtight container. To reheat, place two quiches on a plate, cover with a paper towel and microwave for 60-90 seconds.

Makes 6 servings (2 quiches each).

Hasselback Potatoes

Hasselback Potatoes

Hasselback PotatoesHasselback potatoes seem to be everywhere on Pinterest lately (are you following my boards on Pinterest?) and I loved the concept so I decided to use leftover cheeses from a recent cheese course to create my own version.

The accordion-fanned potatoes get their name from the Stockholm, Sweden restaurant that first served them – Restaurant Hasselbacken. While I use Cabot Seriously Sharp Cheddar and some aged Swiss cheese in this version, any kind of flavorful, melty cheese would work.

Ingredients:

  • 4 baking potatoes (I used Russets)
  • 1 stick of butter, very cold and cut into 16 slices
  • 1 8-ounce bar of cheese, cut into 16 slices
  • 1 tsp. kosher salt
  • 4 Tbsp. olive oil
  • 4 Tbsp. sour cream (optional)

Hasselback Potatoes 2Directions:

  1. Preheat oven to 400 degrees.
  2. Scrub the potatoes and pat them dry with paper towels.
  3. Using a sharp paring knife, carefully slice the potatoes very thinly, without cutting all the way through.
  4. Tuck butter and cheese slices into each of the slits in the potatoes. Sprinkle each potato with salt and drizzle with olive oil.
  5. Place the potatoes in a baking pan, cover with aluminum foil and bake for about 60 minutes or until tender. Remove the foil, baste potatoes with any butter that sits at the bottom of the pan and bake for an additional 15 minutes to crisp up the potato skins.
  6. Remove the potatoes from the oven and serve with sour cream (optional).

Makes 4 servings.