Porcini Mushroom Risotto Cakes

Porcini Mushroom Risotto Cakes

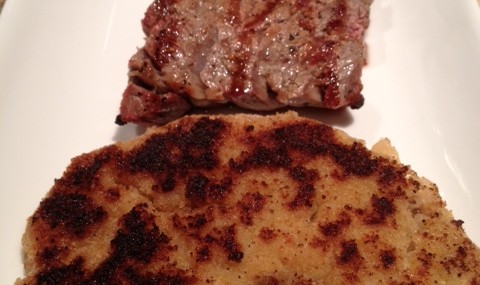
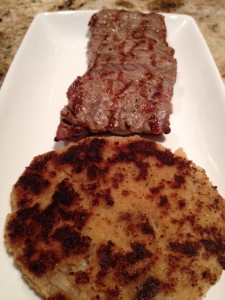
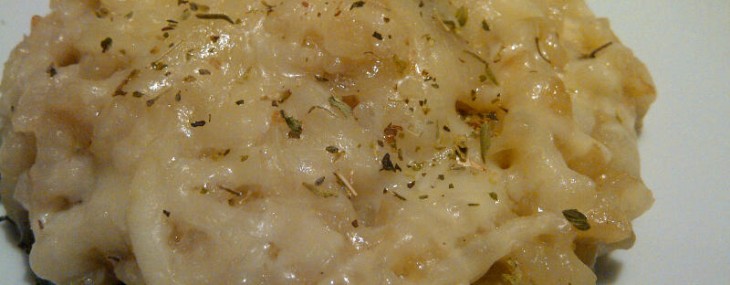
A great side dish that is also a super way to use up leftover risotto is the risotto cake. Serve a risotto cake over a simple salad or as a side dish to your favorite protein to please the whole gang.

Ingredients:

  • 3 cups leftover Porcini Mushroom Risotto, chilled
  • 2 large eggs, beaten
  • 2 cups Panko bread crumbs
  • 8 Tbsp. vegetable oil

Directions:

  1. Preheat oven to 200 degrees.
  2. Working quickly with the cold risotto, create 8 risotto patties with your wet hands.
  3. Put the eggs and the Panko bread crumbs in separate bowls.
  4. Dip 4 risotto cakes in the egg then coat in Panko.
  5. Heat 4 tablespoons of oil in a large nonstick skillet over medium-high heat for 2 minutes. Add the four risotto cakes and fry, turning once, until browned, about 5 minutes. Remove the 4 cakes to a paper towel-lined plate. Pat excess oil with the paper towels then transfer to a baking sheet, cover with foil and place in the oven to keep warm.
  6. Repeat steps 4 and 5 with the remaining 4 cakes.

Makes eight risotto cakes.

Chicken Risotto Soup

Chicken Risotto Soup

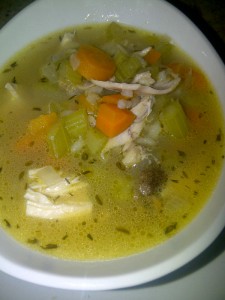
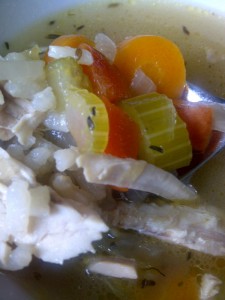
Chicken soup might be one of the most comforting dishes. Add flavorful leftover risotto to the soup and you have the ultimate bowl of comfort food love.

Ingredients:

  • 1/4 cup vegetable oil
  • 1 medium onion, chopped into small dice
  • 4 celery ribs, chopped into small dice
  • 3 carrots, chopped into small dice
  • 1 tsp. each, salt, pepper, dry thyme
  • Meat from small plain deli chicken, chopped into bite-size pieces
  • 48-ounce can chicken broth
  • 1 cup leftover Porcini Mushroom Risotto

Direction:

  1. In a large, heavy saucepan over medium, sauté the onions, celery and carrots in oil for 10 minutes, until vegetables begin to soften, stirring occasionally.
  2. Add the seasonings and chicken pieces and cook for an additional 3 minutes, stirring occasionally.
  3. Add the broth and risotto, lower the heat to medium-low and simmer for 45 minutes.

Makes 6-8 servings.

Risotto Stuffed Portobello Mushrooms

Risotto Stuffed Portobello Mushrooms

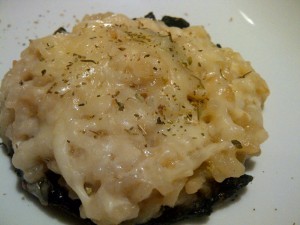
Portobello mushrooms are so versatile. Meaty, they can take the place of meat in many instances. I enjoy grilling whole portobellos and stuffing them with something equally as delicious, in this instance, mushroom risotto. Feel free to vary the cheese your top these tasty babies with.

Ingredients:

Directions:

  1. Oil up each mushroom and sprinkle with the seasonings. Cook on a grill for about five minutes, turning a couple times during cooking. Alternatively, cook in a 400 degree oven for 10 minutes.
  2. Divide the risotto into two portions. Take one portion and scoop it onto a grilled mushroom. Top with two ounces of cheese. Repeat with the second mushroom.
  3. Place both mushrooms back on the grill and cook for three additional minutes, with the lid closed, until cheese has melted.

Makes two side dishes or one meal.

Fresh Mozzarella Stuffed Arancini

Fresh Mozzarella Stuffed Arancini

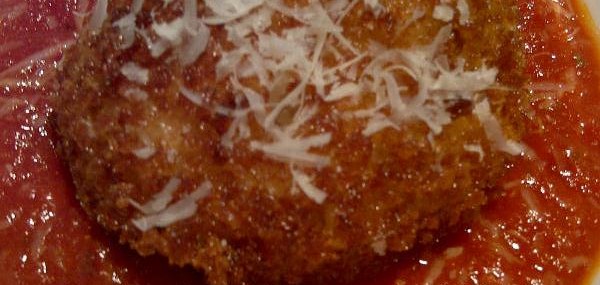
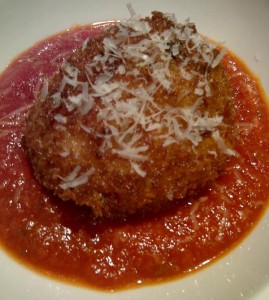
Gooey, cheesy core, creamy risotto and crunchy, deep-fried outer shell. Seriously, how could this concept ever be bad?! Introducing the Arancini. I order this Italian favorite nearly every time a restaurant offers it and I love to use leftover risotto to make my own at home.

While the Arancini can be stuffed with just about anything (ground meat, various cheeses, grilled vegetables, short rib meat), this simple version showcases fresh Mozzarella.

Ingredients:

  • Vegetable oil for frying
  • ½ cup freshly-grated Parmesan cheese
  • 1 large egg, beaten in a small dish
  • 2 cups leftover risotto, cold from the fridge
  • 4 small fresh Mozzarella balls (Bocconcini)
  • 1 ½ cups Panko bread crumbs
  • Sea salt

Directions:

  1. Add enough vegetable oil to a small saucepan to fill it a little less than half full – should be about 3” of oil. Heat the oil to 350 degrees on medium-high heat, about 4 minutes. If you don’t have a deep-frying thermometer, the oil is ready when some bread crumbs thrown in it immediately fry up and brown but don’t burn.
  2. Add the Parmesan and the beaten egg to the risotto and combine well with fingers or a wooden spoon to fully incorporate.
  3. Divide the risotto in four portions. Shape a portion into a ball and insert a Mozzarella ball in the center of the rice. Reshape risotto over the Mozzarella to ensure the cheese is fully covered. Repeat with three remaining portions.
  4. Roll the four rice balls into the bread crumbs to fully coat.
  5. Working in batches of two, carefully add the rice balls to the hot oil and cook until golden brown, about 5 minutes. Transfer the rice balls to paper towels to drain and sprinkle a pinch of salt on each.
  6. Serve hot with Easy Marinara Sauce.

Makes four Arancini.

Porcini Mushroom Risotto

Porcini Mushroom Risotto

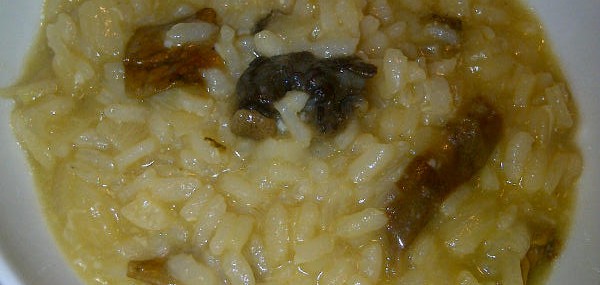
A creamy bowl of risotto is the perfect comfort food to me. It’s so easy to vary the flavors of risotto and I create new versions all the time. The base of my risotto features a few simple ingredients: risotto rice, olive oil, butter, Parmesan, chicken broth, onion and garlic. From there, the possibilities are endless.

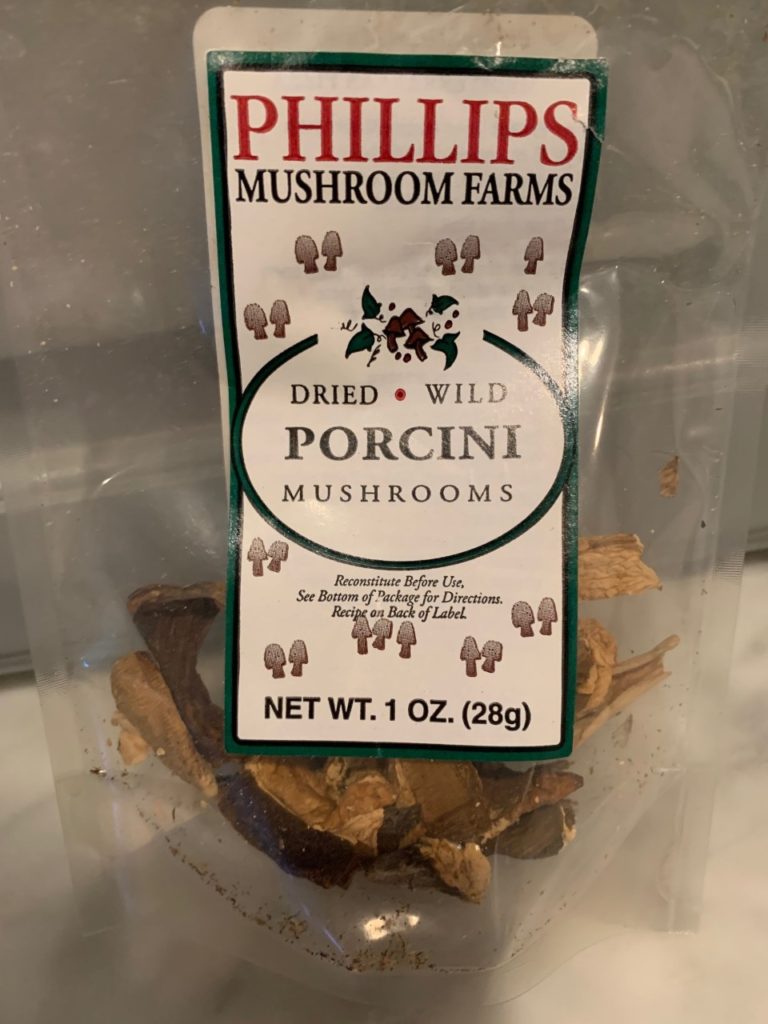
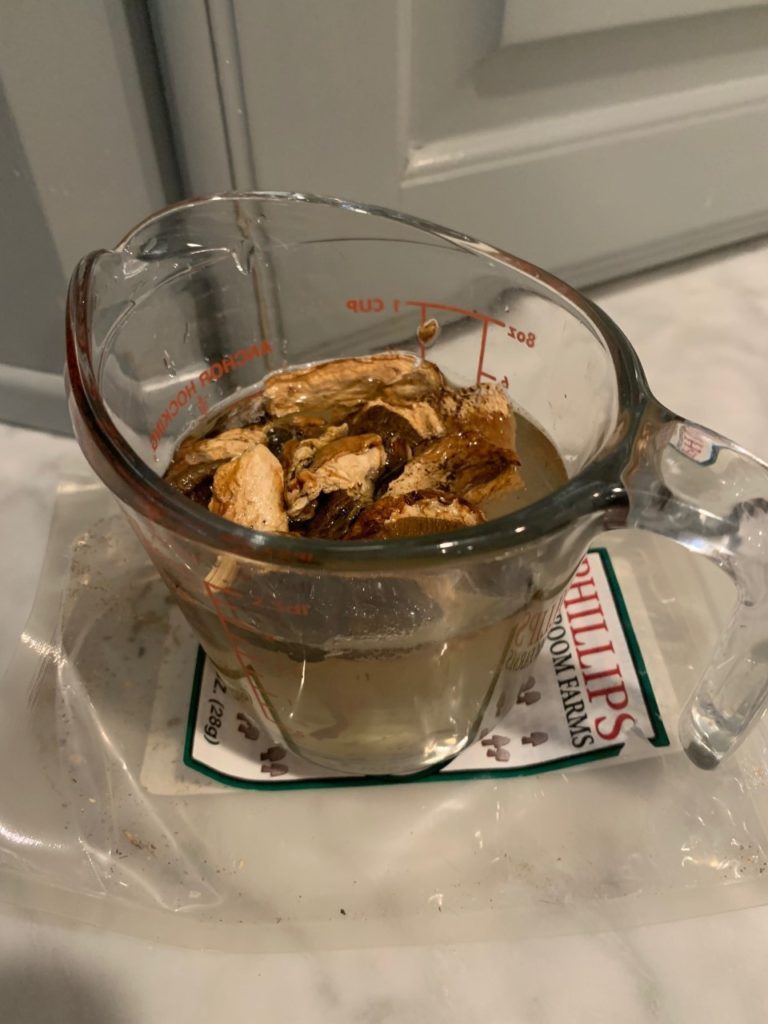
This Porcini mushroom risotto recipe is likely my favorite. I use dried Porcini that I soak to reconstitute in hot water then I use the Porcini ‘broth’ to add to my chicken broth for a richer, earthier flavor. I don’t typically use the actual Porcini pieces as I find that even reconstituted, they’re still a bit chewy for my taste.

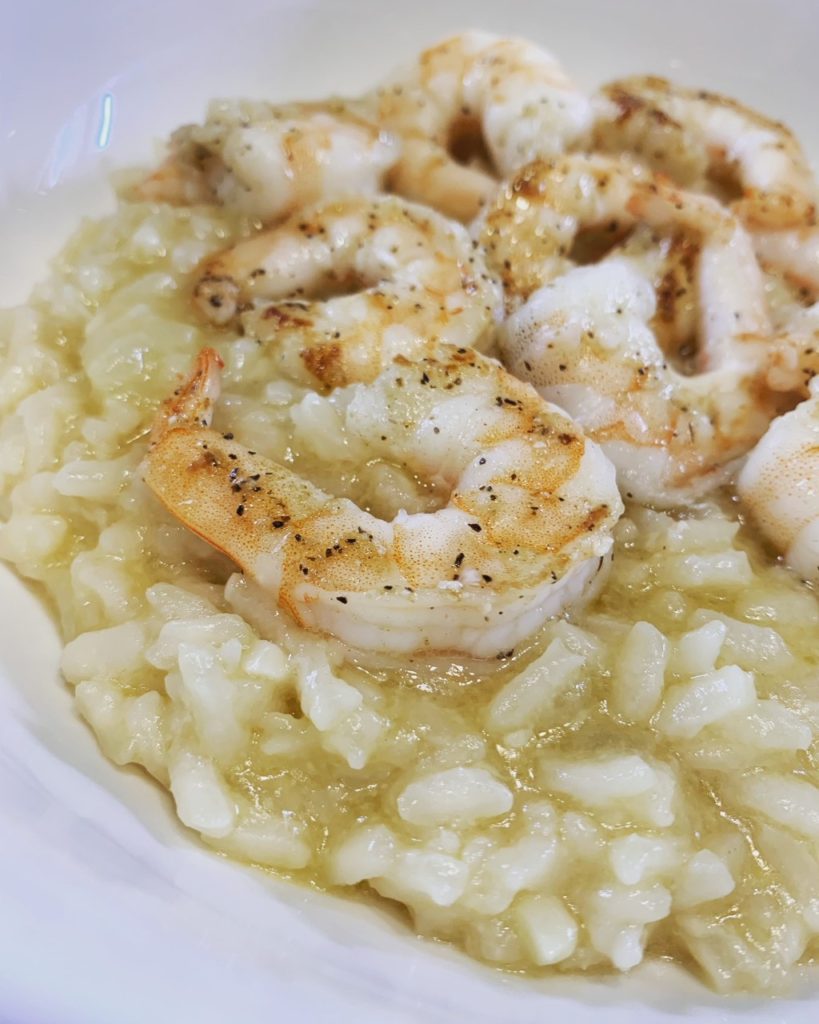
I often grill scallops, shrimp and even pork tenderloin to top the risotto if I want an additional protein.

Porcini Mushroom Risotto with Grilled Shrimp

Some major tips for success:

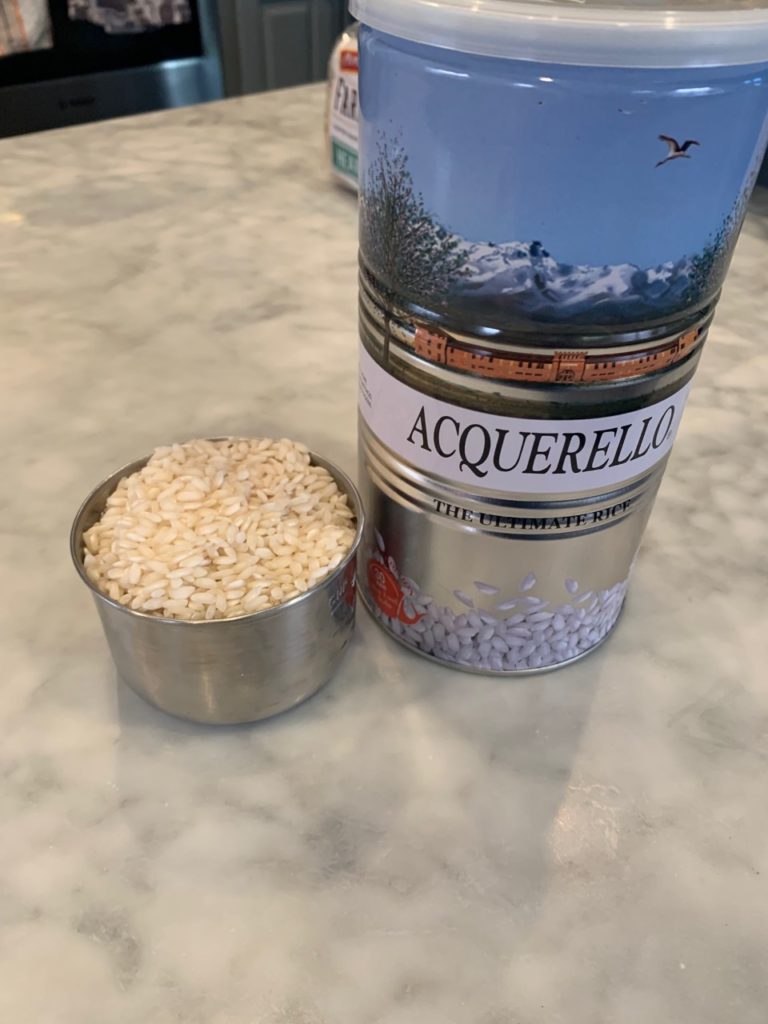
  1. Use quality rice. Once I changed to acquerello rice, it was a game changer. It’s creamier and I love its consistency once cooked.
  2. Don’t skimp on the initial butter and olive oil that you’ll sauté your onion, garlic and rice in, this isn’t the recipe for calorie-cutting. Also, use good butter.
  3. Risotto cooks differently almost every time, so the cooking time I offer in this recipe can vary. The critical part is, don’t overcook the rice so it’s dry. The best tip an Italian chef ever gave me was that risotto shouldn’t be able to get piled on a plate, it should sit flat as it still has some moisture left. Mounds of risotto, no bueno!

With dried Porcini mushrooms on hand, turning my basic risotto recipe into an earthy, mushroomy variation is super easy and delicious. One-pot, about 45 minutes, come on, you can do this!

Ingredients:

  • 1 ounce dried Porcini mushrooms soaked for 10 minutes in a cup of hot water
  • 32 ounces chicken or vegetable broth, homemade is best
  • 6 Tbsp. butter, divided
  • ¼ cup olive oil
  • 1 large onion, diced
  • 4 garlic cloves, finely minced
  • 1 cup risotto rice, I recommend Acquerello
  • ½ cup dry white wine
  • 1 cup freshly grated Parmesan cheese
  • Freshly-cracked black pepper
Acquerello Rice – my favorite risotto rice
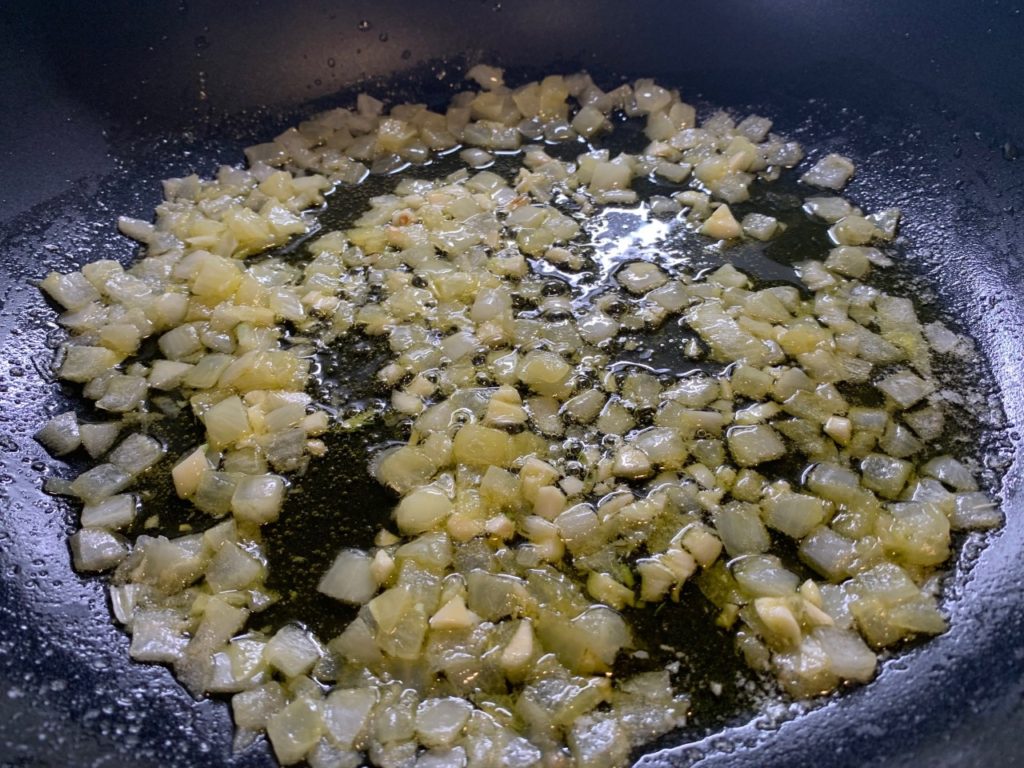
Onions and Garlic Sautéing
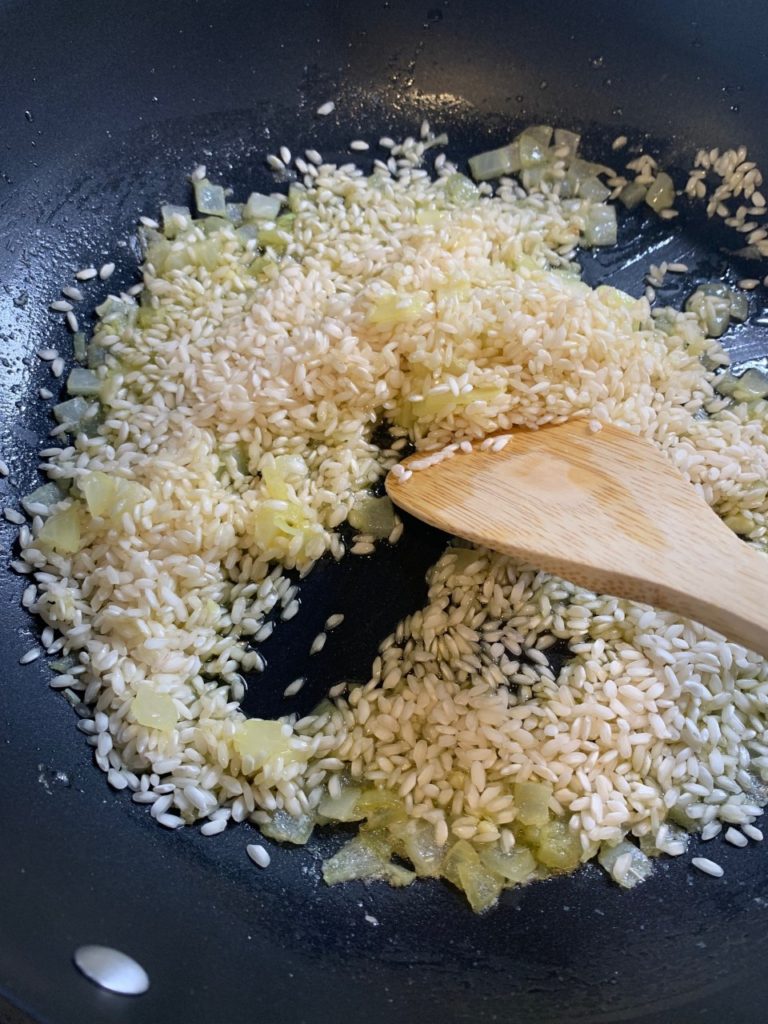
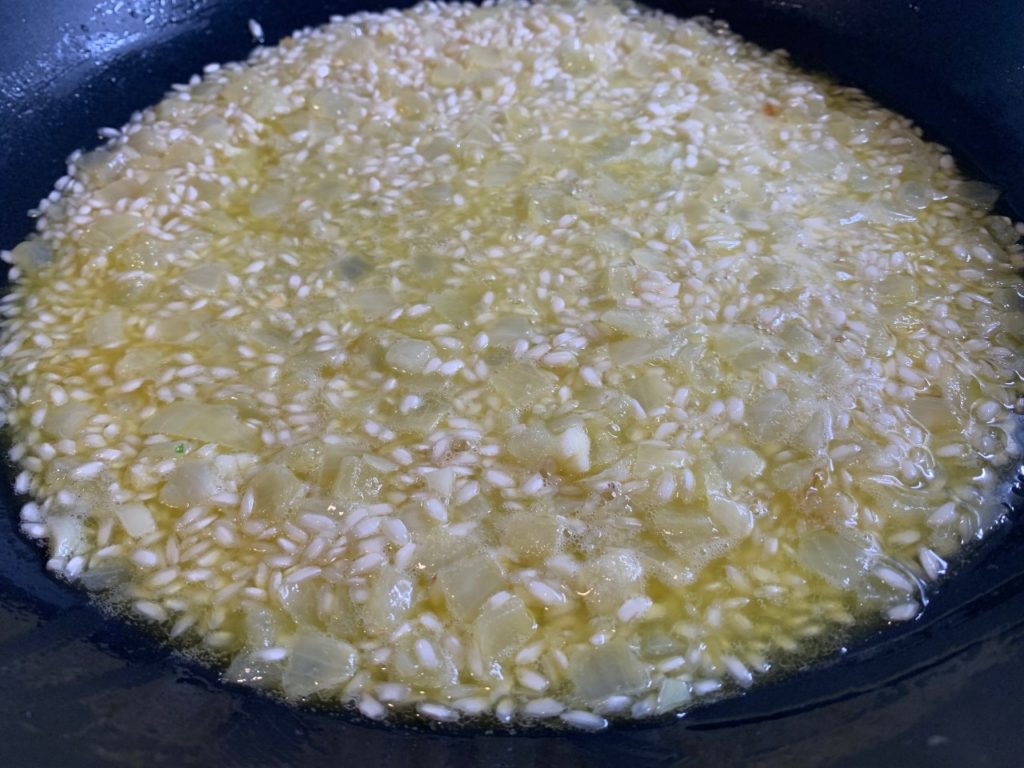
Adding Rice to Sautéed Onions
Adding Broth to Rice Mixture
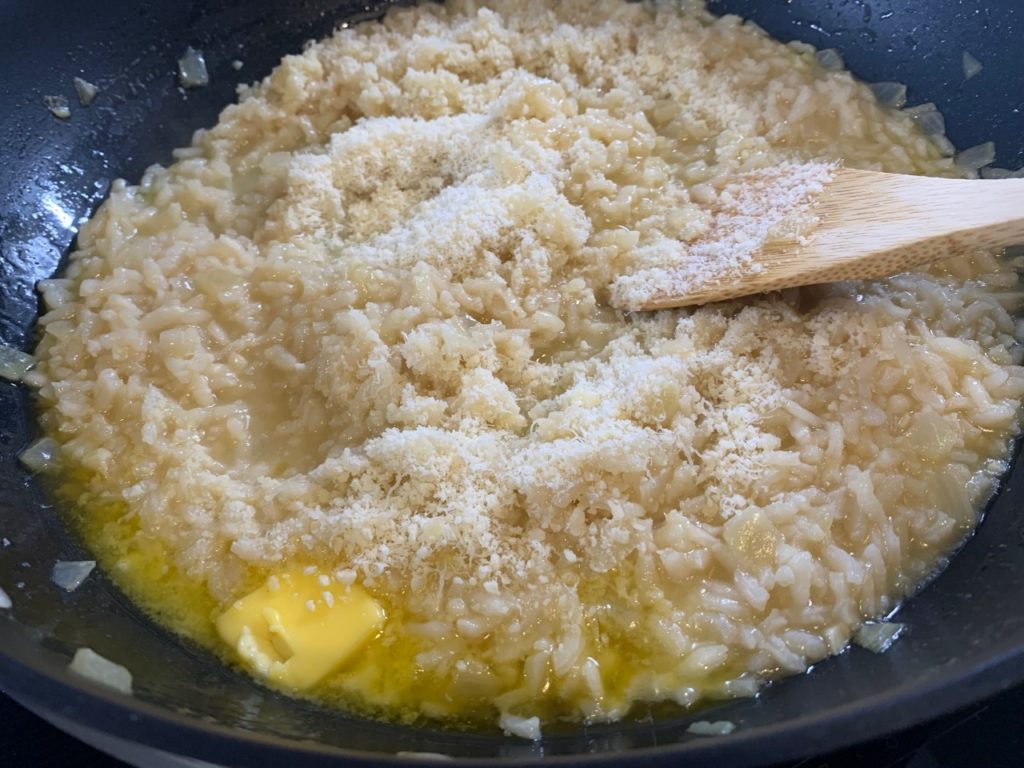
Adding Finishing Butter and Parmesan

Directions:

  1. Bring the broth to a simmer in a medium saucepan and keep warm over low heat.
  2. Melt four tablespoons of butter with the oil in a large heavy-bottom saucepan over medium heat. Turn the heat to medium-low and add the onion. Sauté, stirring occasionally, until softened and lightly golden, about five minutes. Add the garlic and continue cooking for one additional minute.
  3. Raise the heat to medium and add the rice to the onion mixture and cook stirring constantly for two minutes, until the rice is coated in oil and glossy.
  4. Add the wine to the rice mixture and simmer over medium-low heat, stirring frequently, until absorbed, about two minutes.
  5. Line a sieve with a double layer of paper towels and drain the liquids from the mushrooms into a small bowl through the paper towel to catch any sediments, reserve. Discard the mushrooms or rinse in cold water, dry, chop and add them at the end of the risotto cooking time (I toss them).
  6. Incorporate the mushroom liquids to the rice and cook until mostly absorbed, about three minutes.
  7. Add a ladleful (about 1 cup) of warm broth to the rice and simmer until absorbed, stirring frequently, about three minutes. Continue to cook for 25-30 minutes, adding more broth by the ladleful and allowing liquid to absorb before adding more, stirring frequently. Cook until rice is just tender and mixture is creamy but still runny, adding broth as needed and stirring frequently. Turn off the heat.
  8. To the cooked rice, add the Parmesan cheese, the remaining two tablespoons of butter and the pepper. Stir to fully incorporate and serve at once.

Makes two large entrée-size servings or four starter-size servings.

Quick and Easy Greek Yogurt Blueberry Pie

Quick and Easy Greek Yogurt Blueberry Pie

I typically try not to cut corners when I bake, but in a bind, like when I am on vacation and do not want to cut into my pool time, a store-bought Graham cracker crust is a suitable alternative to the real thing.

This easy pie can feature any berries that are in season. Using fresh fruit is pretty critical, but frozen whole berries that are properly thawed could be used when no fresh fruit is available.

Ingredients:

  • 1 17.6-ounce container of plain Greek yogurt
  • 8-ounce container of whipped cream cheese
  • Zest of ½ lime
  • ¼ cup plus 1 tbsp. pure maple syrup
  • 2 cups of blueberries
  • 9-inch Graham cracker crust

Directions:

  1. In a medium bowl, combine the Greek yogurt, the cream cheese, the lime zest and the ¼ cup maple syrup.  Set aside (can be made up to 4 hours prior to assembling the tart if kept refrigerated).
  2. Poor the yogurt mixture over the cracker crust forming an even layer.  Gently add the blueberries over the yogurt layer and spread evenly to completely cover the yogurt. Drizzle the remaining maple syrup over the berries and refrigerate until ready to serve.

Serves 8.

Salted Caramel Budino

Salted Caramel Budino

I was leafing through some food magazines last week and came across a Bon Appetit recipe by Marcie Turney of Barbuzzo in Philadelphia for Budino, an Italian pudding, with two different layers of salty caramel.  The photo was calling me to replicate it and I did, with some short cuts and modifications that I think everyone will enjoy. Yes, it is three steps, but the crumbles take a minute and the dessert through the pudding layer can be made a day in advance.

Cookie Crumbles Ingredients:

Pudding Ingredient:

  • 3 cups whole milk, divided
  • 1/4 cup cornstarch
  • 3/4 cup brown sugar
  • 5 large egg yolks
  • 3 Tbsp. butter
  • 2 tsp. rum
  • 1 tsp. kosher salt

Salted Caramel Topping Ingredients:

  • 3/4 cup heavy cream
  • 2 tsp. pure vanilla extract
  • 1/2 cup sugar
  • 2 Tbsp. light corn syrup
  • 1/2 stick (4 Tbsp.) cold butter, cut into 1/2″ cubes
  • 1/4 tsp. kosher salt
  • Whipped cream (optional)

Cookie Crumbles Directions:

  1. In a small bowl, combine the cookie crumbs, butter, and salt. Reserve 2 tablespoons of the crumbles for later use. Press 2 tablespoons crumble mixture onto the bottom of eight 8-ounce mason jars or ramekins.

Pudding Ingredients:

  1. Whisk 1/2 cup milk and the cornstarch in a small bowl. Set aside.
  2. Heat 2 1/2 cups milk in a small saucepan just to a simmer. Set aside.
  3. Gently stir sugar and 3/4 cup water in a medium heavy saucepan over medium heat until sugar dissolves, about 2 minutes. Increase heat to medium-high and cook without stirring until an instant-read thermometer registers 210°–220°, about 5 minutes.
  4. Whisk egg yolks in a large bowl. Gradually whisk in hot milk, then cornstarch mixture. Slowly whisk in caramel. Return mixture to the saucepan. Whisk constantly over medium heat until mixture thickens and a thermometer registers 175°, about 3 minutes. Remove from heat.
  5. Whisk in butter, rum, and salt.
  6. Pour 1/2 cup pudding over crumbles in each jar. Cover with plastic wrap and chill until set, 4–5 hours.

Salted Caramel Topping Ingredients:

  1. Combine the cream and vanilla in a small bowl and set aside.
  2. Stir sugar, corn syrup, and 2 tablespoons water in a heavy saucepan over medium heat until sugar dissolves, about 2 minutes. Increase heat to medium-high and boil, occasionally swirling pan, until deep amber color forms, 5–6 minutes – do not stir the mixture or walk away as caramel can burn very quickly! Remove from heat and gradually add vanilla cream – be careful as the mixture will bubble vigorously. Whisk over medium heat until smooth and thick, about 2 minutes. Remove from heat and whisk in butter and salt. Allow to cool slightly about 5 minutes.
  3. Spoon 1-2 tablespoons caramel sauce over each pudding.
  4. Top with whipped cream, if using, then sprinkle some of reserved cookie crumbles over each.

Makes eight 8-ounce budino.

Shrimp and Vermont Cheddar Grits

Shrimp and Vermont Cheddar Grits

I am not certain how I became obsessed with shrimp and grits as I did not grow up with the dish in Quebec, but I am. I do not think there are many dishes as comforting as a bowl of creamy grits with spicy shrimps and a soft poached egg and here is a simple, delicious version that I serve as a starter. My inspiration for the shrimp topping is from a recipe from Peels in New York published in Bon Appetit.

Grits Ingredients:

  • ½ an 8-ounce bag shredded sharp Vermont cheddar cheese, such as Cabot’s Seriously Sharp Cheddar
  • ¼ cup freshly grated Parmesan cheese
  • ½ tsp. hot sauce, such as Cholula
  • ¼ tsp. black pepper

Shrimp Ingredients:

  • 1 cup 1/3″ cubes Andouille sausage
  • 3 garlic cloves, sliced
  • 1 Tbsp. butter
  • 16 large shrimps (about 1 pound), peeled, deveined
  • ½ cup medium-bodied beer
  • ¼ cup chicken broth

Grits Directions:

  1. Bring the broth, milk, salt and 1 1/3 cups water to a boil in a medium saucepan over medium-high heat.
  2. Gradually whisk in grits, reduce heat to low and gently simmer for about 10 minutes, or until thickened, stirring occasionally.
  3. Add cheddar and Parmesan cheeses, the hot sauce and the pepper and stir until cheese has melted. Cover to keep warm until ready to serve.

Shrimp Directions:

  1. Cook the Andouille sausage in a large heavy skillet over medium heat for about 5 minutes.
  2. Add the garlic and butter, stir until butter melts.
  3. Add the shrimps and stir gently until the garlic starts to brown.
  4. Add the beer and the chicken broth and simmer until shrimps are cooked, about 2 minutes.
  5. Serve the shrimp mixture over bowls of cheesy grits.

Makes 4 entrée portions or 6 first course portions.

Boucheron and Sharp Cheddar Grilled Cheese

Boucheron and Sharp Cheddar Grilled Cheese

I love grilled cheeses and I enjoy experimenting with various cheeses, breads and condiments to create new versions of the old stand-by. One variation I adore is made with sharp Vermont cheddar and Boucheron, a goat’s milk cheese from the Loire Valley of France.

Boucheron Cheese

For those not familiar with Boucheron, it is a goat cheese that has been aged so the outer layer is soft, the rind is bloomy and the center is dry and crumbly as it ages. This is not your typical goat cheese. Let it come to room temperature and it is gooey and perfect.

In this grilled cheese, I pair the Boucheron with Cabot’s Shredded Sharp Cheddar as it is just great.

Ingredients:

  • 2 tsp. mayonnaise
  • 2 slices oatmeal sandwich bread
  • ¼ cup sharp cheddar cheese, grated
  • 1/8 pound slice of Boucheron, crumbled

Directions:

  1. Heat up Panini press or a grill pan over high heat.
  2. Spread 1 teaspoon of mayonnaise on one side of each slice of bread.
  3. Arrange the cheddar and Boucheron on a un-mayonnaised bread slice and top with the second un-mayonnaised side of the second bread slice so that both mayoed sides are on the outside and the cheeses are on the inside.
  4. Place the sandwich in the Panini press and grill for 3 minutes, until golden brown.  Alternatively, place the sandwich on the grill pan (still on high heat) and top with the weight of multiple pans or a pan with a 2-3 pound weight in it and cook 1 1/2 minutes per sides.
  5. Transfer sandwich to a cutting board and cut sandwich in half using a serrated knife.

1 serving.

Grilled Brined Pork Chops

Grilled Brined Pork Chops

Brining is easy to do and a simple way to add moisture to meats, typically poultry and pork.

There are no complicated guidelines to learn when brining, just a basic formula: ¾ cup kosher salt to a gallon of water.  Enhancements can be made to the original formula if you would like, but not needed to create a delicious product.

Ingredients:

  • 1 cup boiling water
  • ¾ cup kosher salt
  • ¾ cup granulated sugar
  • 4, 1 ½-inch thick, bone-in pork chops
  • 1 gallon cold water
  • ¼ cup vegetable oil
  • 2 tsp. black pepper

Directions:

  1. To the cup of hot water, add the salt and sugar. Wait until fully dissolved then pour ½ cup of the mixture into two gallon-size zip top bags.
  2. After the salt/sugar mixture has completely cooled, add two pork chops to each of the two zip top bags. Pour as much cold water into the two bags as possible, still allowing for the sealing of the bags. Gently shake each bag then place in the refrigerator for 12 to 24 hours.
  3. After the brining period is over, rinse each pork chop under cool water and place on a double layer of paper towels. Pat down the pork chops with additional paper towels to ensure their surface is completely dry.
  4. Lightly coat the pork chops with oil then generously sprinkle with pepper.
  5. Grill on a medium gas grill until an instant-read thermometer inserted in the center of the pork chop, and away from the bone, registers 145 degrees, about 15 minutes for medium.  If using a charcoal grill, cook on indirect heat. Temperature inside the grill should be about 350 degrees.

Brined Pork Chops

Brining Tips:

  • Refrigeration during the brining process is critical. If using zip top bags for brining, place them in the fridge door where gallons fit to help the bags stay upright.
  • While brining, the meat must be fully submerged in the liquid.
  • After removing the meat from the brine, rinse it very well under cool water. If not grilling the rinsed meat right away, pat it dry with paper towels and refrigerate until ready to use.
  • Brined meat should not be salted before cooking.
  • Brined meat, especially pork, cooks faster than unbrined meat so be diligent while monitoring the cooking time.

Enjoy and let me know how you do once you try brining!

Veronique