Boucheron and Sharp Cheddar Grilled Cheese

Boucheron and Sharp Cheddar Grilled Cheese

I love grilled cheeses and I enjoy experimenting with various cheeses, breads and condiments to create new versions of the old stand-by. One variation I adore is made with sharp Vermont cheddar and Boucheron, a goat’s milk cheese from the Loire Valley of France.

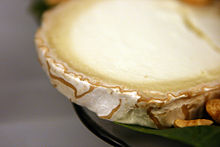
Boucheron Cheese

For those not familiar with Boucheron, it is a goat cheese that has been aged so the outer layer is soft, the rind is bloomy and the center is dry and crumbly as it ages. This is not your typical goat cheese. Let it come to room temperature and it is gooey and perfect.

In this grilled cheese, I pair the Boucheron with Cabot’s Shredded Sharp Cheddar as it is just great.

Ingredients:

  • 2 tsp. mayonnaise
  • 2 slices oatmeal sandwich bread
  • ¼ cup sharp cheddar cheese, grated
  • 1/8 pound slice of Boucheron, crumbled

Directions:

  1. Heat up Panini press or a grill pan over high heat.
  2. Spread 1 teaspoon of mayonnaise on one side of each slice of bread.
  3. Arrange the cheddar and Boucheron on a un-mayonnaised bread slice and top with the second un-mayonnaised side of the second bread slice so that both mayoed sides are on the outside and the cheeses are on the inside.
  4. Place the sandwich in the Panini press and grill for 3 minutes, until golden brown.  Alternatively, place the sandwich on the grill pan (still on high heat) and top with the weight of multiple pans or a pan with a 2-3 pound weight in it and cook 1 1/2 minutes per sides.
  5. Transfer sandwich to a cutting board and cut sandwich in half using a serrated knife.

1 serving.

Dad’s Quebec Smoked Meat Sandwich

Dad’s Quebec Smoked Meat Sandwich

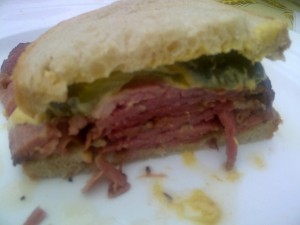
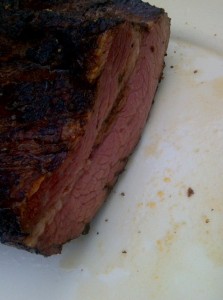
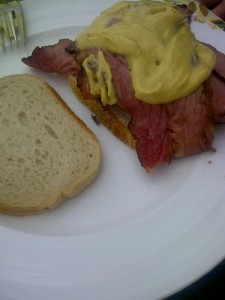
A special Quebec treat I enjoy is a perfectly steamed smoked meat sandwich.  Dad has had a restaurant-grade food steamer since I was a little girl that his brother from Montreal found for him. Fabulous hot dogs and smoked meats have come out of that steamer over the years, and this past weekend, while I was in Quebec, dad treated the family to the tasty sandwiches.

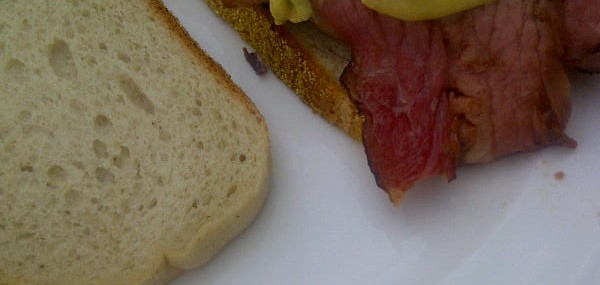
A 10-pound piece of corned beef was steamed for a couple hours until perfectly moist and fork tender.  Rye bread was also steamed for a minute to create the perfect sandwich.

The steamed meat was sliced thin on an electric meat slicer and piled high on the rye bread. A little mustard and some crisp pickles were the only complements the sandwich needed.

If you make your way to Quebec City or Montreal, be sure to sample a real Quebec smoked meat sandwich, it ranks up there with the very best New York corned beef on rye.

Cheers,

Veronique

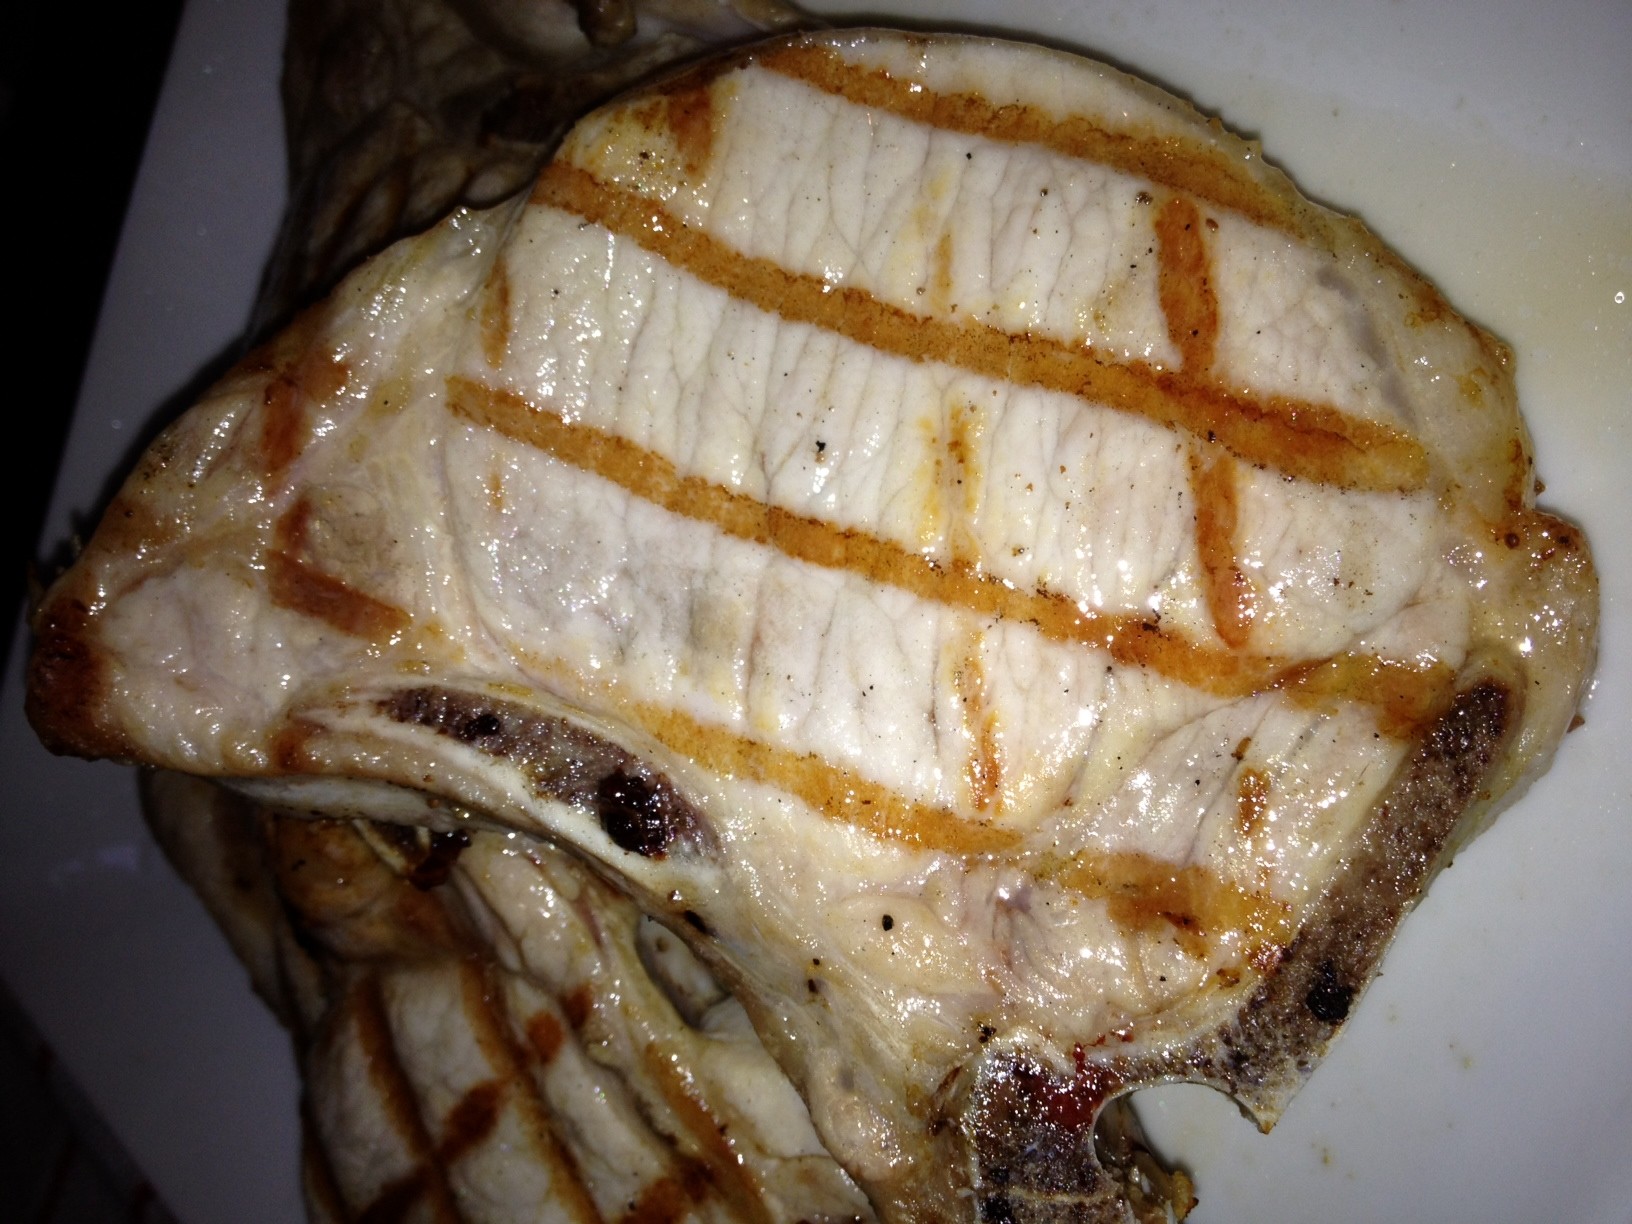
Grilled Brined Pork Chops

Grilled Brined Pork Chops

Brining is easy to do and a simple way to add moisture to meats, typically poultry and pork.

There are no complicated guidelines to learn when brining, just a basic formula: ¾ cup kosher salt to a gallon of water.  Enhancements can be made to the original formula if you would like, but not needed to create a delicious product.

Ingredients:

  • 1 cup boiling water
  • ¾ cup kosher salt
  • ¾ cup granulated sugar
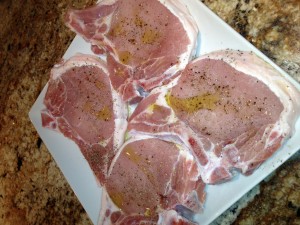
  • 4, 1 ½-inch thick, bone-in pork chops
  • 1 gallon cold water
  • ¼ cup vegetable oil
  • 2 tsp. black pepper

Directions:

  1. To the cup of hot water, add the salt and sugar. Wait until fully dissolved then pour ½ cup of the mixture into two gallon-size zip top bags.
  2. After the salt/sugar mixture has completely cooled, add two pork chops to each of the two zip top bags. Pour as much cold water into the two bags as possible, still allowing for the sealing of the bags. Gently shake each bag then place in the refrigerator for 12 to 24 hours.
  3. After the brining period is over, rinse each pork chop under cool water and place on a double layer of paper towels. Pat down the pork chops with additional paper towels to ensure their surface is completely dry.
  4. Lightly coat the pork chops with oil then generously sprinkle with pepper.
  5. Grill on a medium gas grill until an instant-read thermometer inserted in the center of the pork chop, and away from the bone, registers 145 degrees, about 15 minutes for medium.  If using a charcoal grill, cook on indirect heat. Temperature inside the grill should be about 350 degrees.

Brined Pork Chops

Brining Tips:

  • Refrigeration during the brining process is critical. If using zip top bags for brining, place them in the fridge door where gallons fit to help the bags stay upright.
  • While brining, the meat must be fully submerged in the liquid.
  • After removing the meat from the brine, rinse it very well under cool water. If not grilling the rinsed meat right away, pat it dry with paper towels and refrigerate until ready to use.
  • Brined meat should not be salted before cooking.
  • Brined meat, especially pork, cooks faster than unbrined meat so be diligent while monitoring the cooking time.

Enjoy and let me know how you do once you try brining!

Veronique

Croissant and Chocolate Bread Pudding

Croissant and Chocolate Bread Pudding

We all know what a comforting dish bread pudding is, and in this recipe, croissant and high-quality chocolate put a luxurious twist on the modest original. I urge you to splurge on good chocolate for this recipe – it is well worth it.

Ingredients:

  • 6  egg yolks
  • 1 1/2  cups  whole milk
  • 1 1/2 cups  heavy cream
  • 1 cup  granulated sugar
  • 2 Tsp. pure vanilla extract
  • 1/2  tsp. sea salt
  • 8 day-old butter croissants, cubed into 1-inch pieces
  • 3.5 ounces  dark chocolate, broken into pieces
  • 3.5 ounces  milk chocolate, broken into pieces

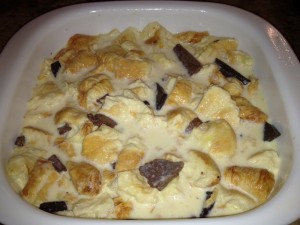
Before Baking

Directions:

  1. Preheat the oven to 375 degrees.
  2. Coat an 8-inch or 9-inch square baking dish with cooking spray.
  3. Whisk the egg yolks, milk, cream, sugar, vanilla and salt in a large bowl. Add the croissant pieces and the chocolates. Using a large spoon, ensure all the croissant pieces are coated with the cream mixture. Let absorb for 20 minutes.
  4. Pour the croissant and cream mixture in the coated baking dish and bake for 35 minutes.

Yields 8 servings (or 6 at my house).

World’s Easiest Baby Back Ribs

World’s Easiest Baby Back Ribs

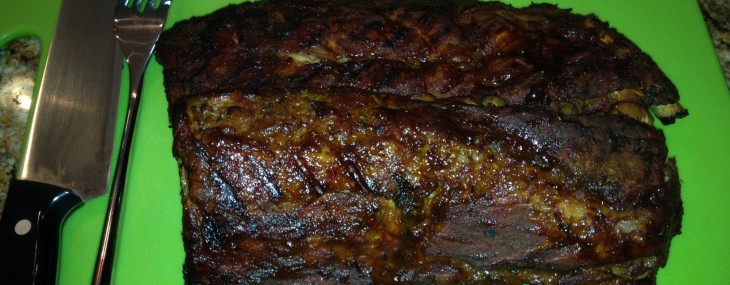
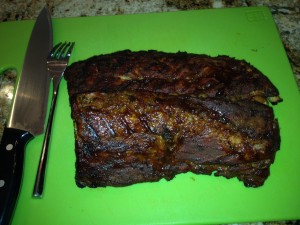
I really enjoy barbequed ribs but until a few years ago, I was frankly intimidated by them.  This recipe is so simple and delicious that I now prepare ribs about once a month.

The BBQ sauce recipe I include below is absolutely fantastic, but do not let it prevent you from making these ribs, simply use store-bought sauce for a still-delicious alternative.

Ingredients:

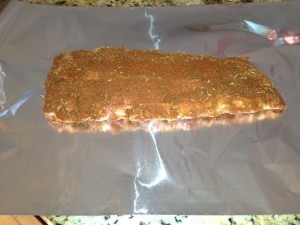
Dry Rub on Ribs

Directions:

  1. Place charcoal on one side of the grill and light up. If using a gas grill, ensure one area is on medium-high and another on low. Temperature should be around 400 degrees.
  2. Cut each rack in two, down the middle. Sprinkle the rub generously over the pork and massage it in.
  3. Place a 24” long double layer of aluminum foil on a work surface and put a half rack on it.  Wrap the rack well with the foil. Repeat with three remaining racks.
  4. Put the wrapped ribs on the grill over the area with no coals or over the low heat on a gas grill. Cook for an hour with the closed lid, turning twice. Ensure not to pierce the foil.
  5. Remove the ribs from the grill and set aside. Drain the wood chips and place directly on the coals, or in the gas grill basket. Close the lid to build smoke for 5 minutes.
  6. Take the ribs out of the foil packets and place on a platter.  Using a brush, slather the ribs liberally with BBQ sauce.
  7. Place the ribs on the grill, bone side down, and cook for 10-15 minutes, turning once and basting the second side. Let the ribs rest for 5 minutes then cut into individual ribs. Serve with additional BBQ sauce, if desired.

Makes 4 appetizer servings or 2 entrée servings.


Tangy Dry Spice Rub

Tangy Dry Spice Rub

This super simple yet delicious rub compliments pork especially well. Mix a double batch and save half for up to a month.

Ingredients:

  • 1 Tbsp. Kosher salt
  • 2 tsp. each granulated garlic, smoked paprika and dried thyme
  • ½ tsp. each black pepper and granulated sugar
  • 1 tsp. onion powder

Directions:

  1. Mix all the spices together. Apply liberally to pork – baby back ribs, tenderloin or chops.

Makes about ½ cup.


The Food and Wine Chickie 2nd Annual Lobsterfest

The Food and Wine Chickie 2nd Annual Lobsterfest

Last night, I hosted a dinner party for close friends where lobster was king.  This was the 2nd annual “lobsterfest” I’ve held and think it’s a really fun concept that can be executed rather simply.

Friends always offer to bring “something” to my parties, and last night, I decided to take them up on it.  One friend was tasked with bringing potato salad (future post I hope) and another with bringing a few cheeses we could enjoy post-dessert.

I popped a few bottles of bubbly, what could be better with rich lobster?  2 ½ – 3-pound lobsters were boiled using my Boiling Lobster 101 technique, Lemon Butter Cream was quickly prepared and the party was on its way.  Dessert was my Easy Like Sunday Morning Key Lime Pie which is a popular summer dessert that’s easy to prepare using semi-homemade staples.

I urge you to try this type of party that’s both worry-free and very festive.  Your guests will appreciate the luxe meal and you’ll love that it can be put together in a breeze.

Enjoy!

Veronique


Lobster Boiling 101

Lobster Boiling 101

The trick to making a perfectly-boiled lobster is to carefully time how long it is in the water.  This is the technique my dad’s passed on to me for solid results:

  1. Bring a large pot of salted water to a boil.
  2. Plunge the lobsters, head first, into the boiling water.
  3. Bring the water back to a boil (should take 3-5 minutes).
  4. Let the lobsters cook for exactly 15 minutes then immediately remove them from the water and serve.
  5. Serve with Lemon Butter Sauce.

This method is for lobsters up to two pounds.  For lobsters over two pounds, cook for 20 minutes.

Enjoy,

Veronique


Lemon Butter Sauce

This lemon butter sauce is ideal served over pan-roasted chicken, with grilled shrimp of simply boiled lobsters.

Ingredients:

  • ½ pound (2 sticks) salted butter
  • Juice of 3 lemons
  • ¼ cup heavy cream

Directions:

  1. Bring the butter to a simmer in a medium heavy pan over medium-low heat.  Cook for 3-4 minutes until the milky solids have mostly evaporated.
  2. Add the lemon juice and reduce heat to low.  Whisk in the cream and keep warm until ready to serve.

For best results, serve in a small dish over a candle burner to keep warm.


Asian Chicken Lettuce Wraps with Noodles and Peanut Sauce

Asian Chicken Lettuce Wraps with Noodles and Peanut Sauce

Yum – lettuce wraps! It’s summer and a time when I try to use the kitchen oven as little as possible and the grill as much as possible. It’s also a time when I enjoy lighter fare that can be whipped up in a flash. These lettuce wraps are easy to prepare and lets the whole gang participate in the final dish – fun! Don’t forego fixing this dish because you don’t have time to grill the Asian Whole Grilled Chicken, simply pick up a grilled chicken at the supermarket.

Ingredients:

Directions:

  1. Heat the oil in a large sauté pan over medium-high heat. Add the onion and cook for 3 minutes, until slightly softened. Add the mushrooms and continue cooking for 5 minutes over medium heat. Set aside.
  2. In a large bowl, combine a cup of peanut sauce, the sesame oil and the Sriracha.
  3. Boil the noodles according to package directions, drain and add to the peanut sauce in the bowl. Toss the noodles well with the peanut sauce to fully coat.
  4. Add the onion and mushroom mixture to the noodles and toss to combine. Serve at room temperature. If the noodles cool down too much before serving, simply heat them up for 20 seconds in the microwave.
  5. Give each person 2-3 lettuce leaves to use as wraps to contain the noodles and chicken. Extra peanut sauce can be used as additional dressing in the wraps.

Serves 4 people.

Notes:  You can find fresh Chinese noodles in the bagged salads section of your supermarket or at Asian markets.