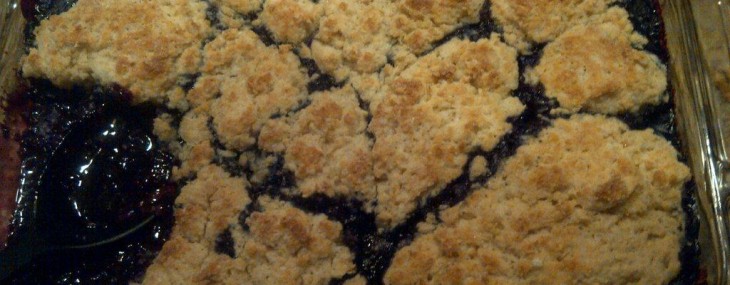

Lemony Blueberry Cobbler
This weekend, I hosted a Maine-themed dinner party and for dessert, I couldn’t think of anything more representative of the beautiful northern New England state than blueberries. To keep with the rustic feel of the party, I opted to create a comforting, biscuit-topped cobbler that I paired with Tahitian vanilla ice cream. The result was outstanding.
Biscuit Batter Ingredients:
- 2 cups all-purpose flour
- ¼ cup plus 2 Tbsp. granulated sugar
- 1 ½ tsp. baking powder
- ½ tsp. baking soda
- ¼ tsp. salt
- 1 stick (1/2 cup) cold unsalted butter, cut into cubes
- ¾ cup buttermilk
- 1 tsp. vanilla extract
Blueberry Filling Ingredients:
- ¾ cup granulated sugar
- ¼ cup maple syrup
- 1 tsp. grated lemon zest
- 2 Tbsp. lemon juice
- 2 Tbsp. water
- 64-ounce bag of frozen blueberries, thawed (or 8 cups fresh blueberries)
- 2 Tbsp. cornstarch diluted with 3 Tbsp. water
Biscuit Batter Directions:
- In a medium bowl, whisk together the flour, 1/4 cup sugar, baking powder, baking soda and salt.
- Cut in butter with a pastry blender until coarse crumbs form.
- Add the buttermilk and vanilla to the flour mixture and stir gently just until a biscuit-like batter forms – do not over-stir as tough dough will result. Keep the batter in the refrigerator until ready to use, no more than 30 minutes.
Filling Directions:
- Preheat oven to 350 degrees and butter a 13×9 baking dish.
- In a medium saucepan over medium-high heat, combine the sugar, maple syrup, zest, lemon juice and water.
- Add half of the blueberries to the pan and cook, partially covered, for about 10 minutes until hot and bubbly, stirring occasionally.
- Stir the cornstarch mixture into the cooked blueberries, raise the heat to high, bring the mixture to a boil and cook 1 minute or until thickened.
- Gently stir in remaining blueberries and pour the mixture in the prepared baking dish.
Biscuit Topping Directions:
- Drop eight 1/4-cupfuls of the biscuit batter, evenly spaced, over hot filling. Sprinkle biscuits with remaining 2 tablespoons of sugar.
- Bake the cobbler for 20 minutes then turn the broiler on high and bake for 3 additional minutes to brown the tops of the biscuits.
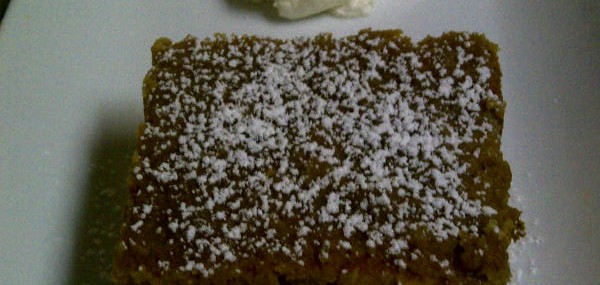
- Cool the dish for 5 minutes and serve warm over vanilla ice cream.
Serves 8.
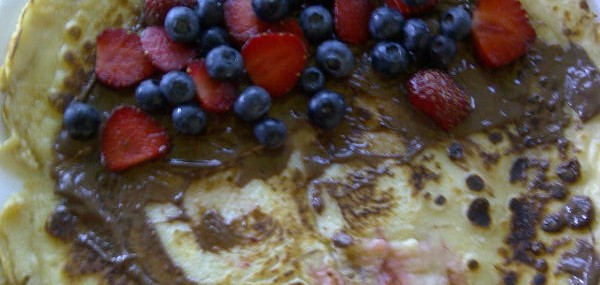
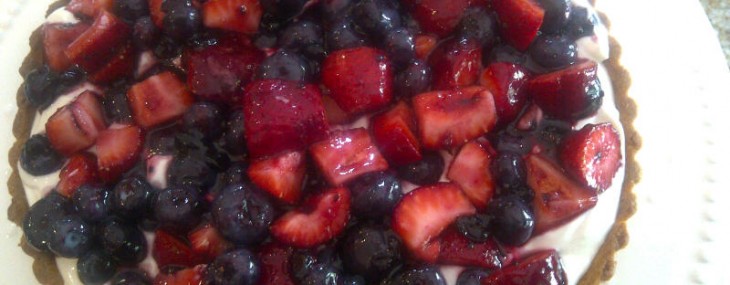
Notes: Want to shake things up a bit? Replace the blueberries with mixed berries or straight raspberries. For the filling, if you don’t have maple syrup, simply use 1 cup of granulated sugar instead of ¾ cup.
Recipe inspired by Woman’s Day Blue and Blackberry Cobbler.


Recent Comments