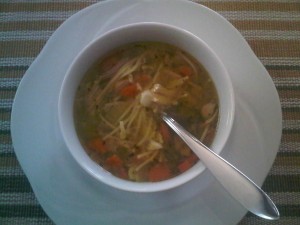
Easy Chicken Noodle Soup

Easy Chicken Noodle Soup

Don’t want to spend time making your own chicken stock?  This is a simple and fast way to make a hearty chicken soup using supermarket shortcuts.

Ingredients:

  • 1/4 cup vegetable oil
  • 1 medium onion, chopped into small dice
  • 4 celery ribs, chopped into small dice
  • 3 carrots, chopped into small dice
  • 8-ounce package of fresh, sliced mushrooms
  • 1 tsp each, salt, pepper, dry thyme
  • 1 small plain deli chicken, meat pulled off the bones and chopped into bite-size pieces
  • 48-ounce can chicken broth
  • 1/4 pound dry spaghetti, broken into thirds (2-ounces of pastina works great also)

Direction:

  1. Over medium-high heat, in a large, heavy saucepan, heat oil for 30 seconds.  Reduce heat to medium, and add the onion, celery and carrots and cook for 5 minutes, until vegetables begin to soften, stirring frequently.
  2. Add the mushrooms and the seasonings and cook for an additional 3 minutes, stirring occasionally.
  3. Add the chicken pieces to the vegetable mixture and cook for 2 minutes.  Add the broth, lower the heat to medium-low and simmer for 30 minutes.
  4. Add the pasta to the soup and cook for 15 minutes.

Makes 6 servings.

Notes:  In step 3, you could replace the deli chicken with boneless and skinless chicken breasts that you’d poach in the broth for 30 minutes.  You’d then simply remove the cooked chicken from the soup and chop into bite-size piece that you’d return to the pot.  A neat variation to this soup is to add a 28-ounce can of chopped tomatoes at Step 3.
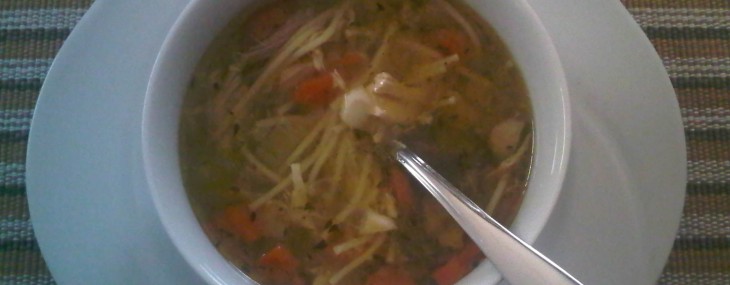
Pampano – Mexican Food to Say Ole About

Pampano – Mexican Food to Say Ole About

I lunched at Pampano this week and it was a super meal.  The space is appealing, the wait staff is attentive an unobtrusive and the food is tasty and creatively presented.

Guacamole

I started with the guacamole ($13) (can be spicy or not – ours was spicy) and it was delicious.  It featured tons of fresh cilantro and lime and the portion could have easily served four guests. The chips paired with it were a bit different but warm and crispy.

Pampano offers six variations of masterfully made ceviches that guests can order in single servings or combinations of three ($26) or four ($30).  I had the Ceviche Mariscos ($13) – a mix of shrimps, scallops and octopus, as part of the Prix Fixe menu ($28) and it was zesty from fresh lime with a kick of heat from serrano chile.

Enchiladas Nortenas

The lunch menu is quite extensive and features salads, soups, fish/seafood dishes and special platters.  On this recent visit, our entree selections were the Churrasco ($24), skirt steak with wild mushroom escabeche served over white bean puree  and the Enchiladas Nortenas ($16), tortillas filled with slow-cooked pulled pork and black beans served over chile pasilla sauce.  Both entrees were rich, flavorful and outstanding.

Pampano offers a couple desserts that clearly aren’t its forte, but are nonetheless enjoyable.  The Chocoflan was more cheesecake than flan, but the flavor was nice.

Award-winning chef/Owner Richard Sandoval does it well and I’ll definitely dine here again.

Pampano

209 East 49th Street

New York, NY 10017

212-751-4545

Reservations: http://www.opentable.com


Vanilla and Meyer Lemon Cupcakes

Vanilla and Meyer Lemon Cupcakes

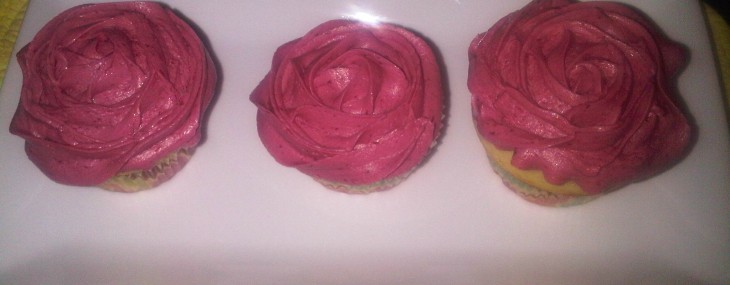
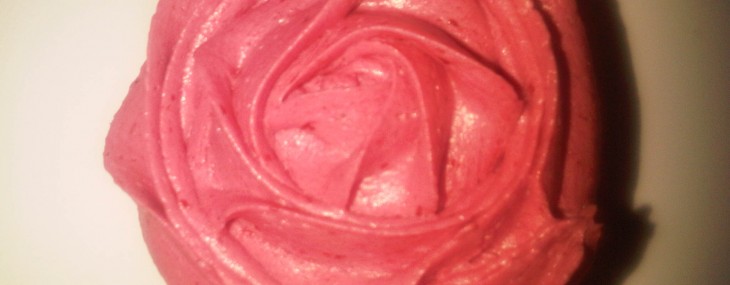
I got inspired to create these cupcakes after buying a bag of beautiful Meyer lemons at the market.  The pale yellow cupcake topped with the dark, bright blackberry frosting is not only gorgeous, it’s a refreshing and unusual combination of flavors.

Ingredients:

Cupcake Directions:

  1. Preheat oven to 350 degrees.
  2. Add 12 muffin paper liners to a 12-muffin pan.
  1. In the bowl of an electric mixer, cream the butter and sugar until light and fluffy, about 2 minutes. Add the eggs, one at a time, beating well after each addition. Scrape down the sides of the bowl as needed. Beat in the vanilla extract and lemon zest.
  2. In a separate bowl, combine the flour, baking powder, and salt.
  3. With the mixer on low speed, alternately add the flour mixture and milk, in three additions, beginning and ending with the flour. Scrape down the sides of the bowl as needed.
  1. Fill the muffin cups with batter. Bake for about 18 – 20 minutes or until a toothpick inserted into a cupcake comes out clean. Remove from oven and place on a wire rack to cool.
  2. Add some of the Simple Meyer Lemon Curd to a pastry bag fitted with a large tip.  Force the pastry tip into each cooled cupcake and fill with about a teaspoon of lemon curd.
  3. Add some of the Blackberry Buttercream Frosting to a pastry bag fitted with a large tip.  Pipe about 3 tablespoons of frosting onto each cupcake, creating a desired design.

Makes 12 cupcakes.

Notes: Inspiration for the cupcakes is from a Joy of Baking recipe I’ve used.  For extra cuteness, top each cupcake with a fresh blackberry.


Simple Meyer Lemon Curd

Simple Meyer Lemon Curd

Ingredients:

  • 1 cup granulated sugar
  • 3 eggs
  • 1/2 cup Meyer lemon juice (from about 3 lemons)
  • 1 tbsp Meyer lemon zest (from about 2 lemons)
  • 4 tbsp, 1/2 stick, butter, softened then cut into cubes

Directions:

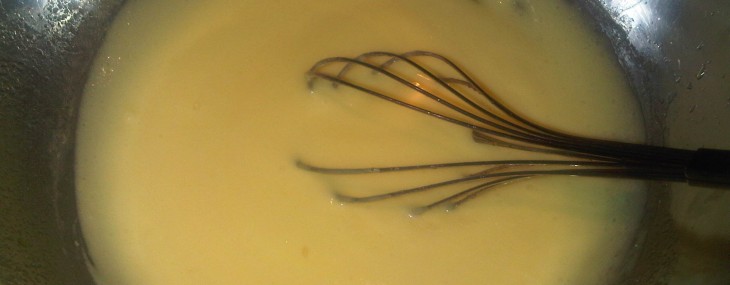
  1. In a bain-marie, or a metal bowl over a pot of barely simmering water, whisk the sugar, eggs and Meyer lemon juice. Cook, whishing constantly, until the mixture thickens, about 7-9 minutes.
  2. Carefully pour the mixture into a sieve and force through with the back of a spoon to ensure no curdled egg remains.
  3. Wisk butter cubes into the curd until completely melted. Add the Meyer lemon zest and stir to incorporate.
  4. Place a large piece of shrink wrap onto the surface of the curd and refrigerate until completely cooled, about an hour.
  5. Use as a glaze or filling for tarts or pies.

Notes: Curd will keep in the refrigerator for about 10 days.


Blackberry Buttercream Frosting

Blackberry Buttercream Frosting

Ingredients:

  • 10 ounce bag of frozen blackberries, thawed
  • 1 cup butter, softened
  • 1/2 cup shortening
  • 1 tbsp pure vanilla extract
  • 1 pound box powdered sugar

Directions:

  1. Using a blender, puree the blackberries.  Pass the puree through a sieve, discard the seeds left behind and set seedless puree aside.
  2. In the bowl of an electric mixer, cream the butter and shortening until fluffy, about 1 minute.
  3. Add the vanilla and the blackberry puree to the butter mixture and mix until homogenous, about 2 minutes.  Add the powered sugar, 1 cup at a time, until fully incorporated.
  4. Use to frost an 8-inch cake or 12 cupcakes.
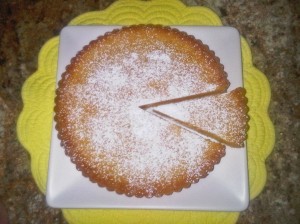
Meyer Lemon Tart

Meyer Lemon Tart

Meyer Lemon Tart

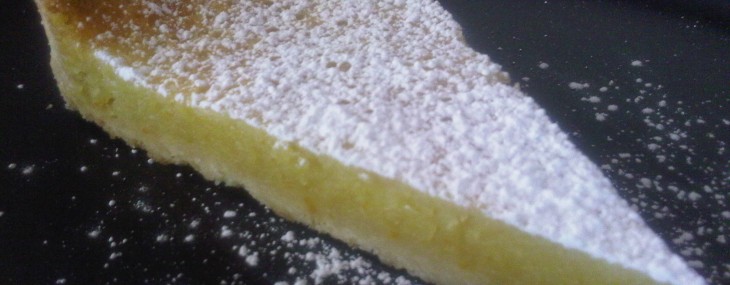
I got inspired to create this recipe after buying a bag of beautiful Meyer lemons at the market.  I combined the flavors of my Zesty Key Lime Tart with my family’s traditional lemon pie to create a refreshing, satisfying desert that’s simple to make yet beautiful to serve to company.

Ingredients

  • Juice from 2 Meyer lemons, about 1/2 cup
  • Peels from 2 Meyer lemons (okay to have some pith)
  • 1 1/2 cups granulated sugar
  • 1 stick, 8tbsp butter, cut into cubes
  • 4 eggs
  • 2 tbsp cornstarch
  • 1/2 tsp salt
  • 9-inch tart crust, pre-baked

Directions

  1. Preheat the oven 350 degrees.
  2. In the bowl of a food processor, add lemon juice, lemon peels, sugar and butter. Run the processor until the lemon peels are fully pureed, about 2 minutes. Add the eggs, cornstarch and salt and pulse for about 30 seconds.
  3. Place the baked tart crust in its pan on a cookie sheet.  Pour the tart filling into the baked tart crust until nearly full, you may have leftover liquid that you can discard.
  4. Bake for 35 minutes, until no longer jiggly and until lightly golden.
  5. Allow to cool for 15 minutes then unmold tart.

Notes: Tart can be served at room temperature or chilled – I prefer chilled.  This recipe would be great with key limes also.


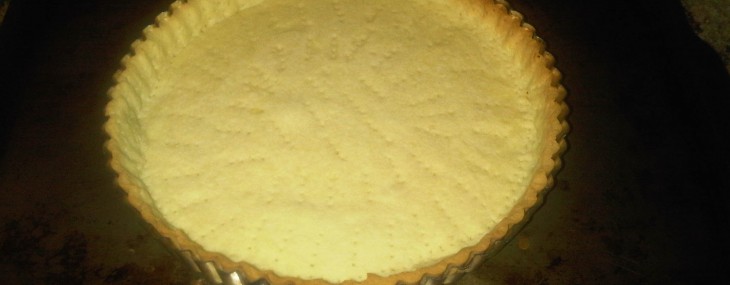
Simple Tart Crust

Simple Tart Crust

Tart Crust

Ingredients

  • 1/2 cup powdered sugar
  • 1 1/2 cups all-purpose flour
  • 1/2 teaspoon salt
  • 1 1/2 sticks, 12 tbsp, butter, frozen and cut into small cubes
  • 1 egg, slightly beaten

Directions

  1. In the bowl of a food processor, pulse the sugar, flour and salt. Add the butter cubes to the flour mixture and pulse until the butter is incorporated and looks like coarse oatmeal, about 30 seconds.  Add the egg and pulse for about 15 seconds to fully incorporate.
  2. Turn the dough out onto a large piece of shrink wrap and lightly knead the dough until all dry ingredients are incorporate – do not overwork the dough! Flatten the dough into a disk using the shrink wrap as a guide and chill in the refrigerator for an hour.
  3. Lightly coat a 9-inch tart pan with a removable bottom with cooking spray (could also butter).
  4. Place a large sheet of shrink wrap on a work surface, top with the chilled dough disk then cover the disk with a second piece of shrink wrap.  Using a rolling pin, roll out the dough into a 12-inch round (fear not if you get cracks at this stage).  Remove the top piece of shrink wrap and turn dough into the tart pan using the bottom piece of shrink wrap as an aid.  Remove the shrink wrap and press dough into the pan lightly with fingertips, repairing any cracks in dough. Trim overhanging dough with a sharp knife creating a clean edge.  Using a fork, dock the crust all over, including the edge.
  5. Freeze the crust for 30 – 60 minutes.  Preheat oven to 375 degrees.
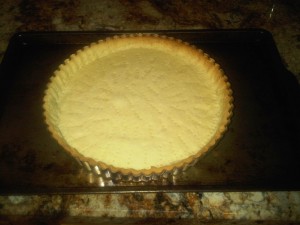
  6. Place the frozen tart pan on a cookie sheet and bake for 30 minutes, until lightly golden.  Using the back of a spoon, flatten any part of the crust that might have puffed out during baking.
  7. Fill the crust with your favorite topping.

5 Recipes to Treat Your Valentine To

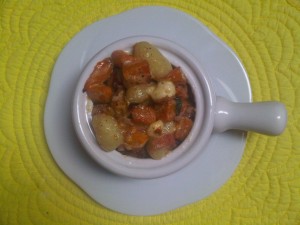
Gnocchi with Butternut Squash

Need some inspiration for a romantic meal this Valentine’s Day (or any old day)?  Thought I’d share some of the recipes I’ve made recently that have earned me rave reviews.

5 recipes to treat your Valentine to:

  1. Gnocchi with Butternut Squash and Bacon in Sage and Danish Blue Cheese Sauce
  2. Porcini Mushroom and Lobster Macaroni and Cheese
  3. Ragu alla Bolognese (Bolognese Sauce)
  4. Grilled Salmon in Grape Leaves
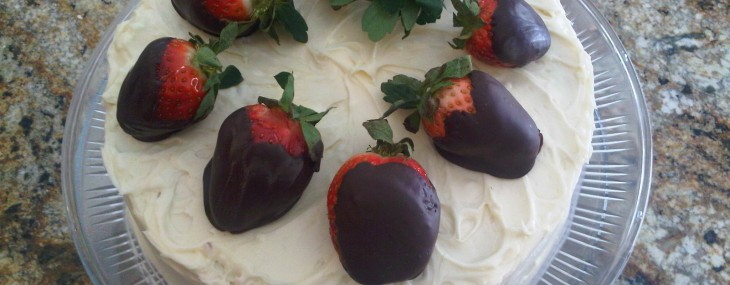
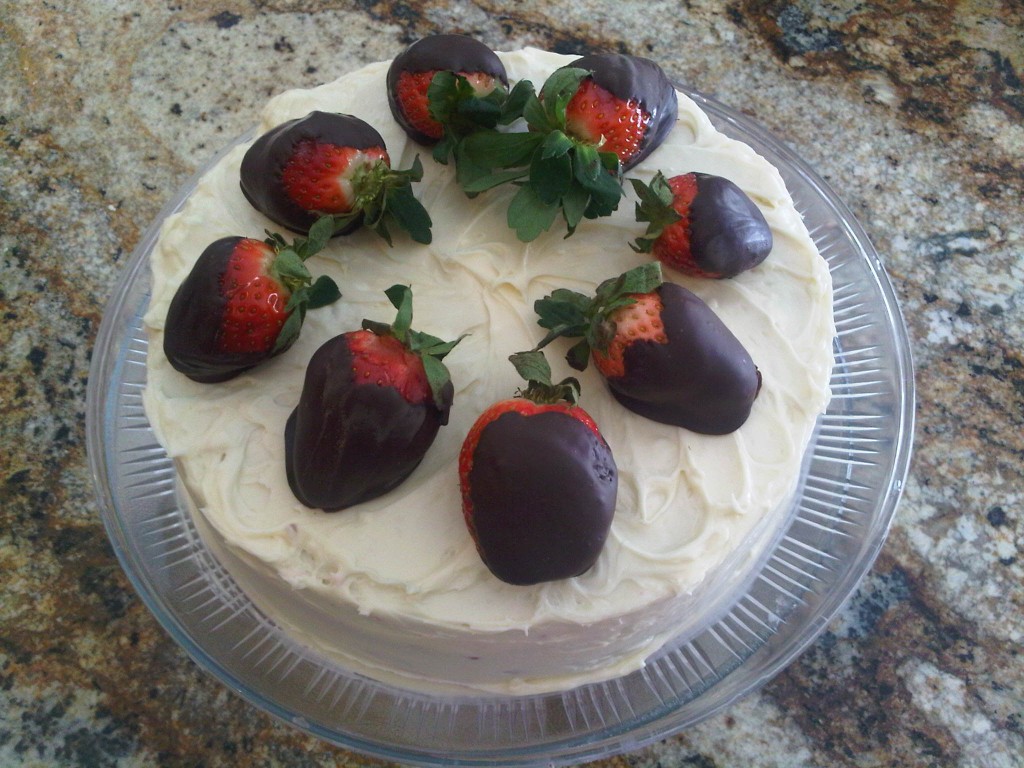
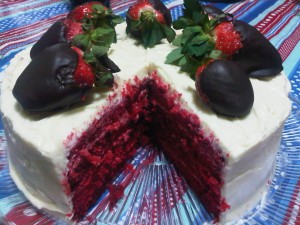
  5. Red Velvet Cake with Chocolate-Covered Strawberries

Whichever dish you decide to prepare for your loved one(s) this Valentine’s Day, I hope your meal is paired with love.

Veronique

Red Velvet Cake with Chocolate-Covered Strawberries

Red Velvet Cake with Chocolate-Covered Strawberries

Red Velvet Cake with Chocolate-Covered Strawberries

There are many theories as to the true origin of the Red Velvet Cake.  Whether you believe it to be a southern traditional devil’s food cake tinted red with beet juice, a northern one dating back to the 1950s when Pillsbury Bake-Off contests were held at the Waldorf-Astoria and where the cake was possibly introduced or one first served at Eaton’s department store, and named Lady Eaton, in Canada, one thing is certain, this cake is loved by all.

My first try at this cake dates back to the early 1990s when I realized someone had switched the tiny bottle of red food coloring with a green one in a kit of four mini bottles.  This left me with only one small red bottle that resulted in my cake being Pepto-Bismol pink.  These days, one can find red food coloring in 1-ounce bottles that simplify the process.

Red Velvet Cake Ingredients

Ingredients:

  • 2 1/2 cups cake flour
  • 1 tsp salt
  • 1 tsp baking powder
  • 2 tbsp unsweetened cocoa powder
  • 2 ounces red food coloring
  • 1 1/2 cups granulated sugar
  • 1/2 cup (1 stick) butter, at room temperature
  • 2 large eggs, at room temperature
  • 1 tsp pure vanilla extract
  • 1 cup buttermilk
  • 1 tsp white vinegar
  • 1 tsp baking soda

Directions:

  1. Preheat oven to 350 degrees. Using cooking spray or a bit of softened butter, coat two 9-inch round cake pans.
  2. In a medium bowl, combine the flour, salt and baking powder.
  3. In a small bowl, blend the food coloring and cocoa powder with a teaspoon to create a smooth mixture.
  4. In the bowl of an electric mixer, cream the sugar and the butter until light and fluffy, about three minutes, scraping down the sides of the bowl with a rubber spatula every minute.
  5. Add the eggs to the butter mixture, one at a time, mixing well after each one.
  6. Add the food coloring mixture and mix well, about 1 minute, scraping down the sides of the bowl with a rubber spatula.
  7. Add half of the flour mixture to the creamed butter mixture, then add half of the buttermilk. Add the rest of flour mixture, then the rest of the buttermilk.  Be sure to scrape down the sides of the bowl with a rubber spatula to ensure the batter in completely blended without white streaks of batter.
  8. In a small bowl, combine the vinegar and the baking soda with a teaspoon to form a bubbly mixture.   Add the mixture to the cake batter and stir gently until just combined.
  9. Pour half of the batter evenly in each cake pans and place them in the preheated oven. Bake for 25-30 minutes.
  10. Cool the cakes in their pans for 10 minutes then remove the cakes from the pans and allow to cool completely on wire racks.
  11. Using a serrated knife, slice each cake in half horizontally.  Place one of the 4 cake slices on a large platter or cake stand, and cover with a thin layer (about 1/2 cup) of Cream Cheese Frosting using an offset spatula or butter knife.  Repeat process with the remaining 3 slices, ensuring that the top layer is the flattest slice – this will ensure a smooth surface for the finished cake.
  12. Crumb coat the entire cake with a thin layer of frosting (about a cup) then refrigerate for 30-60 minutes.  Finish frosting the cake with the rest of the frosting then refrigerate.  Serve within a day at room temperature.

Notes: To be extra festive, I dipped large strawberries into 3 ounces of dark chocolate that I microwaved in a small bowl for 90 seconds, stirring every 30 seconds.

Super Simple Cream Cheese Frosting

Super Simple Cream Cheese Frosting

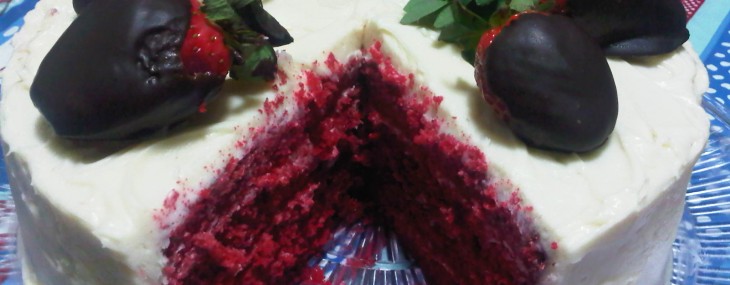
Red Velvet Cake Inside

This cream cheese frosting is simple to make and is perfect on a carrot cake or a red velvet cake.

Ingredients:

  • 1/2 cup (1 stick) butter, at room temperature
  • 16 ounces (2 8-ounce packages) cream cheese, at room temperature
  • 1 tsp pure vanilla extract
  • 3 cups powdered sugar, sifted

Directions:

  1. In the bowl of an electric mixer, cream the butter and cream cheese until light and fluffy, about 3 minutes, scraping down the sides of the bowl with a rubber spatula every minute.  Incorporate the vanilla.
  2. Turn off the mixer and add the powdered sugar.  Turn mixer on low and blend until the powdered sugar has been incorporated, about 2 minutes, again scraping down the sides of the bowl with a rubber spatula.
  3. Use the frosting right away or refrigerate, covered, until ready to use.  To use refrigerated frosting, bring to room temperature then stir thoroughly using a wooden spoon.

Yield: This frosting can cover a 2-tier, 9-inch cake or 24 cupcakes.