Chocolate Chip and Butterscotch Banana Bread

Chocolate Chip and Butterscotch Banana Bread

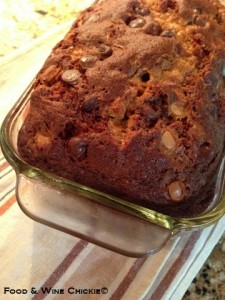
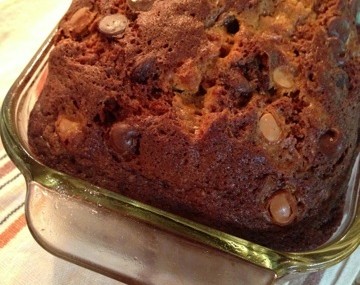
Baked BreadI’m not sure why, but seeing overripe bananas and having to toss them hurts me. I’m also not sure why, but spending $10 on ingredients required to make banana bread to save $0.50 worth of bananas doesn’t bother me at all.

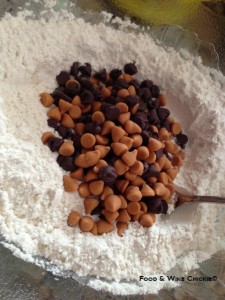
Chips and Flour

Chips and Flour

This banana bread is gilded with chocolate and butterscotch chips that give the plain version a major facelift. The resulting product is moist and chocolaty.

Ingredients:

  • ¾ cup butterscotch chips
  • ¾ cup miniature semisweet chocolate chips
  • 1 ¾ cups all-purpose flour
  • 1 ½ tsp. baking soda
  • ¾  tsp. Kosher salt
  • 3 large eggs, at room temperature and lightly beaten
  • ¾ cup firmly packed light brown sugar
  • 2/3 cup sugar
  • 3 overripe bananas, mashed
  • 2/3 cup vegetable oil
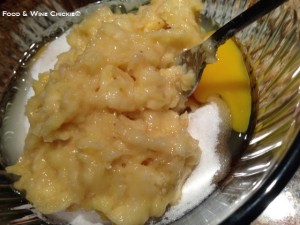
Banana Mixture

Banana Mixture

Directions:

  1. Preheat the oven to 350 degrees. Butter or coat a 9-by-5 loaf pan with nonstick spray.
  2. Combine the butterscotch and chocolate chips in a small bowl. Set 3 tablespoons of the mixture aside for later use.
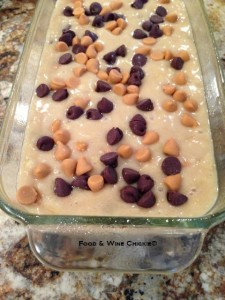
  3. Bread Batter

    Bread Batter

    Sift the flour, baking soda and salt in a medium bowl. Leaving the 3 tablespoon of chips out, add the remaining chips to the flour and toss to coat.

  4. Using a wooden spoon, combine the eggs, brown sugar, sugar, banana and oil in a larger bowl. Add the dry ingredients to the banana mixture and combine gently making sure to not over-mix. Pour the batter into the prepared pan. Sprinkle the remaining chips on the surface of the batter.
  5. Bake 60 minutes or just until a toothpick comes out mostly crumb-free when inserted in the center of the loaf. Cool on a rack for 30 minutes, then unmold and cool completely.
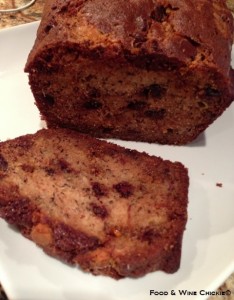
Sliced BreadNotes: Bread may be stored at room temperature up to 3 days wrapped airtight in plastic wrap. May be frozen, well-wrapped, up to 1 month. Defrost overnight in the refrigerator.

Servings: 8

Adapted from this The Daily Meal recipe.
Grilled Salmon Caprese Salad

Grilled Salmon Caprese Salad

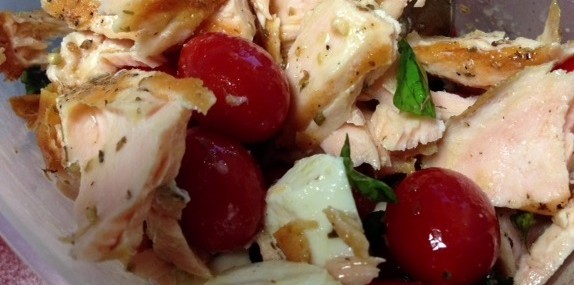
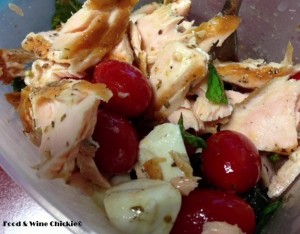
Salmon Caprese SaladThis week, I posted a picture of a light lunch I’d made for myself and I received so many requests for the recipe that I thought I’d do a quick recap.

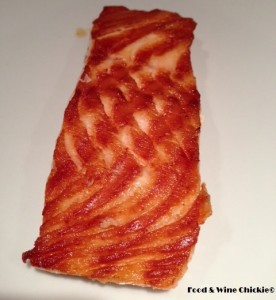
Seared Salmon

Seared Salmon

First of all, this isn’t really a “recipe”, it’s more of a tasty idea for a quick and easy summer salad. I like to grill a few salmon filets and used them in salads to help me have something of sustenance while on my silly low-carb diet. It’s also a great way to use up all those tomatoes in your gardens come late summer.

Ingredients:

  • 6-ounce salmon filet, skin on one side
  • 1 Tbsp vegetable oil
  • Big pinch of salt and pepper for the salmon
  • ¼ cup olive oil
  • 4 Tbsp. red wine vinegar
  • ½ Tbsp. Dijon mustard
  • ½ tsp. each salt, pepper and Oregano
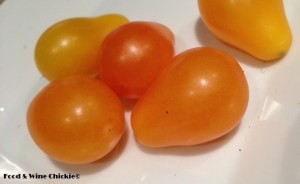
  • 20 pear or cherry tomatoes, halved or 2 medium-sized tomatoes, cut into bite-size chuncks
  • 10 Bonconcini fresh Mozzarella balls halved or a couple slices of fresh Mozzarella, cubed


Grape Tomatoes

Grape Tomatoes

Directions:

  1. Coat the salmon with oil then rub the salt and pepper over it.
  2. Heat a medium skillet over medium-high heat and place the salmon, flesh-side down, in it. Cook without disturbing for 3 minutes. Carefully flip the fish with a thin spatula and cook skin-side down for 4 minutes. Set aside to cool for 15 minutes and refrigerate wrapped in foil for up to a day if not using right away.
  3. In a glass jar with a tight-fitted lid, add the ¼ cup of oil, the vinegar, the mustard and the remaining salt, pepper and the Oregano. Close the lid and shake vigorously. Alternatively, whisk all the ingredients in a small bowl. Refrigerate for up to 3 days if not using right away.
  4. In a serving bowl, add the tomatoes, cheese and the vinaigrette. Combine gently. Using your fingers, break off bite-size pieces of salmon into the bowl. Toss the salmon with the other ingredients gently. Serve at once.

Makes one serving.

Ingredient Spotlight – Spaghetti Squash

Ingredient Spotlight – Spaghetti Squash

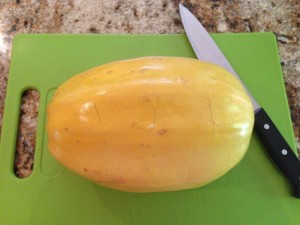
Spaghetti Squash

Spaghetti Squash

I’ve been on a low carbohydrate diet for a few weeks and one of the things I miss most is a big bowl of spaghetti Bolognese. I’ve been reluctant to try making this dish with spaghetti squash instead, but was pleasantly surprised when I finally caved and did just that over the weekend.

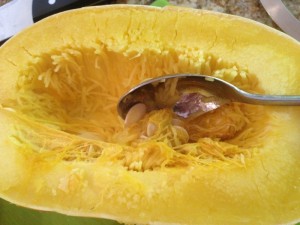
Remove Seeds

Remove Seeds

About Spaghetti Squash (Cucurbita Pepo):

  • Although it’s harvested in the fall, spaghetti squash can keep for up to 6 months in a cool place. That’s how we find it at the market year-around.
  • When cooked, the spaghetti squash’s flesh becomes strand-like much like spaghetti, hence its name.
  • Spaghetti squash seeds can be roasted just like pumpkin seeds.
  • Spaghetti squash is full of folic acid, vitamin A, potassium and beta carotene (especially in orange varieties).
  • It’s low in calories at about 40 calories per cup.
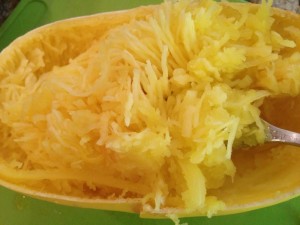
Pull Strings with Fork

Pull Strings with Fork

Here’s a fail-proof way of cooking spaghetti squash:

  1. Pierce through the flesh of the squash in about 10 places with a sharp, thin blade knife.
  2. Place a double layer of paper towel in the microwave and place the squash on them.
  3. Microwave for 12 minutes (for medium-sized squash), rotating every few minutes if your oven doesn’t have a rotating plate. Allow to cool for 5 minutes before attempting to handle.
  4. Cut the squash long ways.
  5. Using a spoon, remove the seeds and save them for roasting.
  6. Using a fork, pull strings of squash flesh away from the outer skin. Place the “spaghetti” in a bowl for intended use.
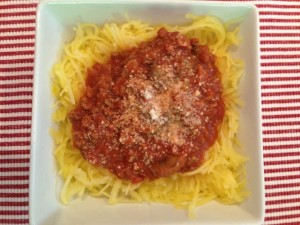
Spaghetti Squash with Meat Sauce

Spaghetti Squash with Meat Sauce

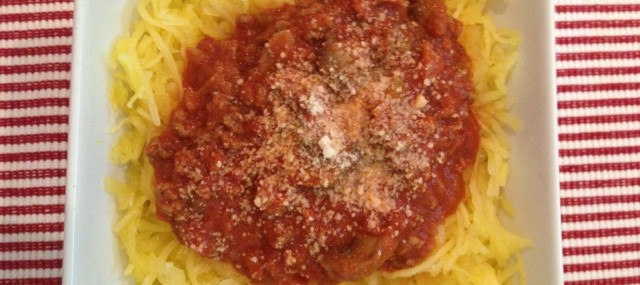
Since I had a major craving for meat sauce, I topped my squash spaghetti with traditional Quebec Meat Sauce I’d defrosted. YUM!!!!!!!

Have you had this fruit and if so, what’s your favorite way to enjoy it?

Veronique

No-Bake Blueberry Cheesecake

No-Bake Blueberry Cheesecake

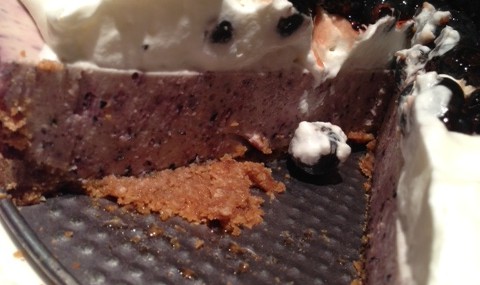
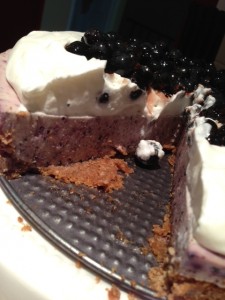
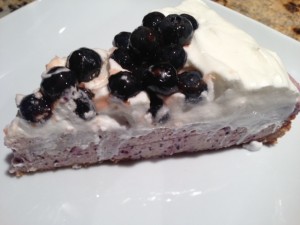
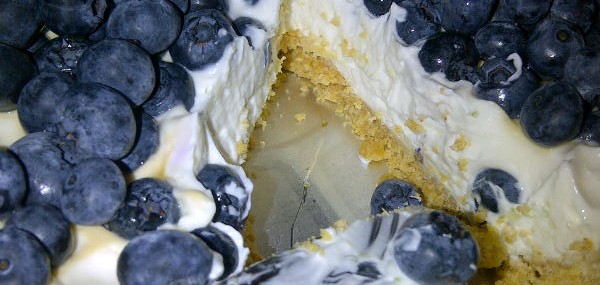
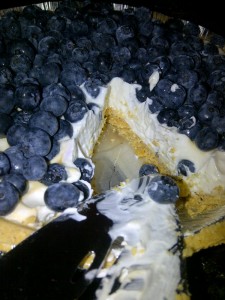
Cheesecake 2When I saw this beautiful dessert from the July 2003 issue of Bon Appetit, I knew it would be perfect for me Memorial Day barbecue. I’ve made some changes to the recipe and it’s light, pretty and delicious. I had the perfect quantity of blueberries from a giant container from my local Costco.

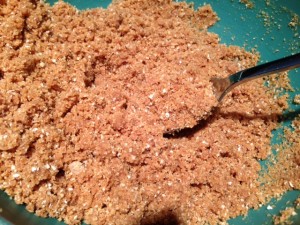
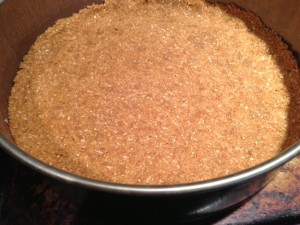
Crust with Butter

Crust with Butter

Crust Ingredients:

  • 9 whole Graham crackers or 1 ¼ cups Graham cracker crumbs
  • ½ cup old-fashioned oats (I used 2 envelopes of instant oatmeal and it was fine)
  • 3 Tbsp. brown sugar
  • 1/8 tsp. salt
  • 5 Tbsp. butter, melted
  • 1 tsp. pure vanilla extract

Filling Ingredients:

  • 1/4 cup water
  • 2 envelopes of unflavored gelatin (about 1 tablespoon)
  • 12-ounces cream cheese, softened
  • 1 cup heavy whipping cream
  • 1 cup granulated sugar
  • 1 Tbsp. freshly-squeezed lemon juice
  • 3 cups fresh blueberries
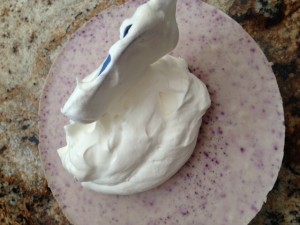
Whipped Cream Over Cheesecake

Whipped Cream Over Cheesecake

Topping Ingredients:

  • 1 cup chilled heavy whipping cream
  • 1 Tbsp. granulated sugar
  • 2-3 cups blueberries
  • 2/3 cup blueberry or strawberry jam
Crust Baked

Crust Baked

Crust Directions:

  1. Preheat oven to 350°F.
  2. Pulse first 4 ingredients in a food processor until mixture is finely ground.
  3. Add butter and vanilla to the crumb mixture and pulse a few times until moist crumbs form.
  4. Press crumb mixture onto bottom and 1 inch up sides of 9-inch-diameter springform pan. Bake crust until deep golden brown, about 12 minutes. Cool.
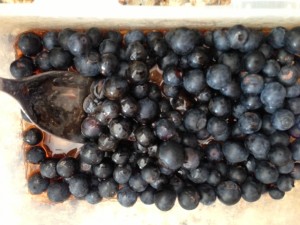
Blueberries with Jam

Blueberries with Jam

Filling Directions:

  1. Pour 1/4 cup water into small saucepan and sprinkle gelatin over. Let stand 10 minutes.
  2. Stir over very low heat just until gelatin dissolves. Set aside.
  3. Blend cream cheese, cream, sugar, and lemon juice in a food processor until smooth. Add blueberries and puree until smooth with some blueberry bits, about 20 seconds.
  4. With food processor running, add warm gelatin mixture through feed tube and blend well.
  5. Pour filling into crust. Cover with plastic wrap and chill overnight. (Can be made 2 days ahead).
  6. Run knife around pan sides to loosen cake. Release pan sides. Transfer to platter.

Cheesecake 1Topping Directions:

  1. In the bowl of an electric mixer, beat cream and sugar until firm peaks form.
  2. Spread cream mixture thickly over top of cheesecake.
  3. Place blueberries in a medium bowl.
  4. Heat jam in microwave for 20 seconds or until just melted.
  5. Pour jam over blueberries and toss to coat. Mound coated blueberries in center of cream, leaving 1-inch plain border. Chill cake at least 1 hour and up to 1 day.

Serves 10.

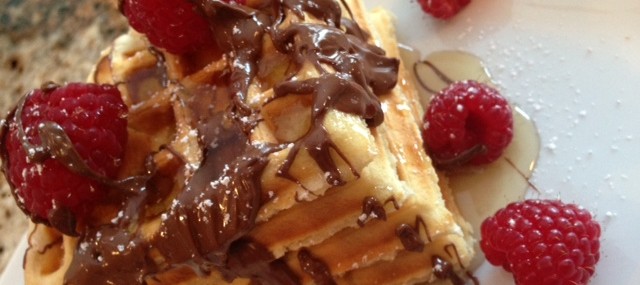
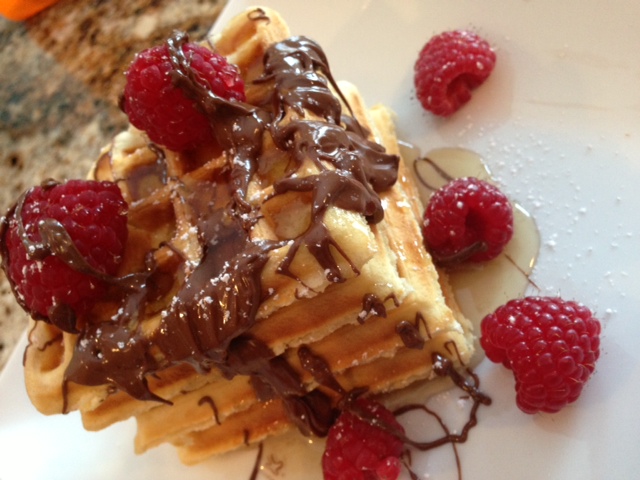
Waffles with Raspberries and Nutella

Waffles with Raspberries and Nutella

WafflesThis waffle batter is super easy and makes four huge waffles. This nice part, it’ll keep in the refrigerator for up to a week if you only need to make two on Sunday morning.

Ingredients:

  • 2 eggs
  • 2 cups all-purpose flour
  • 4 tsp. baking powder
  • 2 Tbsp. granulated sugar
  • ¼ tsp. salt
  • 1½ cups milk
  • ¼ cup heavy cream
  • ½ cup vegetable oil
  • 1 tsp. pure vanilla extract
  • ¼ cup Nutella
  • ¼ cup pure maple syrup
  • ½ cup fresh raspberries (or other berries)
  • Powdered sugar for dusting (optional)

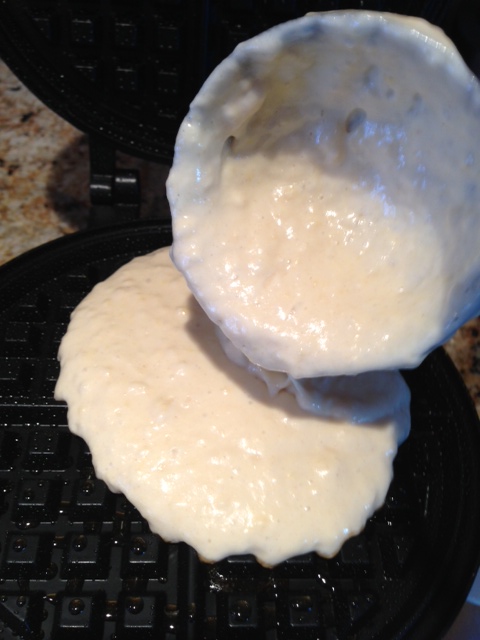
Waffle BatterDirections:

  1. Preheat waffle maker.
  2. In the bowl of an electric mixer, beat the eggs until light and fluffy, about 1 minute. Add the flour, baking powder, sugar, salt, milk, vegetable oil and vanilla to the eggs and mix until just combined, about 20 seconds. No worries, there will be some lumps.
  3. Coat the waffle maker with cooking spray. Pour a ladle of batter onto the hot waffle maker and cook until golden brown. Repeat with more waffles.
  4. Microwave the Nutella and drizzle over the waffles. Drizzle maple syrup and top with raspberries and a dusting of powdered sugar, if using.

Makes 4 waffles

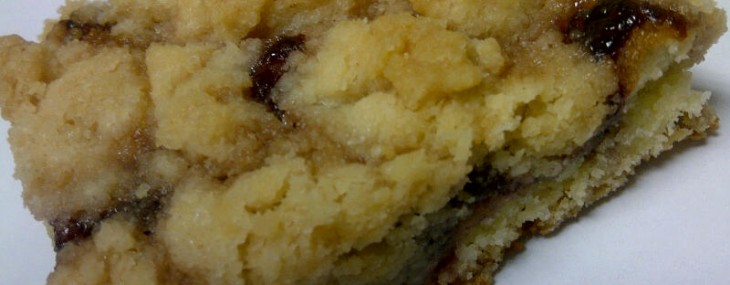
Raspberry Crumb Bars

Raspberry Crumb Bars

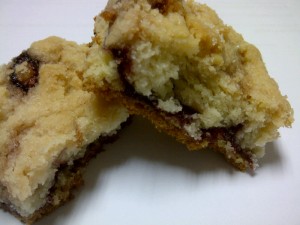
I am always excited when someone sends me a recipe that I am allowed to publish and share with you. This super simple and delicious recipe comes from my Marketing Intern, Kayla, who bakes these bars and brought them to work last week. This recipe is her Grand-Mother’s.

Crust Ingredients:

  • 1 ½ sticks of butter, softened
  • 2 eggs
  • 1 cup granulated sugar
  • 1 tsp. baking powder
  • 1 tsp. pure vanilla extract
  • 2 cups all-purpose flour
  • 18-ounce jar of high-quality raspberry jam

Crust Directions:

  1. In the bowl of an electric mixer, cream the butter until light and fluffy, about 2 minutes.
  2. Gradually add the sugar to the butter until incorporated.
  3. Add the eggs, one at a time, beating well after each one.
  4. Add the vanilla.
  5. Add the baking powder to the flour then incorporate the flour into the butter mixture, a half cup at a time, until just combined. Do not overmix.
  6. Pat the crust onto the bottom and a bit up the sides of a greased, 13×9 pan.
  7. Spread the jam over the crust. Set aside.

Crumb Topping Ingredients:

  • 2 sticks of butter, softened
  • 3 cups all-purpose flour
  • 1 ½ cups granulated sugar

Crumb Topping Directions:

  1. Preheat oven to 350 degrees.
  2. Combine the ingredients in a large bowl using fingertips. When butter has been mostly incorporated with the dry ingredients, crumble the topping over the raspberry jam in the pan.
  3. Bake for 45 minutes or until golden brown.

Makes about 18 bars.

Quick and Easy Greek Yogurt Blueberry Pie

Quick and Easy Greek Yogurt Blueberry Pie

I typically try not to cut corners when I bake, but in a bind, like when I am on vacation and do not want to cut into my pool time, a store-bought Graham cracker crust is a suitable alternative to the real thing.

This easy pie can feature any berries that are in season. Using fresh fruit is pretty critical, but frozen whole berries that are properly thawed could be used when no fresh fruit is available.

Ingredients:

  • 1 17.6-ounce container of plain Greek yogurt
  • 8-ounce container of whipped cream cheese
  • Zest of ½ lime
  • ¼ cup plus 1 tbsp. pure maple syrup
  • 2 cups of blueberries
  • 9-inch Graham cracker crust

Directions:

  1. In a medium bowl, combine the Greek yogurt, the cream cheese, the lime zest and the ¼ cup maple syrup.  Set aside (can be made up to 4 hours prior to assembling the tart if kept refrigerated).
  2. Poor the yogurt mixture over the cracker crust forming an even layer.  Gently add the blueberries over the yogurt layer and spread evenly to completely cover the yogurt. Drizzle the remaining maple syrup over the berries and refrigerate until ready to serve.

Serves 8.

Lemon Butter Sauce

This lemon butter sauce is ideal served over pan-roasted chicken, with grilled shrimp of simply boiled lobsters.

Ingredients:

  • ½ pound (2 sticks) salted butter
  • Juice of 3 lemons
  • ¼ cup heavy cream

Directions:

  1. Bring the butter to a simmer in a medium heavy pan over medium-low heat.  Cook for 3-4 minutes until the milky solids have mostly evaporated.
  2. Add the lemon juice and reduce heat to low.  Whisk in the cream and keep warm until ready to serve.

For best results, serve in a small dish over a candle burner to keep warm.


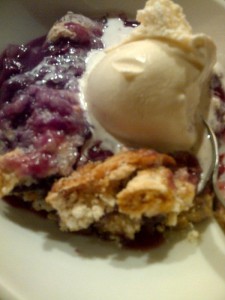
60 Second Mixed Berry Cobbler

60 Second Mixed Berry Cobbler

Like many of you, I’m a huge fan of Pinterest (http://pinterest.com/foodwinechickie/).  I love getting home remodeling ideas, learning about new wines, looking at gorgeous travel photos and of course, checking out new recipes.

Last week, I found a recipe so ridiculous yet brilliant that, although I’m embarrassed to publish it, I couldn’t help but do so because it takes 60 seconds to prepare and it’s really pretty good.

Ingredients:

  • 2 16-ounce bags frozen mixed berries
  • 1 box white or vanilla cake mix
  • 1 12-ounce can lemon-lime soda (I used Sprite)

Directions:

  1. Preheat oven to 350 degrees.
  2. Coat a 13×9 pan with cooking spray.
  3. Place the frozen berries in the pan in an even layer.
  4. Sprinkle the dry cake mix over the berries.
  5. Pour the soda over the cake mix WITHOUT stirring.
  6. Bake for 45 minutes and serve with vanilla ice cream.

Notes:  You can switch the type of berries you use or try the cobbler with frozen peaches.


Maple White Sangria

Maple White Sangria

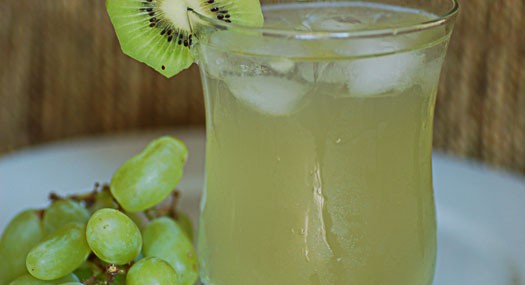
In my spring quest for maple recipes, I was thrilled to get a cocktail recipe from my sister featuring the sweet sap as an ingredient.  What a great way to kick off the chilled cocktail season!

Ingredients:

  • 1 bottle of dry white wine
  • ½ cup pure maple syrup
  • 1 lemon, sliced
  • ½ honeydew melon either cubed or balled with a melon baller
  • 24 green seedless grapes
  • 2 kiwis, peeled and sliced
  • 1 cup Vodka
  • 2 cups soda water

Directions:

  1. In a large pitcher, combine all the ingredients.  Allow fruit to permeate the liquids for at least an hour.  Served in ice-filled glasses.

Yields 6 cocktails.