Blueberry Croissant French Toast Casserole

I love a recipe you can prep in advance that doesn’t require a lot of work once my guests arrive. Just love spending time with my guests vs having them speak at my back while I’m making food.
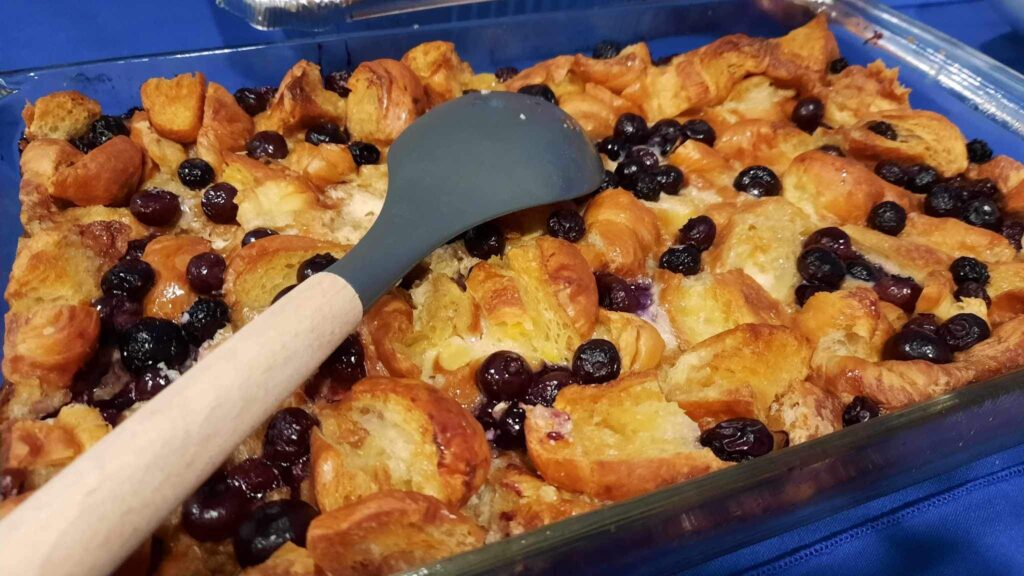
One such recipe is this Blueberry French Toast Casserole that’s prepared the evening prior to your brunch and pop in the oven to bake while you’re entertaining.

It’s blueberry season now so I’m using that berry, but this dish is also great with sliced strawberries or blackberries. I use Quebec maple syrup but use any good quality syrup. I like making this with buttery croissants, but brioche of challah bread would be great also.

Ingredients:

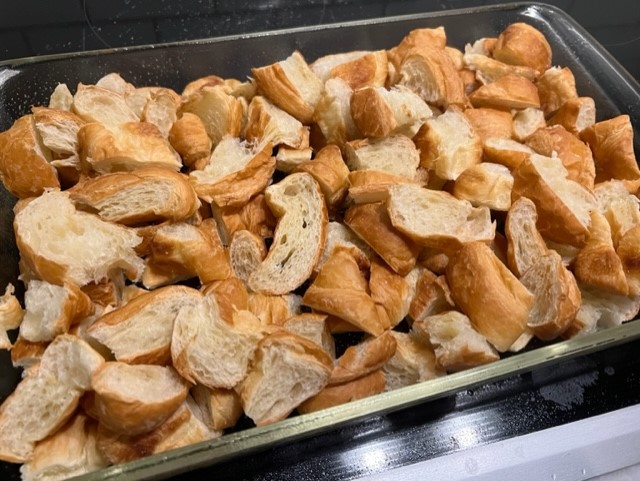
  • 12 cups croissants torn into bit size pieces (about 10 medium sized croissants)
  • 10 large eggs
  • 1 cup heavy cream, plus more for serving
  • 1 cup milk (not low-fat)
  • 1 Tbsp. pure vanilla extract
  • 1 tsp. ground cinnamon, optional
  • 2/3 cup light brown sugar
  • 1 1/2 cups blueberries
  • 1/2 tsp. lemon zest, optional
  • 1/2 cup maple syrup, plus more for serving
  • 2 Tbsp. confectionary sugar, optional
Directions:

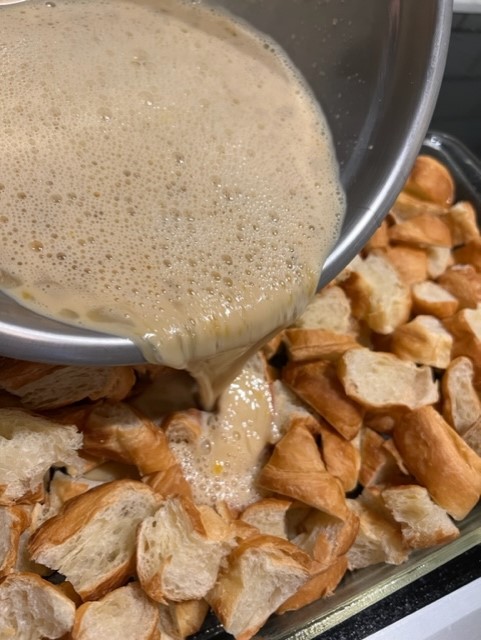
  1. Butter or coat with cooking spray a 9″x13″ baking dish. Add the croissants pieces to the casserole. It might seem like a lot of croissants, but after they soak into the custard overnight, the mixture will shrink some.
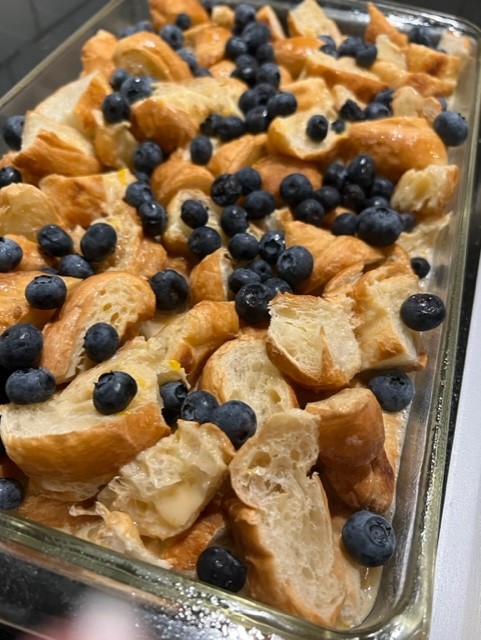
  2. In a large bowl, combine eggs, 1 cup of cream, milk, vanilla extract, cinnamon (if using), and brown sugar. Whisk the mixture until fully blended, about 1 minute. Pour the mixture over the croissant pieces and push down on the croissant with a spatula to ensure all the pieces are soaking into the custard.
  3. Add the blueberries, lemon zest (if using) and drizzle with the maple syrup.
  4. Cover the baking dish with plastic wrap, or foil, and place in the refrigerator overnight or for at least 5 hours.
  5. When ready to bake, turn oven on to 350 degrees F, allow to preheat then place the casserole in the oven and bake for 40 minutes, or until the casserole top is golden brown (see pics for reference).
  6. Remove from the oven and allow to cool for 5-10 minutes before serving. Dust with confectionary sugar, if using.
  7. Serve with additional maple syrup and a drizzle of cream.

Makes 10 servings.

Cheers,

Veronique
Mom’s Strawberry Muffins

Mom’s Strawberry Muffins

My mom, who lives in Quebec, Canada, is so cute. Over the years, she’s learned that I need to see photos of the food she cooks. No photos…it didn’t happen!

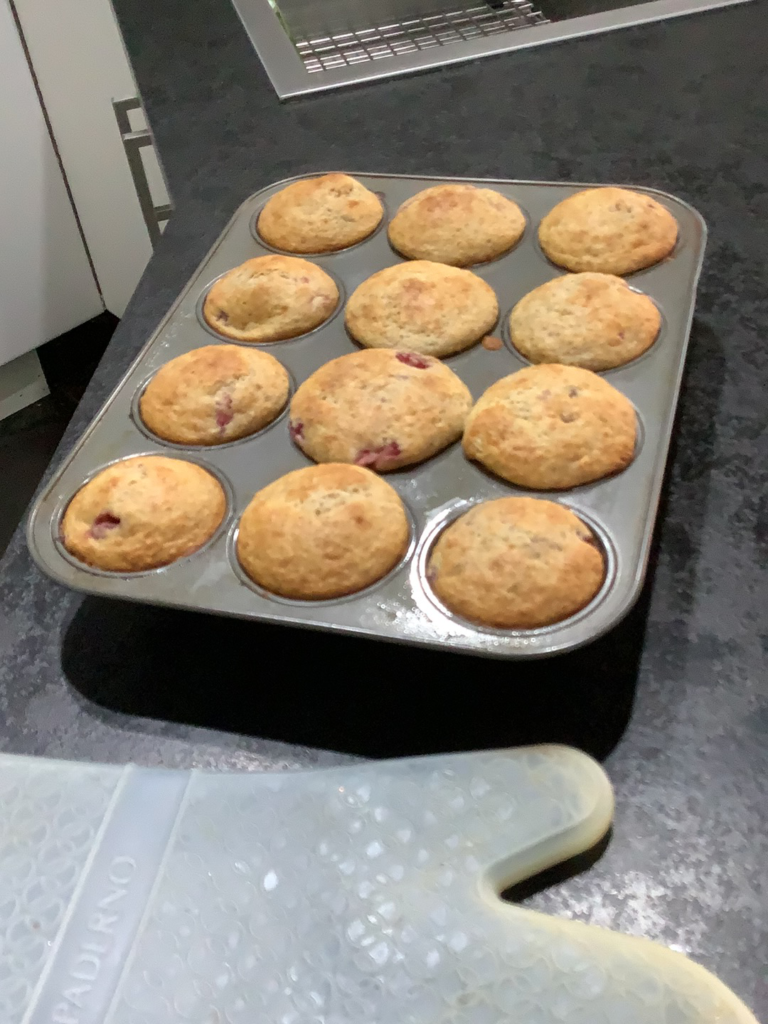
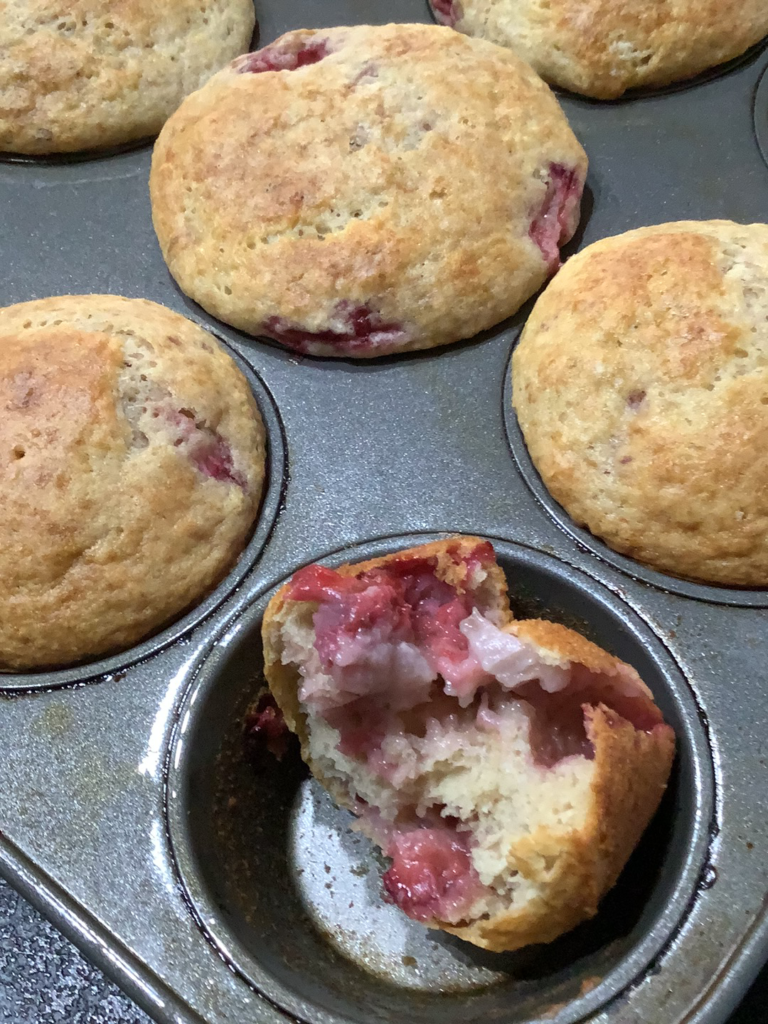
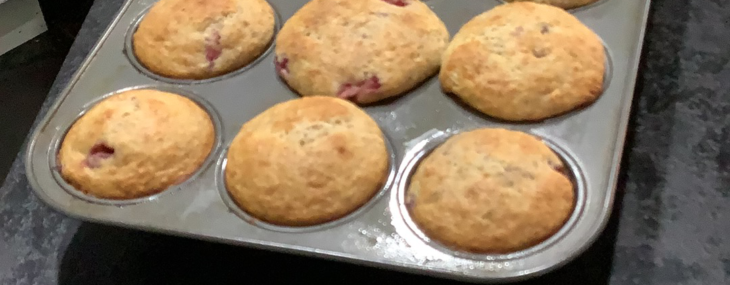
Today, she baked strawberry muffins that she made using fresh strawberries she’d frozen last summer for such a recipe. I had her take three different photos of the muffins and she complied and now I can share the recipe and her images with you.

This easy muffin recipe can also be made using raspberries, blackberries or blueberries.

Fresh out of the oven!

Ingredients:

  • 2 1/3 cups all-purpose flour
  • ¾ cup granulated sugar
  • ¼ cup brown sugar
  • 2 ½ tsp. baking powder
  • 1 cup strawberries, either fresh or frozen then thawed, diced into small pieces
  • 1 cup milk
  • 1/3 cup vanilla yogurt
  • 1 large egg, beaten
  • 1 tsp. pure vanilla extract
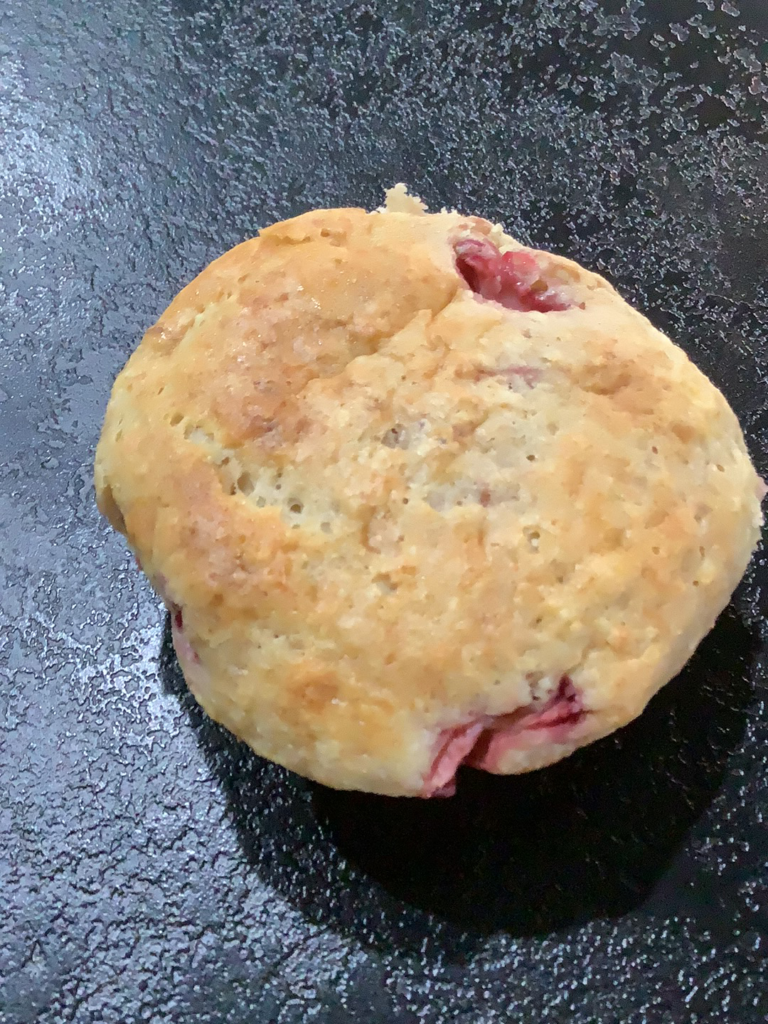
Just want to cut into it!
Look at the juicy strawberries!

Directions:

  1. Preheat oven to 400 degrees.
  2. Either coat in cooking spray a 12-muffin tin or add paper liners.
  3. In a medium bowl, combine the flour, sugars and the baking powder. Carefully add the strawberry pieces and set aside.
  4. In a separate medium bowl, whisk together the milk, yogurt, egg and vanilla extract.
  5. Pour the liquid mixture over the dry ingredients and carefully incorporate with a spatula or wooden spoon – don’t overmix!
  6. Fill the muffin cups until about 2/3 full and bake until the muffin tops are golden brown and no longer wet on the inside when a wooden toothpick is inserted, about 20 minutes.
  7. Allow to cool 10 minutes before unmolding (if not using the paper liners).

Yields 12 muffins.

Easy Fluffy Pancakes

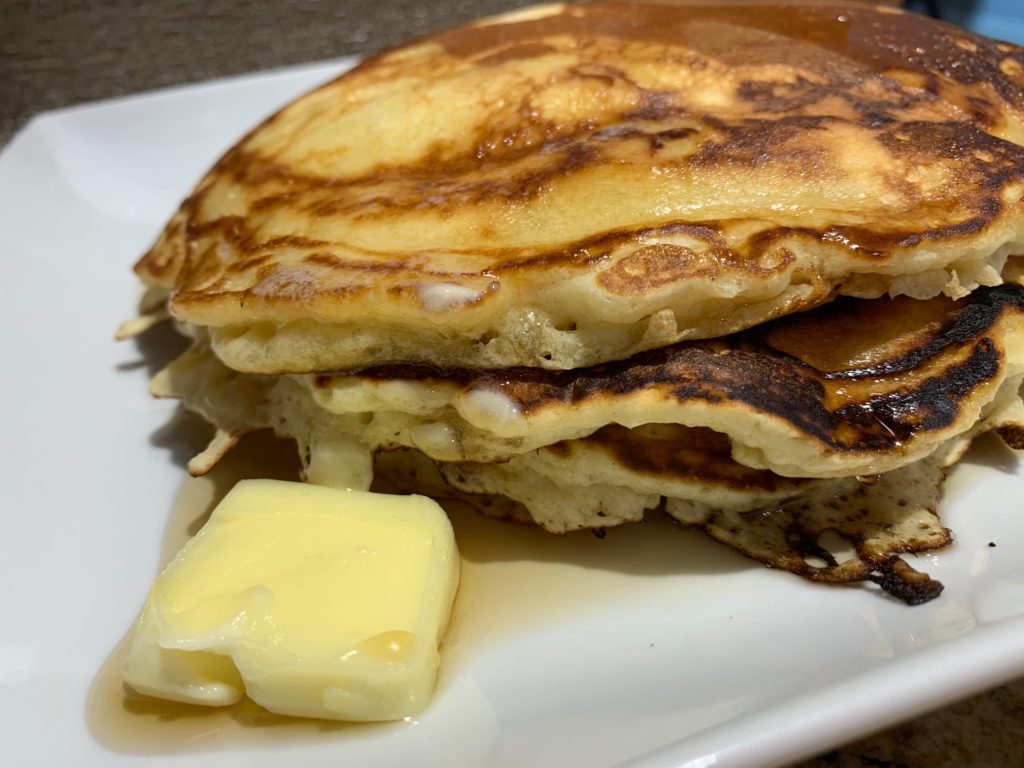
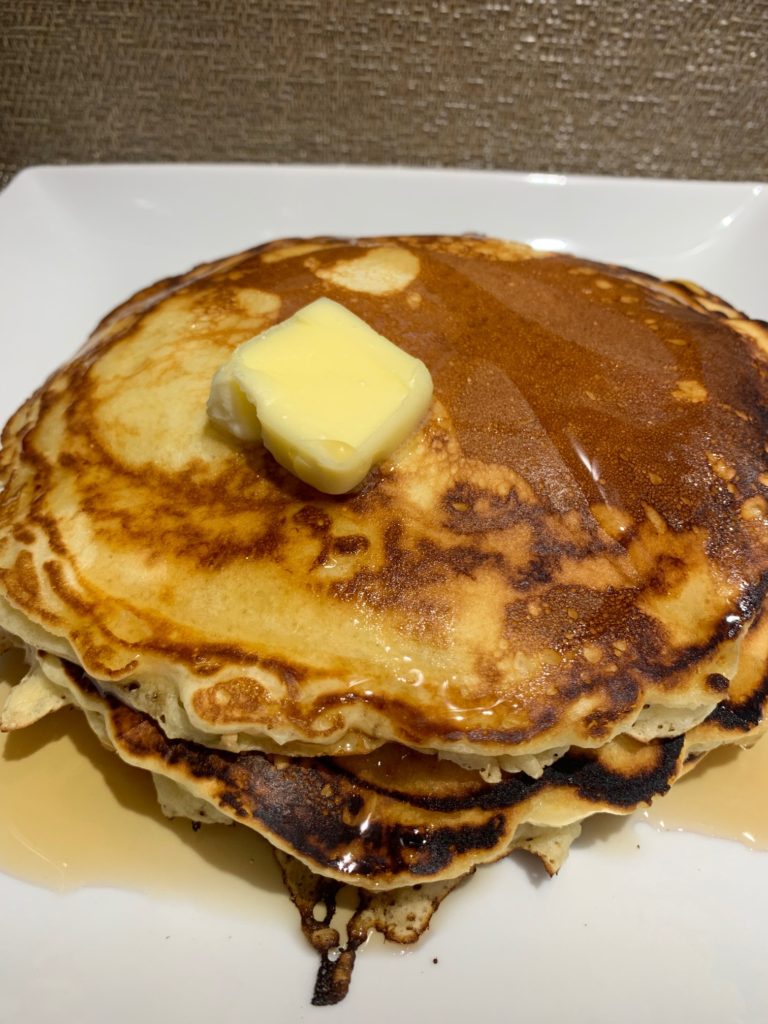
I have a few go-to pancake recipes like my World’s Easiest Pancake Recipe and my Basic Crepe Batter Recipe but another easy peasy fluffy pancake recipe is this one….it can be whipped up in mere moments and cooks up fluffy with some crispy edges (my favorite).

Ingredients:

  • 1 cup all-purpose flour
  • 2 tsp. baking powder
  • ½ tsp. salt
  • 2 Tbsp. granulated sugar
  • 1 cup milk
  • 1 large egg
  • 2 Tbsp. butter, melted
  • ¼ cup vegetable oil (approximately) for frying the pancakes
  • Good quality butter and pure maple syrup for serving (not optional!)

Directions:

  1. In a small bowl, combine the flour, baking powder, salt and sugar.
  2. In another small bowl, whisk together the milk, egg and butter.
  3. Gently combine the dry and wet ingredients until just incorporated – don’t overmix.
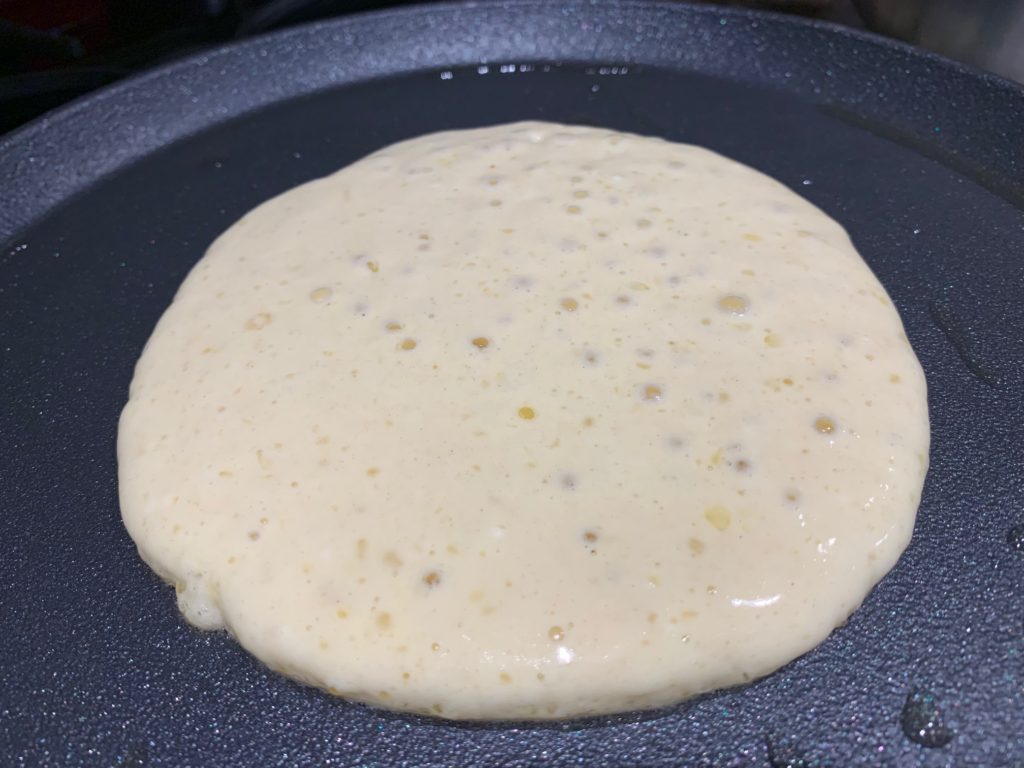
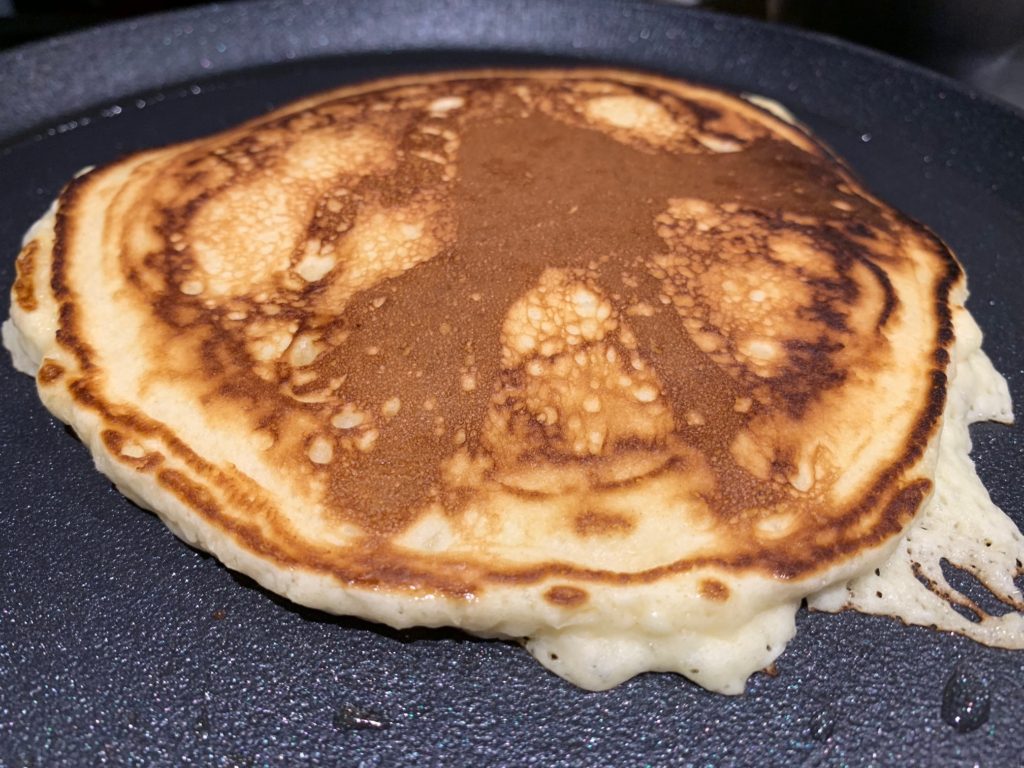
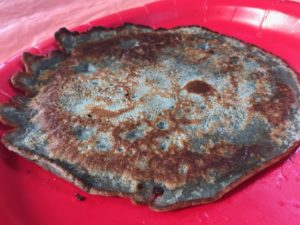
  4. Heat a large skillet over medium-high heat and add a tablespoon of vegetable oil. Ladle about 3 tablespoons of batter onto skillet and cook until the surface of pancakes have some bubbles, around 1 minute (see photo below). Flip the pancake and cook another 90 seconds, or until browned. Continue the process until all the batter’s been used, wrapping cooked pancakes in foil until ready to eat.
  5. Serve with pats of butter and maple syrup.

Serves 4 healthy portions.

Easy Maple Rice Pudding

Easy Maple Rice Pudding

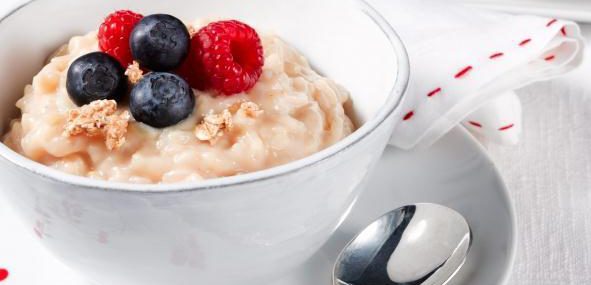
This creamy rice pudding is flavored with maple syrup and is the perfect comfort food. Ideally, this recipe is made using Arborio rice (same rice used to make risotto), but other short grain white rice could also work.

Maple Rice PuddingIngredients:

  • ½ cup Arborio rice, uncooked
  • 4 cups whole milk
  • ½ cup maple syrup
  • 1 tsp. pure vanilla extract
  • Pinch of cinnamon
  • ½ cup powdered milk

Directions:

  1. Place the rice in a sieve or colander and run cold water over it for 30 seconds while shaking the sieve/colander. This removes a bit of the outer starch which can cause your rice to clump while cooking. Shake to remove as much of the water as possible.
  2. In a medium saucepan over medium-high heat, combine all the ingredients except the powered milk, stir well to combine. Bring to a simmer, then turn the heat down to medium-low and cook for 40 minutes, stirring frequently. After 35 minutes, if the rice mixture is VERY thick and the rice rains feel tender, turn off the heat. Depending on the rice you use and how hot your stove runs, 35 minutes might be enough.
  3. Remove the pan from the heat and add the powdered milk. Stir to fully combine.
  4. Allow to cool to lukewarm to serve.

Note: This pudding can also be served cold with a drizzle of maple syrup, granola and berries.

Yields six servings.

Eat with Dan Easy Strawberry Jam

Eat with Dan Easy Strawberry Jam

Oh how I want to make my own strawberry jam. I’ve taken classes on canning and I’m still uncomfortable with the whole process. Will my jars be airtight? Did I sanitize the jars long enough? Will I poison everyone around me with contaminated canned food? All questions that I ask myself when I’m tempted to try canning.

Photo by Danny Chin

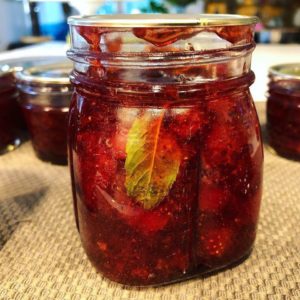
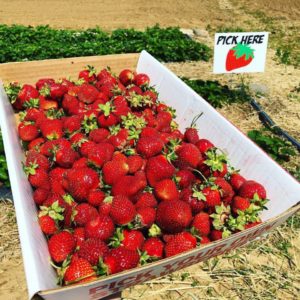
Last week, I took my foodie brother Danny Chin, of Eat with Dan, to brunch and he surprised me on HIS birthday with homemade strawberry jam. What a guy! He told me the process of making the jam is simple and I shouldn’t be intimidated. The key to success to good strawberry jam according to Danny? “Pick ripe strawberries that have that bright strawberry flavor”. We both pick our berries at the amazing Donaldson Farms in Hackettstown, NJ – the place is gorgeous and its produce is outstanding.

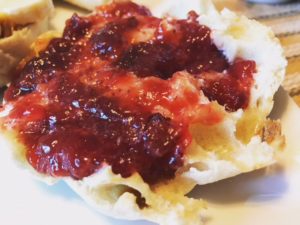
This delicious jam is bursting with strawberry flavors and isn’t too sweet. It requires no candy thermometer or expensive equipment. It’s perfect on a hot English muffin.

Connect with Eat with Dan

Have I mentioned that Danny’s a very talented photographer specializing in fashion and food? For amazing, drool-worthy food photography, do yourself a favor and follow Danny on Facebook, on Twitter and on Instagram.

Ingredients:

  • 2 quarts ripe strawberries
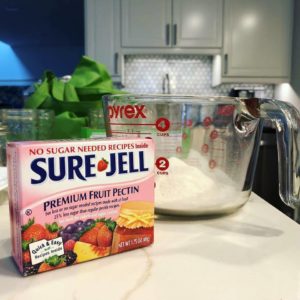
  • 1 1.75-ounce box SURE-JELL Fruit Pectin
  • ½ tsp. butter
  • 7 cups granulated sugar, measured into separate bowl

Directions:

  1. Bring large pot/canner half full of water to a boil over high heat.
  2. Wash jars and screw bands in hot soapy water; rinse with warm water. Pour boiling water over flat lids in saucepan on the heat. Let stand in hot water until ready to use. Drain well before filling.
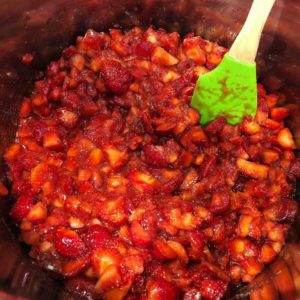
  3. Destem and crush strawberries thoroughly. Place exactly 5 cups of crushed strawberries into 6- or 8-quart pot. Add the pectin to the berries in pot and stir to combine. Add butter to reduce foaming. Bring mixture to full rolling boil on high heat, stirring constantly. Stir in sugar. Return to full rolling boil and boil exactly 1 min., stirring constantly. Remove from heat. Skim any foam with metal spoon. 

    English Muffin with Jam

  4. Immediately ladle the mixture into prepared jars, filling to within ¼ inch of tops. Wipe jar rims and threads. Cover with two-piece lids. Screw bands tightly. Carefully lower jars into the pot of boiling water or canner. Important: Water must cover jars by 1 to 2 inches – add boiling water to the pot if needed. Cover the pot and bring water to gentle boil. Process 10 min. Remove jars and place upright on a towel to cool completely.
  5. After jars cool, check seals by pressing middle of lids with finger – If the lids spring back, lids are not sealed and refrigeration is necessary (up to a month).

Note: you can expect properly-sealed jars of jam to last about two years when stored in a cool, dry place. Once opened, keep your homemade jam in the refrigerator for up to a month.

Yields about eight (1-cup) jars.

Recipe based on this.

Gabrielle’s Blueberry Pancakes

Gabrielle’s Blueberry Pancakes

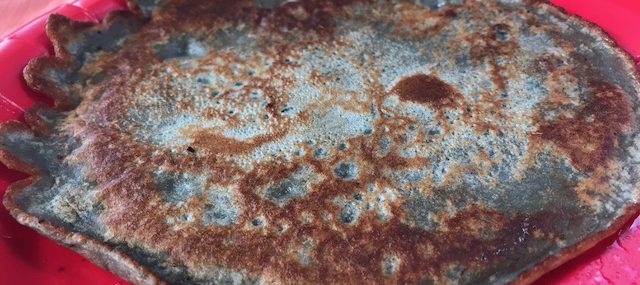
Blueberry pancake – pure yumminess! My niece Gabrielle and I exchange breakfast photos frequently via Facebook messenger. Our favorites are strawberry and raspberry toasts, crepes, muffins, etc so I was surprised when she messaged me last week to say she’d made blueberry pancake batter for our family reunion in Maine.

My Niece Gabrielle

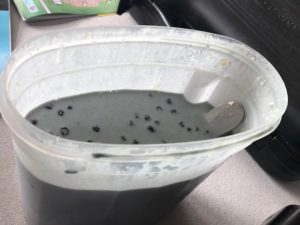
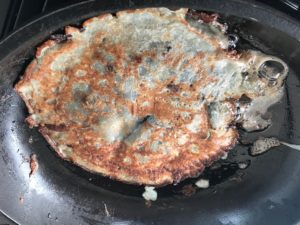
We were camping and she got up early to get her breakfast ready. She cooked all the pancakes for the six of us on a single burner in a well-seasoned frying pan. When she opened the container her batter was in, she was shocked and upset the batter was blue! We told her it was normal as some of the blueberries burst and dyed the batter.

These are blueberry-packed, flavorful thinner-than-typical pancakes and simple enough for a budding 12 year-old chef-apprentice to make.

Ingredients:

  • 2 cups all-purpose flour
  • 1 Tbsp. baking powder
  • ¼ cup granulated sugar
  • ½ tsp. salt
  • 2 large eggs, beaten
  • ¼ cup butter, melted
  • 1 tsp. pure vanilla extract
  • 2 cups whole milk
  • 1 cup fresh blueberries
  • 8 Tbsp. butter for panfrying
  • Maple syrup (optional)

Directions:

  1. In a large bowl, whisk together the flour, baking powder, sugar and salt. Create a well in the center of the flour mixture and add the eggs, the melted butter, the vanilla and the milk. Whisk until the mixture is lump-free and silky, about a minute. Add the blueberries and fold them into the batter gently. Mixture can keep in the refrigerator in an air-tight container for up to three days.
  2. In a large skillet over medium-high heat, melt a half teaspoon of butter. Once melted, add ¼ cup of the blueberry batter. Fry one minute, flip and cook the second side for 30 seconds. Repeat with the rest of the batter.

Yields 16 pancakes.

Strawberry Maple Butter

Strawberry Maple Butter

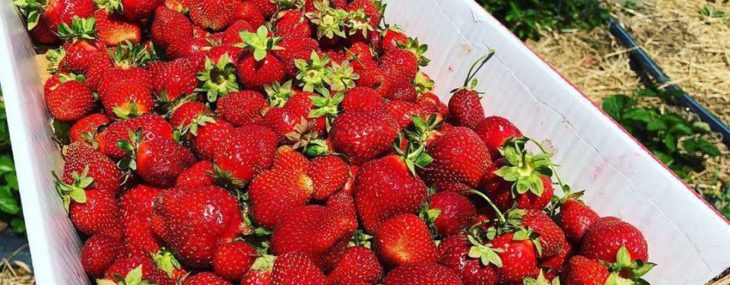
Every late spring, I make it my mission to go strawberry picking at Donaldson Farms, and amazing local farm. My love for picking berries started a long time ago when my grandma would take me to pick wild/wood strawberries in Quebec as a toddler. She’s sit me in the field with a pail and tell me to pick berries around me. Of course, that ended up with me eating the strawberries around me, but it’s a very fond memory nonetheless.

Cultivated strawberries are so easy to pick as farmers have rows and rows of plants with an abundant amount of berries on them. Within a few minutes, I have more strawberries that I know what to do with!
One way I like to use up my fresh berries is by making a very simple butter using maple syrup from back home in Quebec. This butter can be used on toasts, waffles, pancakes/crepes and in a multitude of ways. It keeps a couple of weeks in the fridge and it’s delicious!

Hope you make it out to a u-pick-it berry farm near you, it’s a fun and tasty activity for the whole family.

Ingredients:

  • 6 cups of fresh, chopped strawberries
  • 2/3 cups maple syrup
  • 1 ½ cups unsalted butter, cut into pieces
  • 1 Tbsp. pure vanilla extract
  • Pinch of salt

Directions:

  1. In a large saucepan over medium-high heat, add the chopped berries, the maple syrup and the butter. Bring to a boil then lower heat to medium-low and cook for 30 minutes, stirring occasionally.
  2. Turn the heat off, add the vanilla and salt and stir to combine.
  3. Puree the berry mixture in a blender or food processor until smooth, 30 seconds or so. You may need to puree in batches if your food processor/blender is on the small side.
  4. Pour the strawberry maple butter in small glass jars and refrigerate until ready to serve.

Makes 6 small canning jars.

Cheers,

Veronique

Easy Dutch Sausage Bread (Saucijzenbroodjes)

Easy Dutch Sausage Bread (Saucijzenbroodjes)

Dutch Sausage BreadsMy guy is Dutch and every time we go to Holland (okay, The Netherlands), the one food item he has to have right away is a warm Dutch sausage bread, also known as Saucijzenbroodjes in Dutch. Every bakery and grocery store there sells Saucijzenbroodjes and they’re just as the name sounds – sausage stuffed into bread. My Mother-In-Law’s boyfriend usually brings a brown bag full of them each morning and it’s a quick way to get my hubby out of bed.
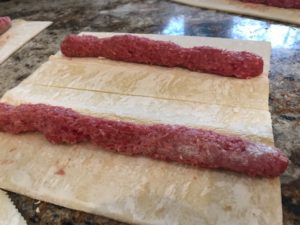
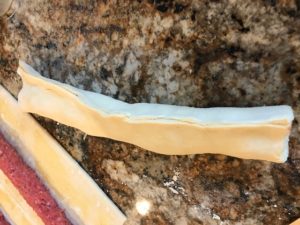

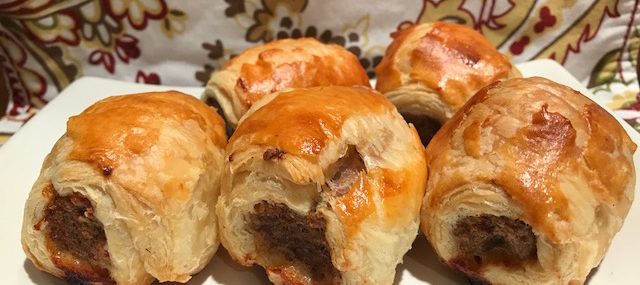
I’ve been looking for a recipe for Dutch Sausage Bread and didn’t want to have to make my own dough, so found a recipe that uses puff pastry. The sausage mix comes together very quickly – think meatballs – and gets shaped in long meat “snakes” that are then rolled in the defrosted puff pastry and baked.

These Saucijzenbroodjes reheat really well in the oven or, as we do, in the toaster oven for a quick breakfast. After baking them, I let them cool completely then place in storage containers in the fridge for up to 5 days.

Dutch Sausage Bread would be great when family is in town for the holidays as you could make them a couple days in advance and simply reheat them in the morning.

Ingredients

  • 1 pound lean ground beef
  • 1 large egg
  • 2 Tbsp. milk
  • 1 tsp. salt
  • 1/8 tsp. nutmeg
  • ½ tsp. freshly ground pepper
  • ½ cup panko bread crumbs
  • 1 tsp. Worcestershire sauce
  • 4 sheets puff pastry, thawed (I use two 17.3-ounce boxes of Pepperidge Farm Puff Pastry Sheets).
  • 1 egg yolk
  • 1 tsp. milk

Directions:

  1. Preheat oven to 400° F. Line two baking sheets with parchment paper, set aside.
  2. Carefully unfold the pastry sheets. Lengthwise, cut each rectangular sheet in half to create 8 separate sheets (see photo).
  3. In a medium mixing bowl, combine first 8 ingredients – don’t overmix to keep the mixture tender and moist. Divide into 8 equal portions.
  4. Roll each of the 8 portions of meat into long snakes and place across the middle of each of the 8 puff pastry rectangles (see photo). Fold each pastry sheet around its meat “sausage” and, using wet fingers, pinch the top and bottom edges together, enclosing the sausage. Note that if you end up with excess pastry when you pinch both ends, you can cut some off (I had to do this). Cut each of the 8 rolls into 4 equal sized portions, for a total of 32 sausage breads.
  5. Beat egg yolk with milk and brush egg mixture over the breads.
  6. Place the sausage breads onto the parchment-lined baking sheets and bake for 20-25 minutes or until pastry is crisp and golden brown (mine took 25 minutes).

Adapted from this recipe.

Berries & Ricotta by Spuntino Wine Bar & Italian Tapas

Berries & Ricotta by Spuntino Wine Bar & Italian Tapas

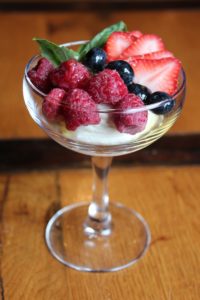
July is National Blueberry Month and Spuntino Wine Bar & Italian Tapas will feature specialty cocktails and dishes starring the little blue beauties as their juicy flavor come into full seasonal swing.

This summery dish will be served at the popular restaurant throughout the summer.

Berries & Ricotta

Makes 6

Ingredients:

Whipped Ricotta:

  • 16 oz of Whole Milk Ricotta Cheese
  • 8 oz of Whipped Cream Cheese
  • 1/4 Cup of Confectionary Sugar
  • 3 Tbsp of Honey
  • 1 Tbsp of Simple Syrup
  • 1 tsp of Vanilla Extract
  • 1 tsp of Orange Zest

To Plate:

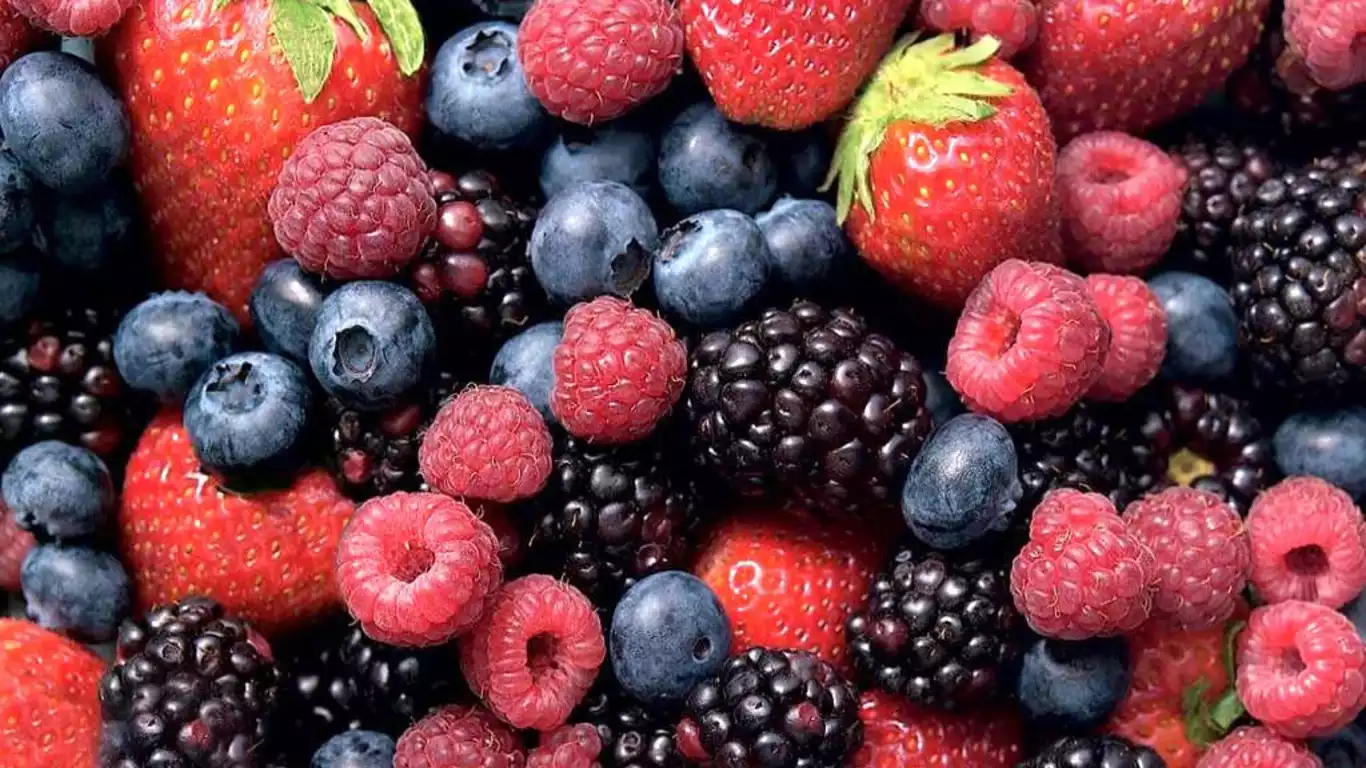
  • Strawberries
  • Blueberries
  • Raspberries
  • Honey
  • Mint (for garnish)

Preparation:
Blend ricotta, cream cheese and remaining ingredients in food processor until smooth. Transfer to bowl. Cover bowl and refrigerate until set, about 2 – 3 Hours. Divide whipped ricotta mixture among six wine glasses or coupe glasses.  Top with fruit and drizzle with honey.  Garnish with mint. 

Enjoy!

Veronique

Double Avocado Toast – Not Really a Recipe

Double Avocado Toast – Not Really a Recipe

This is the second post in my new series called “Not Really a Recipe”. These will be non-recipe posts that just give ideas on how to fix meals that are tasty and require very little work.

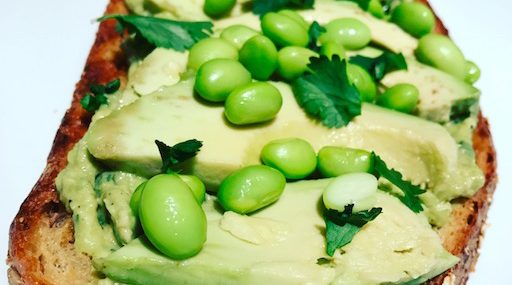
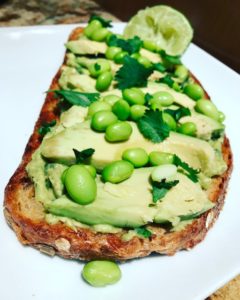
This dish is perfect for lunch, brunch or cut into slices for an appetizer. The dish is made using grain-filled bread that’s buttered and lightly toasted then topped with my Zesty Guacamole recipe, slices of avocado, cilantro leaves and edamame. Right before serving, I squeeze some lime juice on. Simple to make and boasting big, perfect flavors.

Let me know if you try this!

Cheers,

Veronique