Waffles with Raspberries and Nutella

Waffles with Raspberries and Nutella

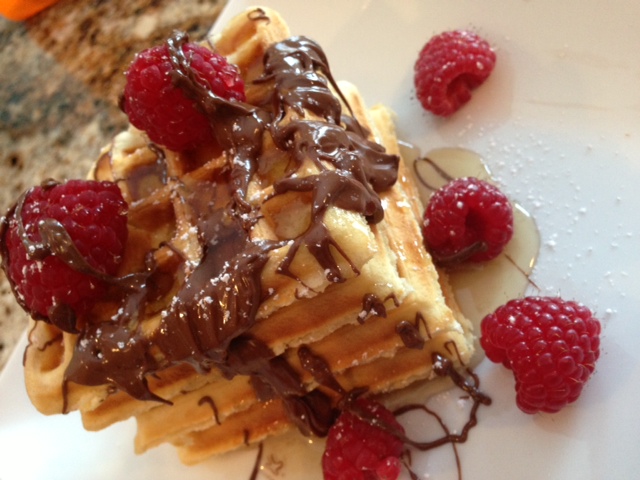
WafflesThis waffle batter is super easy and makes four huge waffles. This nice part, it’ll keep in the refrigerator for up to a week if you only need to make two on Sunday morning.

Ingredients:

  • 2 eggs
  • 2 cups all-purpose flour
  • 4 tsp. baking powder
  • 2 Tbsp. granulated sugar
  • ¼ tsp. salt
  • 1½ cups milk
  • ¼ cup heavy cream
  • ½ cup vegetable oil
  • 1 tsp. pure vanilla extract
  • ¼ cup Nutella
  • ¼ cup pure maple syrup
  • ½ cup fresh raspberries (or other berries)
  • Powdered sugar for dusting (optional)

Waffle BatterDirections:

  1. Preheat waffle maker.
  2. In the bowl of an electric mixer, beat the eggs until light and fluffy, about 1 minute. Add the flour, baking powder, sugar, salt, milk, vegetable oil and vanilla to the eggs and mix until just combined, about 20 seconds. No worries, there will be some lumps.
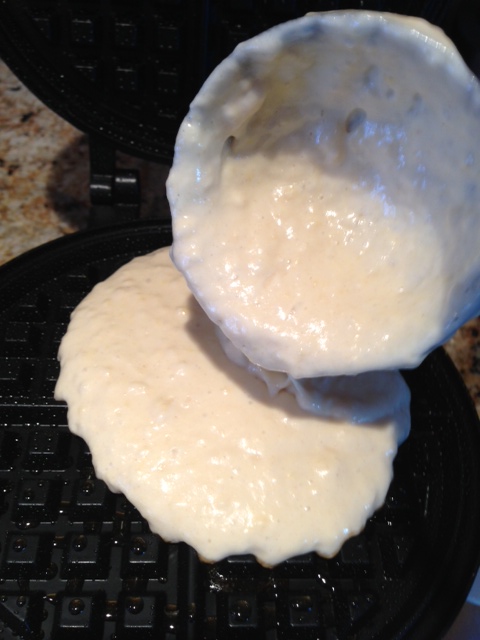
  3. Coat the waffle maker with cooking spray. Pour a ladle of batter onto the hot waffle maker and cook until golden brown. Repeat with more waffles.
  4. Microwave the Nutella and drizzle over the waffles. Drizzle maple syrup and top with raspberries and a dusting of powdered sugar, if using.

Makes 4 waffles

Dreamy Creamy New York Cheesecake

Dreamy Creamy New York Cheesecake

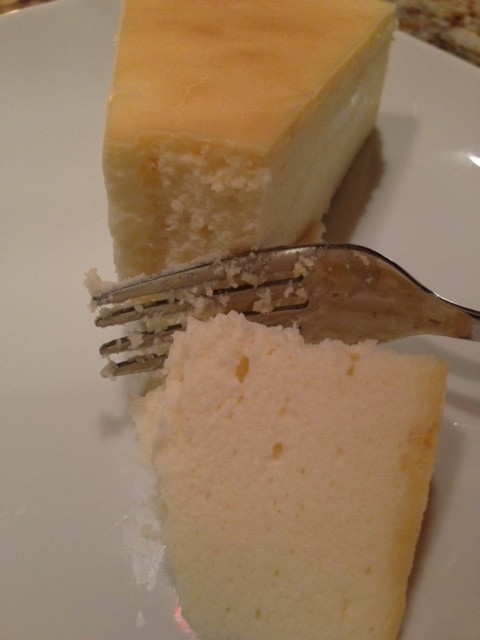
CheesecakeI typically like a cheesecake with a Graham cracker crust but when I came upon this version of the New York delicacy, I knew I had to bake it. Be sure you allow the first four ingredients to come to room temperature to avoid lumps in your batter.

Ingredients:

  • 5 eggs, room temperature
  • 2 cups sour cream, room temperature
  • 4 8-ounce packages cream cheese, room temperature
  • 8 tablespoons (one stick) unsalted butter, room temperature
  • 1 ½ cups granulated sugar
  • 2 Tbsp. cornstarch
  • 1 ½ tsp. pure vanilla extract
  • 1 tsp. fresh lemon juice
  • 1 tsp. grated lemon zest

Directions:

  1. Preheat oven to 300 degrees.
  2. Butter the walls and bottom of a 10” springform pan.  Wrap two layers of aluminum foil tightly around the outside bottom and sides of the pan.
  3. In a large bowl, whisk the eggs and the sour cream until lump-free.
  4. In the bowl of an electric mixer, beat the cream cheese and the butter until light and creamy, about 2 minutes.
  5. Add the egg mixture to the cream cheese mixture and beat to incorporate, about 1 minute.
  6. Add the sugar, cornstarch, vanilla extract, lemon juice and lemon zest and beat for 2 minutes.
  7. Pour the cream cheese mixture into the prepared springform pan and place it in a large roasting pan ensuring the springform doesn’t touch the walls of the roasting pan. Place the roasting pan in the center of the oven and carefully pour in enough boiling water in the roasting pan to come halfway up the sides of the springform pan.
  8. Bake for 2 hours and 15 minutes. Remove from the water bath and carefully peel the aluminum foil from around the pan. Allow to cool for 5 minutes, run a sharp paring knife around the rim of the pan to loosen the cake and unclasp the springform pan. Let stand at room temperature until completely cool, about 4 hours. Refrigerate, covered, until well chilled. Remove from the refrigerator 30 minutes before serving.

Makes 10-12 servings.

Inspired by Food for a Hungry Soul.

Chocolate Mousse Bombes

Chocolate Mousse Bombes

1 recipe of Ghirardelli Dark Fudgy Brownies.

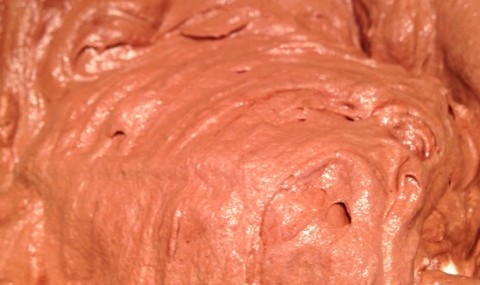
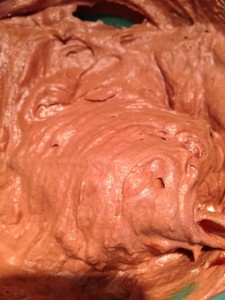
Chocolate Mousse

Chocolate Mousse

Ingredients for the chocolate mousse:

  • 4 oz. bittersweet chocolate, 60% – 70% cacao, chopped
  • 7 Tbsp. butter
  • 2 large eggs, separated
  • 1 Tbsp. granulated sugar
  • ¾ cup heavy cream
  • ¼ tsp. pure vanilla extract
  • Pinch kosher salt

Ingredients for the glaze:

  • 4 oz. bittersweet chocolate, 60% – 70% cacao, finely chopped
  • 2 Tbsp. light corn syrup
  • 1 cup heavy cream

Chocolate mousse directions:

  1. Microwave the chocolate and butter in a large bowl for 90 seconds, stirring every 30 seconds. Set aside to cool slightly.
  2. In the clean bowl of an electric mixer, whip the egg whites on medium-high speed until soft peaks form, 1 to 2 minutes. Slowly add the sugar as you continue to whip to stiff peaks, 3 to 4 minutes more.
  3. In another bowl, whip the cream to medium-stiff peak stage.
  4. Combine the egg yolks, vanilla and salt in a small bowl. Add the egg yolk mixture to the chocolate mixture and stir to fully combine. Add the whipped egg whites to the chocolate mixture and fold gently to incorporate. Add the whipped cream to the chocolate mixture and fold gently until fully combined – do not over-combine or egg whites will deflate.
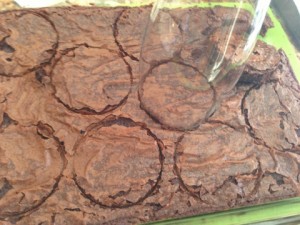
Cutting Brownie Rounds

Cutting Brownie Rounds

Assembly directions:

  1. Place two, (3-1/4-inch diameter and 1/2-cup capacity) silicone bombe molds on a large baking sheet.
  2. Unmold the brownies and place on a large cutting board. Using a biscuit cutter or a glass close to 3-1/4-inch in diameter, cut 10 brownie rounds.
  3. Spoon ¼ cup of mousse in each mold and spread it over the insides of the molds. Refrigerate for 15 minutes. Press a brownie circle over the mousse in each mold. Cover the two molds with plastic wrap and freeze at least 12 hours or overnight.
  4. Unmold the frozen bombes on a wire rack. Place the wire rack over a baking sheet. Let the bombes thaw for 2 to 3 hours.

Glazing directions:

  1. Place the chocolate and the corn syrup in a medium heat-proof bowl.
  2. Heat the cream in a small saucepan over medium-high heat until just boiling. Pour the hot cream over the chocolate and set aside for 3 minutes. Whisk the mixture until smooth and transfer to a large measuring cup.
  1. Pour the glaze over the bombes to coat each one completely. Refrigerate the glazed bombes for at least 2 hours but not longer than 8 hours.
  2. Take the bombes out of the refrigerator about 30 minutes before serving.
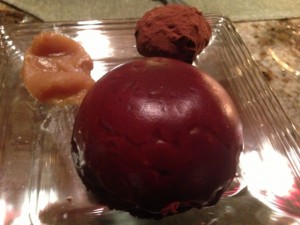
Salted Caramel, Truffle and Chocolate Bombe

Salted Caramel, Truffle and Chocolate Bombe

Makes 10 chocolate bombes.

Inspired by this recipe.

Chocolate Truffles

Chocolate Truffles

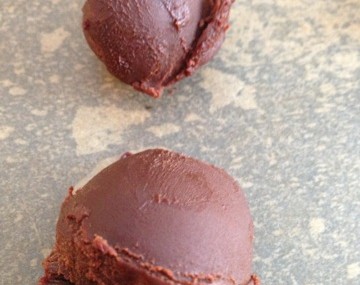
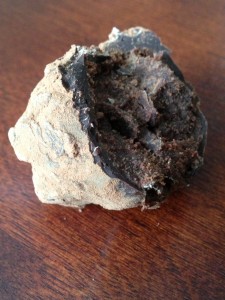
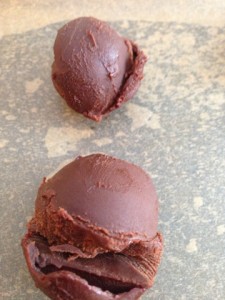
TruffleSomeone on Twitter shared a recipe for chocolate truffles by Alton Brown that had a great tip in it: use an ice cream scoop to coat the truffles in chocolate.

I changed a few of the ingredients and the directions, but use Alton’s basic recipe. Love using a good-quality Dutch-processed cocoa like Ghirardelli Unsweetened Cocoa Powder which is a bit bitter next to the rich chocolate ganache.

Ingredients

  • 10 ounces bittersweet chocolate, chopped
  • 3 Tbsp. butter
  • ½ cup heavy cream
  • 1 Tbsp. light corn syrup
  • ¼ cup Scotch Whiskey or Grand Marnier (for an orange flavor)
  • ½ cup Dutch process cocoa powder
  • 4 ounces semisweet chocolate, chopped
  • 4 ounces bittersweet chocolate, chopped

Truffle CentersDirections

  1. Place 10 ounces of bittersweet chocolate and the butter in a medium size bowl. Microwave for 1 minute, stirring well after 30 seconds. Allow to cool.
  2. Warm the heavy cream and the corn syrup in a small saucepan over medium heat until simmering. Remove from the heat and pour over the melted chocolate mixture. Let stand for 2 minutes. Using a rubber spatula, stir gently until all chocolate is melted and mixture is smooth and creamy. Gently stir in the Whiskey. Pour the mixture into an 8” x 8” baking dish and place in the refrigerator for 1 hour.
  3. Using a melon baller, scoop chocolate into your hands and roll gently between your palms to create a ball. Place balls onto a baking sheet lined with parchment paper and return to the refrigerator for 30 minutes.
  4. Place the cocoa powder on a plate and set aside.
  5. Place the 4 ounces each of semisweet and bittersweet chocolates into a medium size bowl. Microwave for 90 seconds, stirring well every 30 seconds.
  6. Remove the truffles from the refrigerator. Dip an ice cream scoop into the chocolate and turn upside down to remove excess chocolate. Place truffles 1 at time into the scoop and roll around until coated. Place the truffle into the plate with the cocoa powder. Move the truffle around to coat, leaving the truffle in the coating for 10 to 15 seconds before removing to a parchment-lined baking sheet. Repeat until all truffles are coated. Allow to set in a cool dry place for at least 1 hour then store in an airtight container in the refrigerator for up to 4 days, Serve at room temperature.

Makes about 30 truffles.

Smooth as Silk Fantasy Fudge

Smooth as Silk Fantasy Fudge

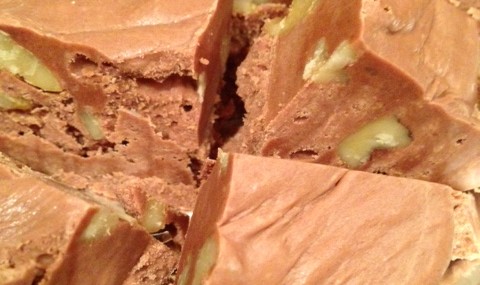
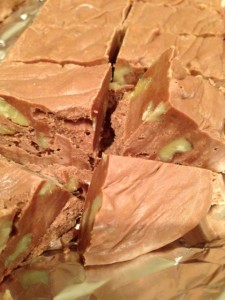
I’ve been making the Kraft Fantasy Fudge recipe for as long as I can remember. I find that I get great results every time. About 10 years ago, I began pulsing my granulated sugar in the food processor or the blender to get it to an almost powder consistency. This extra little effort has resulted in the silkiest of fudges and I highly recommend adopting this extra step.

Ingredients:

  • 3 cups granulated sugar, pulsed in the food processor for 1 minute
  • ¾ cup butter
  • 1 5-ounce can evaporated milk
  • 1 ½ cups semi-sweet chocolate chips
  • 1 7-ounce jar marshmallow crème
  • 1 tsp. pure vanilla extract
  • 1 cup chopped walnuts (optional)

Directions:

  1. Coat either a 9” x 9” or a 9” x 13” pan with cooking spray. Use a 9” x 9” pan for thicker fudge or a 9” x 13” for thinner fudge. I find the 9” x 13” works just fine as a little of this fudge goes a long way.
  2. In a heavy-bottom pan over medium heat, bring the sugar, butter and evaporated milk to a rolling boil, stirring occasionally. Once the sugar mixture starts to boil, cook for 4 minutes, stirring constantly. Remove from heat.
  3. Add the chocolate and the marshmallow crème to the hot sugar mixture and stir until fully melted. Add the vanilla and, if using, the walnuts. Stir to incorporate.
  4. Pour the mixture into the pan. Cool completely then cut into squares. Store in the refrigerator for a week or in the freezer for a month.

Makes about 40 treats.

Chocolate Turtle Cookies

Chocolate Turtle Cookies

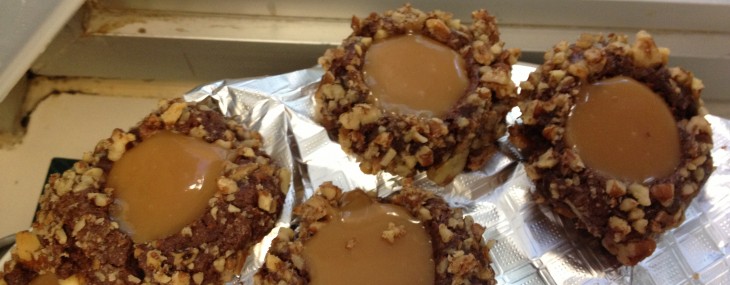
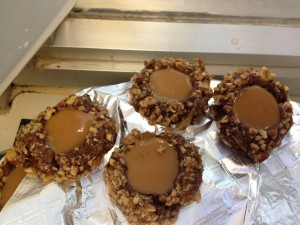
This over-the-top cookie recipe was shared by my friends Carole and Nathan of Educated Foodie. The recipe was inspired by a cookie recipe from America’s Test Kitchen Holiday Cookies 2010 Special Issue.

Ingredients:

  • 1 cup all-purpose flour
  • 1/3 cup cocoa powder
  • 1/4 tsp. salt
  • 8 Tbsp. (1 stick) unsalted butter, softened
  • 2/3 cup granulated sugar
  • 1 large egg, separated, plus 1 egg white
  • 2 Tbsp. milk
  • 1 tsp. pure vanilla extract
  • 1 ¼ cups pecans, chopped finely
  • 14 soft caramel candies
  • 3 Tbsp. heavy cream

Directions:

  1. Combine flour, cocoa, and salt in a bowl.
  2. In the bowl of an electric mixer, beat butter and sugar on medium speed until light and fluffy, about 2 minutes. Add egg yolk, milk and vanilla and mix until incorporated. Reduce mixer speed to low and add the flour mixture until just combined – do not overmix. Wrap the dough in plastic wrap and refrigerate until firm, about 1 hour.
  3. Adjust oven rack to upper-middle and lower-middle positions and pre-heat oven to 350 degrees. Line 2 baking sheets with parchment paper.
  4. Whisk egg whites in a bowl until frothy.
  5. Place pecans in a bowl.
  6. Roll dough into 1” balls, dip them in the egg whites then roll them in pecans. Place balls 2” apart on prepared baking sheets. Using ½ teaspoon measure, make an indentation in the center of each ball. Bake until set, about 12 minutes, switching and rotating sheets halfway through the baking process.
  7. Microwave caramels and cream in a bowl, stirring occasionally, until smooth – 1 to 2 minutes.
  8. Once cookies are removed from oven, gently re-press existing indentations. Fill each cookie indentation with ½ teaspoon caramel mixture. Cool 10 minutes, then transfer to wire rack to cool completely.

Yields about 2 ½ dozen cookies.

Berliner Kranser Cookies

Berliner Kranser Cookies

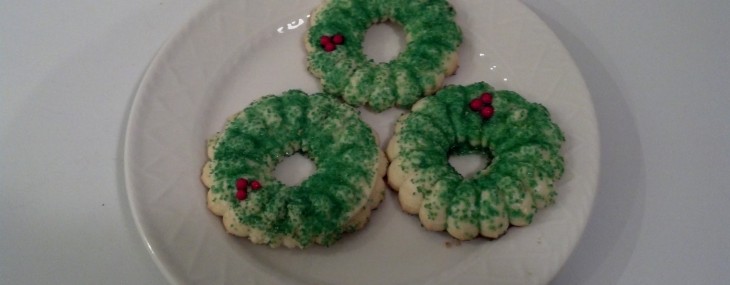
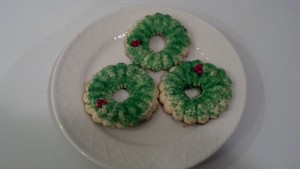
My friend Kim is of Norwegian decent and has kindly shared this family recipe for Norwegian Christmas Cookies called Berliner Kranser (Berlin Wreaths). “They are a melt-in-your-mouth butter cookies” says Kim.

Ingredients:

  • 2 hard-boiled egg yolks (here’s help on how to make the perfect hard-boiled egg)
  • 2 raw egg yolks
  • ½ heaping cup granulated sugar
  • 1 cup unsalted butter, softened
  • 2 ½ cups all-purpose flour
  • 2 raw egg whites, beaten
  • Green decorating sugar

Directions:

  1. Preheat oven to 375 degrees.
  2. Mash together hard and raw egg yolks. Add sugar and beat until a light lemon color, about 4 minutes.
  3. Alternately add the butter and the flour to the egg/sugar mixture, beating well to incorporate.
  4. Put the cookie dough in a cookie press fitted with a wreath shaped attachment. Arrange on cookie sheet lined with parchment paper. Cookies can be close as they will not spread while cooking.
  5. Brush the egg whites over the cookies and decorate with green sugar. If you want to get fancy, you can use candy holly berries to add some red to the wreaths.
  6. Bake for 8-10 minutes. Remove from cookie sheet to cooling rack immediately out of the oven.

Makes about 2 dozen cookies.

Fail Proof Pie Crust

Fail Proof Pie Crust

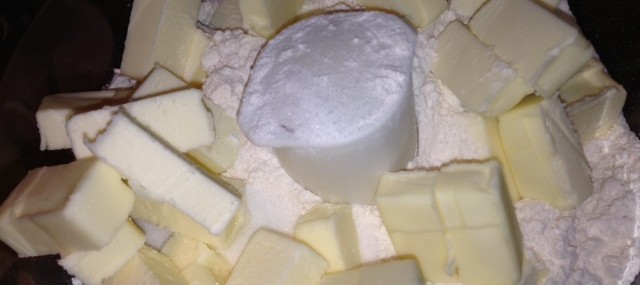
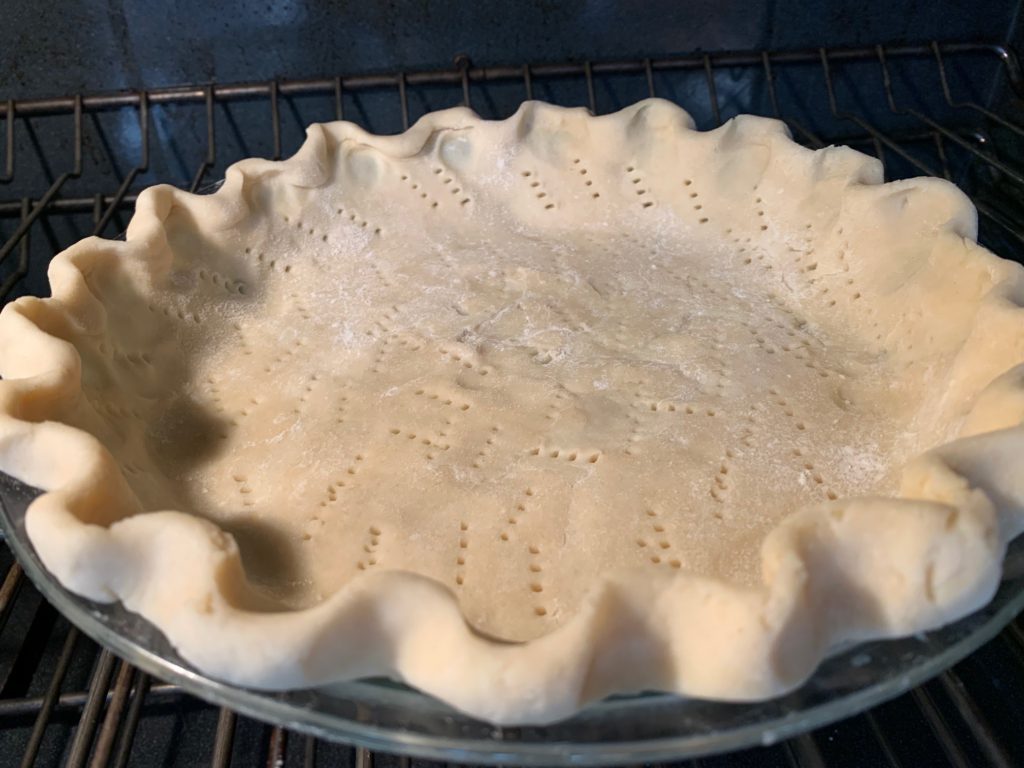
I have been using this pie crust recipe by Martha Stewart for several years and it never fails to produce flaky crusts with minimal efforts.

Throw all the ingredients in the food processor and voila, perfect pie crust everytime!

This pie crust recipe makes enough for two 9″ crusts and they freeze amazingly well for up to three months if wrapped in plastic wrap then placed in a zip top bag.

Ingredients:

  • 2 3/4 cups all-purpose flour
  • 2 tsp. sugar
  • 1 1/4 tsp. coarse salt
  • 2 1/4 sticks (18 tablespoons) cold unsalted butter, cut into small pieces
  • 10 Tbsp. ice water, plus more if needed

Directions:

  1. Pulse flour, sugar, and salt in a food processor to combine. Add butter, and process until mixture resembles coarse meal, about 10 seconds. With machine running, add ice water in a slow, steady stream through the feed tube until dough just holds together (no longer than 30 seconds).
  2. Divide dough in half, and shape into disks. Wrap each in plastic. Refrigerate for at least 1 hour (or up to 2 days).

Makes two 9″ pie crusts.

Canadian Brown Sugar Pie (Quebec Tarte au Sucre)

Canadian Brown Sugar Pie (Quebec Tarte au Sucre)

Tarte au Sucre

Tarte au Sucre

The Canadian brown sugar pie is a very traditional pie served in eastern Canada, specifically Quebec, around the holidays called ‘tarte au sucre’. My Grand-Mother always made a few sugar pies and froze them to have them on hand for the holidays. It reminds me a bit of pecan pie filling, minus the nuts, but smoother and firmer in texture. If you’re from Indiana, you may know this dish as Hoosier Sugar Cream Pie.

I know mile-high pies usually get all the love, but this brown sugar pie is baked in an 8″ pie plate, making it a somewhat thin pie. It’s definitely sweet and a small piece goes a long way!!! Believe it or not, vanilla ice cream is served with the pie to ‘cut through the sweetness’!  

Be sure to place the sugar pie on a baking sheet as you put it in the over to prevent spills.

Ingredients:

  • 1/2 cup condensed milk
  • 1/2 cup whole milk
  • 2 tsp. butter, softened
  • 1 tbs. flour
  • 1 cup brown sugar
  • 1 tsp. maple extract
  • 2 – 8″ pie crusts

Directions:

  1. Preheat oven to 350 F degrees.
  2. Bring the condensed and whole milks, brown sugar and butter to a simmer over medium heat in a heavy saucepan. When small bubbles form at the surface, cook for 2 minutes, whisking occasionally.
  3. In a small cup/bowl, stir the maple extract, the flour and 2 tablespoons of hot mixture to form a paste. Add this paste to hot mixture and whisk to fully incorporate.  Cook until thickened, about 3 minutes.
  4. Pour the sugar mixture into an un-baked pie crust and cover with a second crust.
  5. Bake until browned, about 25 minutes. 

Serve with vanilla ice cream at room temperature or warm. The pie keeps well wrapped in foil for up to a week (not that it’ll last that long). You could also bake the pie, cool it and wrap in several layers of plastic wrap then foil and freeze for a month.

Yields 8 servings.

Gooey Triple Chocolate Brownies

Gooey Triple Chocolate Brownies

At my place of employment (my work that pays the bills), there is a mad rush at the end of each month to ship as much merchandise as possible to boost up our revenue dollars. The team of guys who pull the equipment off the shelves, pack it and ship it, work hard to make sure commitments are met. Since I cannot help with the physical things they do, I always bake the guys something to give them the extra rush they need to get the job done. This month, the treats are these decadent brownies.

Ingredients:

  • 1 stick (8 Tbsp.) butter
  • 4 ounces unsweetened chocolate, chopped
  • ½ cup good quality cocoa powder ( I use Ghirardelli Unsweetened Cocoa Powder)
  • ¾ cup all-purpose flour
  • ½ tsp. baking powder
  • ¼ tsp. salt
  • 3 large eggs
  • 1 ½ cups granulated sugar
  • 1 Tbsp. pure vanilla extract
  • 1 cup semi-sweet chocolate chips

Directions:

  1. Preheat the oven to 350°F. Coat an 8×8-inch baking dish with cooking spray.
  2. In a microwaveable bowl, melt the butter for 30 seconds. Add the unsweetened chocolate and the cocoa powder and microwave for one minute, stirring after 30 seconds. If the chocolate is not fully melted, cook for an additional 30 seconds. Set aside.
  3. Sift the flour, baking powder and salt in a medium bowl. Set aside.
  4. In the bowl of an electric mixer, beat the eggs and sugar on medium speed until thick and pale yellow, about 5 minutes.
  5. Add the melted chocolate and the vanilla to the egg mixture and beat for one minute. Add the flour and beat for 15 seconds, until just incorporated. Add the chocolate chips and stir by hand to combine.
  6. Pour the brownie batter in the prepared pan and bake for 40 – 45 minutes, until brownies are set but still a bit moist in the center of the pan. Allow to cool completely before cutting into squares.

Makes 16 brownie squares.