Maple Whipped Cream (Crème Fouettée à l’Erable)

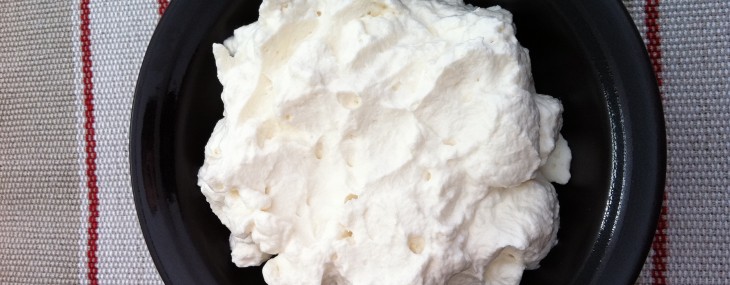
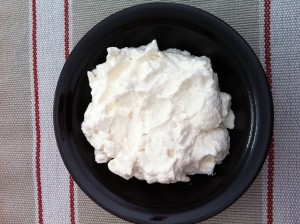
Maple Whipped Cream (Crème Fouettée à l’Erable)

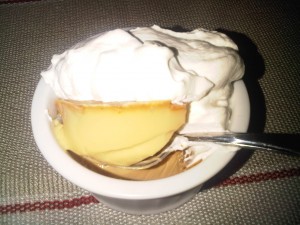
The addition of maple syrup to whipped cream is a stroke of genius by my aunt, Francoise, who generously shared her recipe.

Ingredients:

  • 3/4 cup heavy whipping cream
  • 1/4 cup maple syrup (see ‘notes’ below)

Directions:

  1. In the bowl of an electric mixer, add the cream.  Start the mixer on low for 30 seconds, then increase the speed to high and mix until very soft peaks form, about 1 1/2 minutes.
  2. With the mixer running, add the maple syrup in a steady stream to the whipping cream until fully incorporated.  Mix until medium peaks form, an additional 2 minutes.  Serve.

Makes 6 dollop-size servings.

Notes: Don’t waste top notch maple syrup to bake or cook with, less fancy grade will do just fine and often offers stronger maple flavors.  For best results, chill the bowl of the electric mixer for 20 minutes in the freezer before making the whipped cream.

Pots de Crème au Chocolat Pour Deux

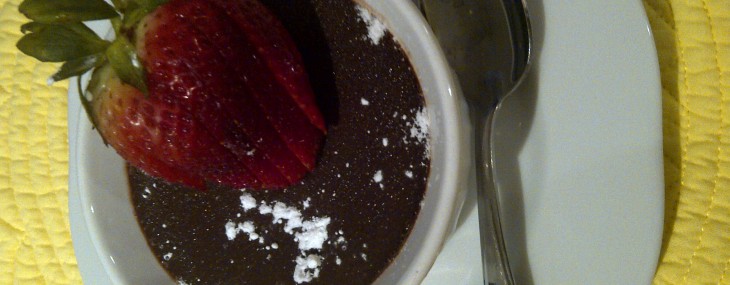
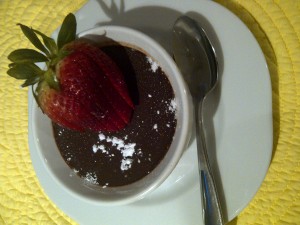
Pots de Crème au Chocolat Pour Deux

Lately, I’m on this quick to make desserts in ramekins.  Not sure why I’m in this frame of mind, but so far, it’s worked out pretty well for my guy and my friends.  Today, the mood is towards chocolate, so I decided to make Chocolate Pots de Crème.  What’s nice about this recipe is that it serves two people, so it can be made anytime, even when company’s not around.

Ingredients:

  • 2/3 cup heavy cream
  • 2/3 cup whole milk
    • 1 vanilla bean, split (could use 1 tsp pure vanilla extract)
    • 4 tbsp granulated sugar
    • 1/2 chocolate chips (milk or dark)
    • 4 egg yolks, lightly beaten

Directions:

  1. Preheat oven to 325 degrees.
  2. Warm the cream, milk, vanilla bean and sugar in a small sauce pan over medium heat until barely simmering, about 3 minutes.  Remove the vanilla bean, scrape its seeds then add them to the cream mixture. Discard the vanilla bean and stir the mixture well.
  3. Place the chocolate in a large heat-proof bowl.  Pour the hot cream mixture over the chocolate and stir until it’s melted.
  4. Slowly whisk the egg yolks into the chocolate and cream.  Make sure the ingredients are completely incorporated.
  5. Using a fine sieve, strain the mixture then pour into two 7-ounce ramekins.  Place the ramekins into a baking dish (I use a meatloaf pan) and pour hot water into the pan until it comes half way up the ramekins.  Be sure no hot water gets into the ramekins.
  6. Bake in the oven until the mixture sets, about 35 minutes.
  7. Transfer ramekins to a cookie sheet to cool for about 30 minutes.  Place a sheet of shrink wrap on the surface of each ramekin to prevent a skin from forming, then refrigerate, loosely covered with foil, until completely chilled, about an hour.
  8. Serve with a dollop of whipped cream or a dusting of powdered sugar..

Makes 2 servings.


Host a Dinner Party – Don’t Plan the Menu

Host a Dinner Party – Don’t Plan the Menu

I have dinner parties a lot.  Seems like my house is pretty conducive to hosting friends and family, so the party’s typically at my home.  I love entertaining and always try to vary my menu so guests don’t get bored with having the same old food, but it can be difficult to stay creative.

Last week, I sent a friend coming over for dinner a note requesting she pick what I was going to make.  How great an idea is that!?  To my delight, she asked that I make Osso Buco and Bradley Ogden’s Butterscotch Pudding.  Not only did this help me decide on a concept for my dinner, it expanded my recipe repertoire.

For your next dinner party, ask your guests what they’d like to eat and hold them to making a decision.  It’ll be fun for them for having sort of co-hosted the dinner and fun for you for having tried new recipes.

If you were coming over to my home, what would be the dish you’d ask me to make?


Chef Bradley Ogden Butterscotch Pudding

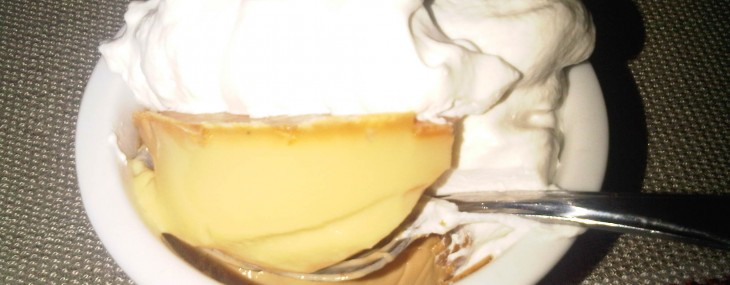
Chef Bradley Ogden Butterscotch Pudding

Butterscotch Pudding

Was sent master chef Bradley Ogden‘s childhood recipe for butterscotch pudding that he serves at his restaurants and absolutely loved it.  I’m typically a chocolate girl, but this pudding, that I made some tweaks to, is simply fabulous.  Chef Ogden is known to enjoy the “skin” that forms on the surface of the pudding as it sets, so I opted to recreate the recipe this way – it was the best part of the dish, good call chef!

Ingredients:

  • 5 cups heavy cream, divided
  • 1 vanilla bean, split, with seeds scraped and reserved
  • 1 cup butterscotch chips
  • 5 egg yolks
  • 1/2 cup light brown sugar
  • 2 tbsp water
  • 2 tbsp Scotch
  • 1 tsp pure vanilla extract

Directions:

  1. Preheat oven to 325 degrees. Boil some water in a kettle or pot and reserve for later use.
  2. Put 3 1/2 cups heavy cream and the vanilla bean and its seeds in a large, heavy saucepan. Bring to a boil (watch this process as the cream can boil over quickly), take off heat and whisk in butterscotch chips until blended smoothly.
  3. Place egg yolks in a large bowl and whisk well. Slowly add hot cream mixture while whisking vigorously. Set aside.
  4. In a small, deep, heavy saucepan, combine brown sugar and water over high heat. When sugar dissolves and caramelizes, about 3 minutes, carefully add scotch and 1/2 cup cream. Continue cooking, stirring well, until mixture is smooth and slightly thick, about 3 minutes. Whisk this caramel mixture into butterscotch mixture.
  5. Strain mixture through a fine sieve. Divide among 6 (7-ounce) ramekins. Place ramekins in a large roasting pan. Place pan on oven rack, then carefully pour hot water into roasting pan, taking care not to splash into ramekins. Water should come halfway up the sides of ramekins.
  6. Carefully slide roasting pan into oven. Bake for 1 hour and 30 minutes until puddings are mostly set but still a wiggly. Transfer ramekins to a rack or cookie sheet to cool for about 30 minutes, then refrigerate, loosely covered with foil, overnight.
  7. In the bowl of an electric mixer, beat the remaining 1 cup of cream with the vanilla extract until barely-stiff whipped cream is created, about 3-4 minutes.  Serve puddings with a dollop of whipped cream.

Makes 6 servings.

Notes: For the Scotch, I used what I had at home, which was Chivas that my father brought to the house last year (he’ll want to choke me when I tell him ;).  After cooling completely, the surface of the pudding will have this hardened ‘shell’ that’s amazing to ‘break’ through. If you prefer to not have this ‘shell’, simply place a sheet of shrink wrap on the surface each pudding prior to refrigerating.

Adapted from a recipe by Chef Bradley Ogden.

Vanilla and Meyer Lemon Cupcakes

Vanilla and Meyer Lemon Cupcakes

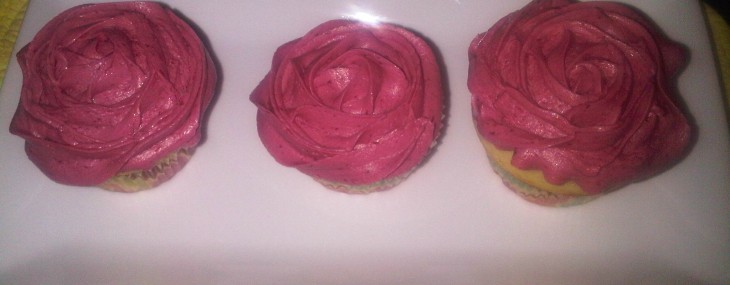
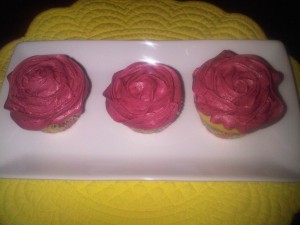
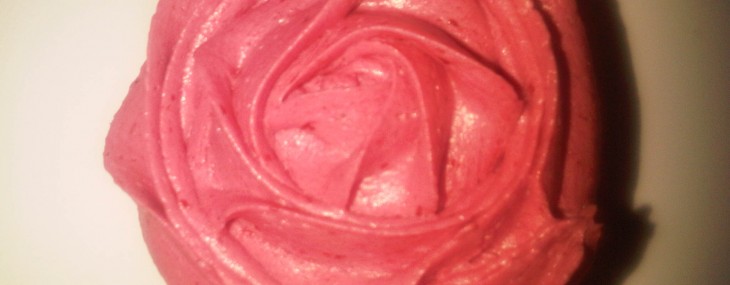
I got inspired to create these cupcakes after buying a bag of beautiful Meyer lemons at the market.  The pale yellow cupcake topped with the dark, bright blackberry frosting is not only gorgeous, it’s a refreshing and unusual combination of flavors.

Ingredients:

Cupcake Directions:

  1. Preheat oven to 350 degrees.
  2. Add 12 muffin paper liners to a 12-muffin pan.
  1. In the bowl of an electric mixer, cream the butter and sugar until light and fluffy, about 2 minutes. Add the eggs, one at a time, beating well after each addition. Scrape down the sides of the bowl as needed. Beat in the vanilla extract and lemon zest.
  2. In a separate bowl, combine the flour, baking powder, and salt.
  3. With the mixer on low speed, alternately add the flour mixture and milk, in three additions, beginning and ending with the flour. Scrape down the sides of the bowl as needed.
  1. Fill the muffin cups with batter. Bake for about 18 – 20 minutes or until a toothpick inserted into a cupcake comes out clean. Remove from oven and place on a wire rack to cool.
  2. Add some of the Simple Meyer Lemon Curd to a pastry bag fitted with a large tip.  Force the pastry tip into each cooled cupcake and fill with about a teaspoon of lemon curd.
  3. Add some of the Blackberry Buttercream Frosting to a pastry bag fitted with a large tip.  Pipe about 3 tablespoons of frosting onto each cupcake, creating a desired design.

Makes 12 cupcakes.

Notes: Inspiration for the cupcakes is from a Joy of Baking recipe I’ve used.  For extra cuteness, top each cupcake with a fresh blackberry.


Simple Meyer Lemon Curd

Simple Meyer Lemon Curd

Ingredients:

  • 1 cup granulated sugar
  • 3 eggs
  • 1/2 cup Meyer lemon juice (from about 3 lemons)
  • 1 tbsp Meyer lemon zest (from about 2 lemons)
  • 4 tbsp, 1/2 stick, butter, softened then cut into cubes

Directions:

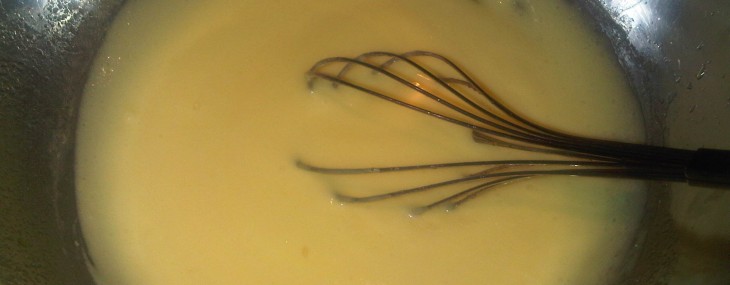
  1. In a bain-marie, or a metal bowl over a pot of barely simmering water, whisk the sugar, eggs and Meyer lemon juice. Cook, whishing constantly, until the mixture thickens, about 7-9 minutes.
  2. Carefully pour the mixture into a sieve and force through with the back of a spoon to ensure no curdled egg remains.
  3. Wisk butter cubes into the curd until completely melted. Add the Meyer lemon zest and stir to incorporate.
  4. Place a large piece of shrink wrap onto the surface of the curd and refrigerate until completely cooled, about an hour.
  5. Use as a glaze or filling for tarts or pies.

Notes: Curd will keep in the refrigerator for about 10 days.


Blackberry Buttercream Frosting

Blackberry Buttercream Frosting

Ingredients:

  • 10 ounce bag of frozen blackberries, thawed
  • 1 cup butter, softened
  • 1/2 cup shortening
  • 1 tbsp pure vanilla extract
  • 1 pound box powdered sugar

Directions:

  1. Using a blender, puree the blackberries.  Pass the puree through a sieve, discard the seeds left behind and set seedless puree aside.
  2. In the bowl of an electric mixer, cream the butter and shortening until fluffy, about 1 minute.
  3. Add the vanilla and the blackberry puree to the butter mixture and mix until homogenous, about 2 minutes.  Add the powered sugar, 1 cup at a time, until fully incorporated.
  4. Use to frost an 8-inch cake or 12 cupcakes.
Meyer Lemon Tart

Meyer Lemon Tart

Meyer Lemon Tart

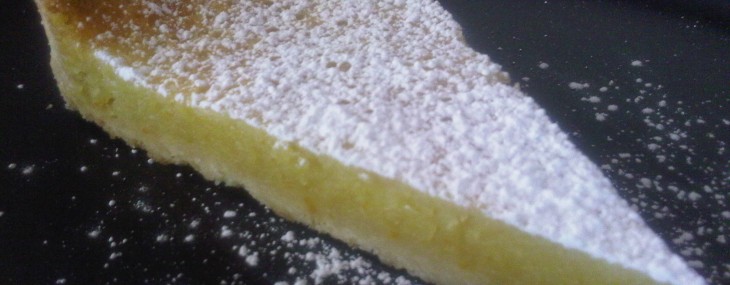
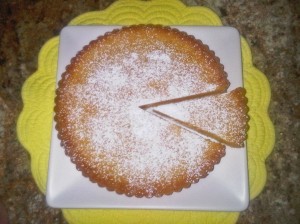
I got inspired to create this recipe after buying a bag of beautiful Meyer lemons at the market.  I combined the flavors of my Zesty Key Lime Tart with my family’s traditional lemon pie to create a refreshing, satisfying desert that’s simple to make yet beautiful to serve to company.

Ingredients

  • Juice from 2 Meyer lemons, about 1/2 cup
  • Peels from 2 Meyer lemons (okay to have some pith)
  • 1 1/2 cups granulated sugar
  • 1 stick, 8tbsp butter, cut into cubes
  • 4 eggs
  • 2 tbsp cornstarch
  • 1/2 tsp salt
  • 9-inch tart crust, pre-baked

Directions

  1. Preheat the oven 350 degrees.
  2. In the bowl of a food processor, add lemon juice, lemon peels, sugar and butter. Run the processor until the lemon peels are fully pureed, about 2 minutes. Add the eggs, cornstarch and salt and pulse for about 30 seconds.
  3. Place the baked tart crust in its pan on a cookie sheet.  Pour the tart filling into the baked tart crust until nearly full, you may have leftover liquid that you can discard.
  4. Bake for 35 minutes, until no longer jiggly and until lightly golden.
  5. Allow to cool for 15 minutes then unmold tart.

Notes: Tart can be served at room temperature or chilled – I prefer chilled.  This recipe would be great with key limes also.


Simple Tart Crust

Simple Tart Crust

Tart Crust

Ingredients

  • 1/2 cup powdered sugar
  • 1 1/2 cups all-purpose flour
  • 1/2 teaspoon salt
  • 1 1/2 sticks, 12 tbsp, butter, frozen and cut into small cubes
  • 1 egg, slightly beaten

Directions

  1. In the bowl of a food processor, pulse the sugar, flour and salt. Add the butter cubes to the flour mixture and pulse until the butter is incorporated and looks like coarse oatmeal, about 30 seconds.  Add the egg and pulse for about 15 seconds to fully incorporate.
  2. Turn the dough out onto a large piece of shrink wrap and lightly knead the dough until all dry ingredients are incorporate – do not overwork the dough! Flatten the dough into a disk using the shrink wrap as a guide and chill in the refrigerator for an hour.
  3. Lightly coat a 9-inch tart pan with a removable bottom with cooking spray (could also butter).
  4. Place a large sheet of shrink wrap on a work surface, top with the chilled dough disk then cover the disk with a second piece of shrink wrap.  Using a rolling pin, roll out the dough into a 12-inch round (fear not if you get cracks at this stage).  Remove the top piece of shrink wrap and turn dough into the tart pan using the bottom piece of shrink wrap as an aid.  Remove the shrink wrap and press dough into the pan lightly with fingertips, repairing any cracks in dough. Trim overhanging dough with a sharp knife creating a clean edge.  Using a fork, dock the crust all over, including the edge.
  5. Freeze the crust for 30 – 60 minutes.  Preheat oven to 375 degrees.
  6. Place the frozen tart pan on a cookie sheet and bake for 30 minutes, until lightly golden.  Using the back of a spoon, flatten any part of the crust that might have puffed out during baking.
  7. Fill the crust with your favorite topping.

5 Recipes to Treat Your Valentine To

Gnocchi with Butternut Squash

Need some inspiration for a romantic meal this Valentine’s Day (or any old day)?  Thought I’d share some of the recipes I’ve made recently that have earned me rave reviews.

5 recipes to treat your Valentine to:

  1. Gnocchi with Butternut Squash and Bacon in Sage and Danish Blue Cheese Sauce
  2. Porcini Mushroom and Lobster Macaroni and Cheese
  3. Ragu alla Bolognese (Bolognese Sauce)
  4. Grilled Salmon in Grape Leaves
  5. Red Velvet Cake with Chocolate-Covered Strawberries

Whichever dish you decide to prepare for your loved one(s) this Valentine’s Day, I hope your meal is paired with love.

Veronique