Easy Pellet Smoker Pulled Pork

Easy Pellet Smoker Pulled Pork

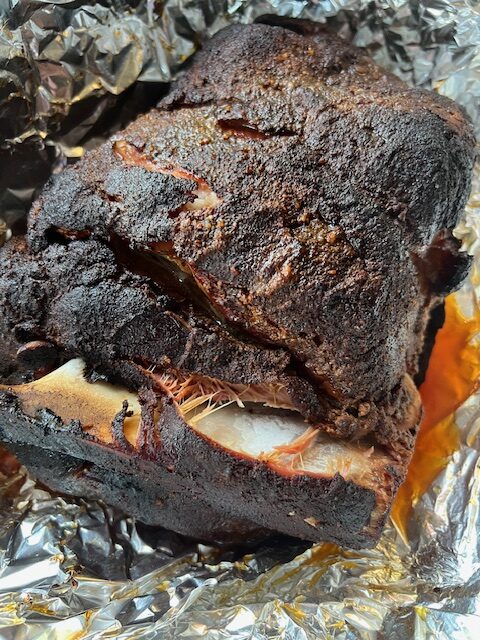
I’m no professional when it comes to smoking, but I’ve developed certain skills at using my Recteq RT-590. One of the easiest things one can make on a pellet smoker is pulled pork using a pork shoulder, also known as pork butt or Boston butt.

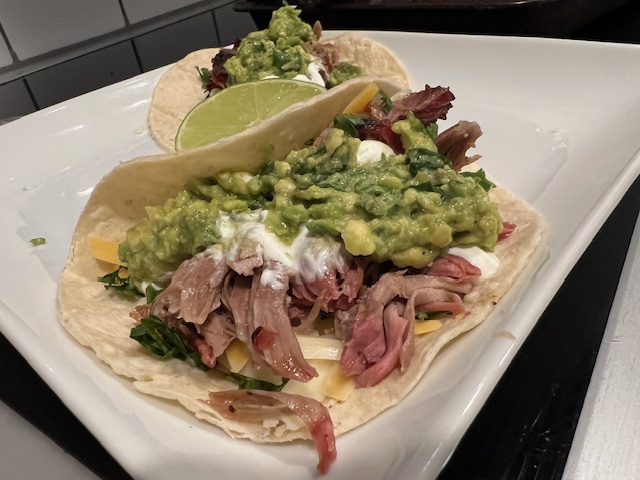
With just a few ingredients and in just a few steps, you’ll have a solid product that can be used in many ways. We’re fond of tacos (see below)!

Ingredients

  • 6-8 lb. pork butt with the bone in
  • Yellow mustard
  • Homemade or store-bought BBQ rub, we like Pork Mafia and Revolution Barbecue both found on Amazon
  • Spray bottle filled with equal amounts of cola and apple juice
  • Squeeze bottle margarine, I use Parkay brand
  • Salt and pepper
  • Homemade bbq sauce, or store-bought BBQ sauce, we like Bone Suckin’ Sauce widely available

Directions:

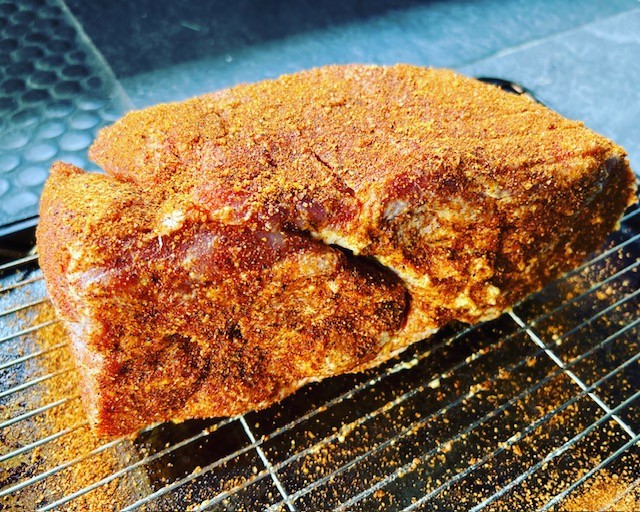
  1. The night before your cook, pat dry the pork butt with paper towels, coat in yellow mustard and generously sprinkle rub over the mustard. Wrap the pork butt in shrink wrap and place in the refrigerator overnight.
  2. The morning of your cook, add pellets to your smoker and preheat to 250 degrees for about 10 minutes, or until blue smoke turns white-ish.
  3. Take the pork out of the fridge, sprinkle with a second layer of rub then allow to warm up a bit while you fill a metal or aluminum pan with water, coming up halfway up the pan. Place the water-filled pan on one side of the smoker, that’ll help keep the pork moist as it cooks, and place the pork butt on the other side, fat cap down. Insert the smoker’s probe, or a meat thermometer, inside the pork ensuring it doesn’t touch the bone, which will cause bad temp readings.
  4. Generously spray the pork with the cola/juice mixture every hour until the internal temp of the meat reaches 155 degrees.
  5. Place three large sheets of foil on a work surface and position the pork on the foil. Spray generously with the coke/apple juice and squeeze margarine all over the surface, you’ll need about ½ cup depending on the size of your pork butt. Wrap the pork tightly with the foil and place the probe/thermometer back in the meat. Put the pork back on the smoker and cook until the internal temp reaches 200 degrees.
  6. Take the pork out of the smoker, uncover the top and put the pork back on the smoker to finish creating the crunchy bark, about 30 minutes.
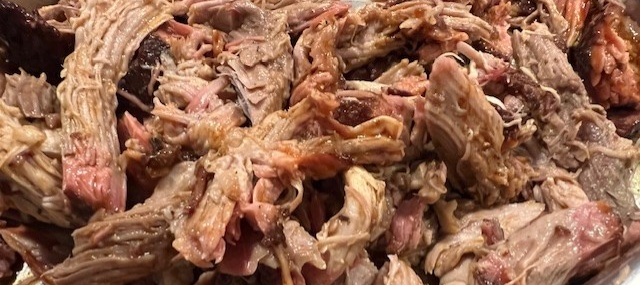
  7. Take the pork out and let it rest 15-20 minutes, remove the bone then shred and pull using two forks, or your gloved hands. Generously salt and pepper the meat then add a thin layer or BBQ sauce, about ½ – ¾ cup to lightly coat but not overwhelm the amazing pork flavor. Alternatively, you can omit the bbq sauce.

Yields 6-8 pulled pork sandwiches.

Note that the cooled pork freezes very well in freezer bags for up to a couple of months.

Smoked Swordfish with Avocado Salsa

Smoked Swordfish with Avocado Salsa

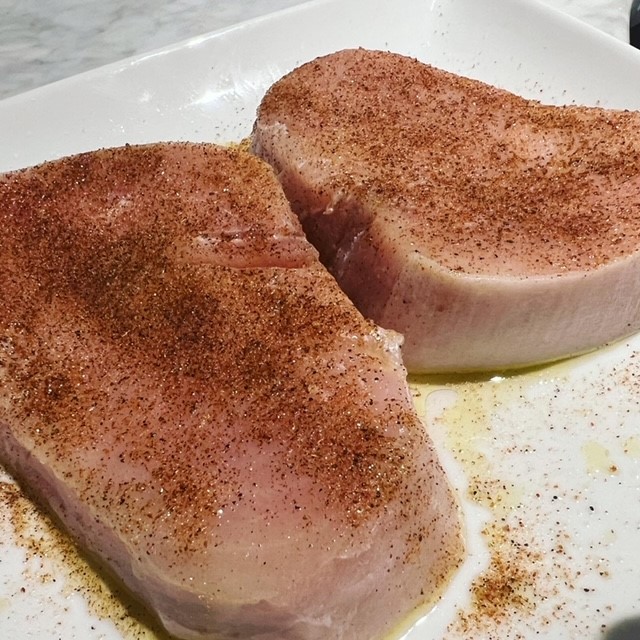
Growing up in South Florida, we ate a lot of swordfish. Then, there was over-fishing that nearly brought swordfish to extinction. Having overcome that situation, swordfish is back and I couldn’t be happy – I love it!

I’ve been thinking of things to make on my Rectec smoker and since swordfish has a meat-like texture, I thought it’d be a good candidate. The ‘recipe’ is very simple but the results are amazing.
If you don’t have a smoker, simply add some wood chips to your grill and grill with smoke.

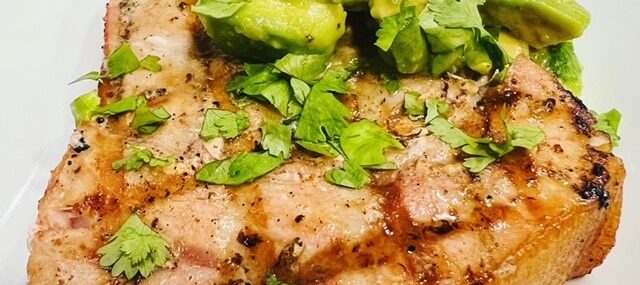
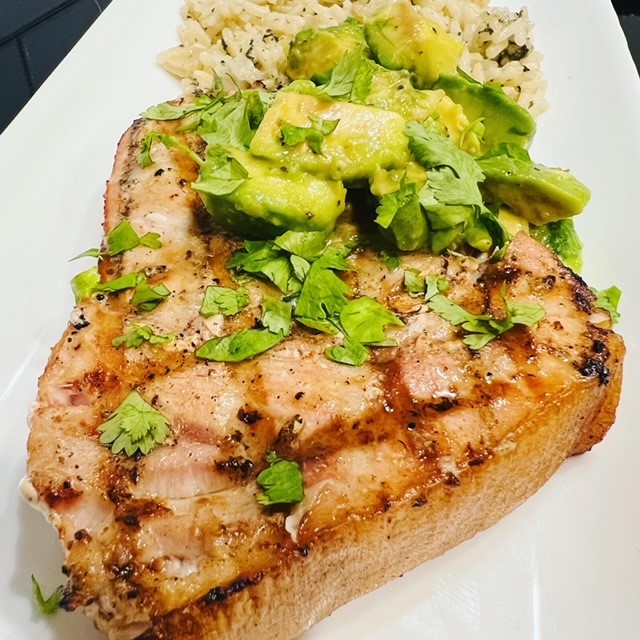
I served the fish with a side of guacamole that I left very chunky, some lime and cilantro and it was a great pairing.

Ingredients:
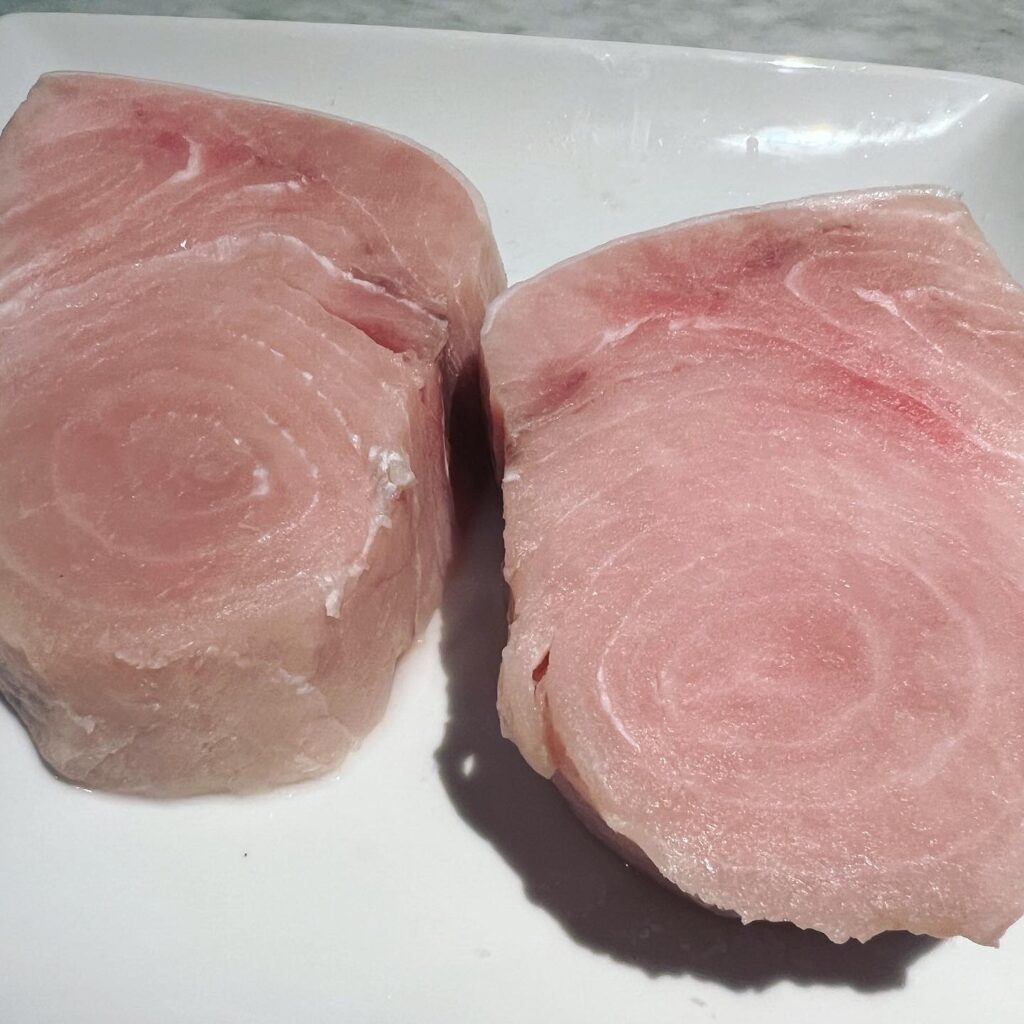
• Two 6-ounce pieces of swordfish
• 1 Tbsp. Kosher salt, divided
• 2 Tbsp. olive oil
• 1 tsp. black pepper
• 1 Tbsp. Tony Chachere’s no salt seasoning (or your favorite Creole seasoning)
Cilantro Lime Rice (optional)
Zesty Guacamole or an avocado salsa
• Juice of half lime
• 1 tsp. cilantro (optional)

Directions:

  1. Place the swordfish on a plate and sprinkle with the Kosher salt. Place in the fridge for an hour.
  2. Take the fish out of the fridge and rinse the salt under running water. Pat the fish dry with paper towel.
  3. Coat the fish with oil and sprinkle with pepper and Tony’s.
  4. Bring the smoker up to 200 degrees, place the fish in it and smoke for 60 minutes.
  5. Bring a grill to medium/high heat and grill the fish on each side until internal temperature of the fish reaches 130 degrees.
  6. Serve with the rice, if using, the guacamole, a squeeze of lime and the cilantro, if using.

Makes two servings.
Slow Cooker Ropa Vieja

Slow Cooker Ropa Vieja

I spend 20+ years in South Florida and love Cuban food, which is easy to find there and delicious. Since moving north, I’ve not found it in many places, and if I have, it just isn’t the same.

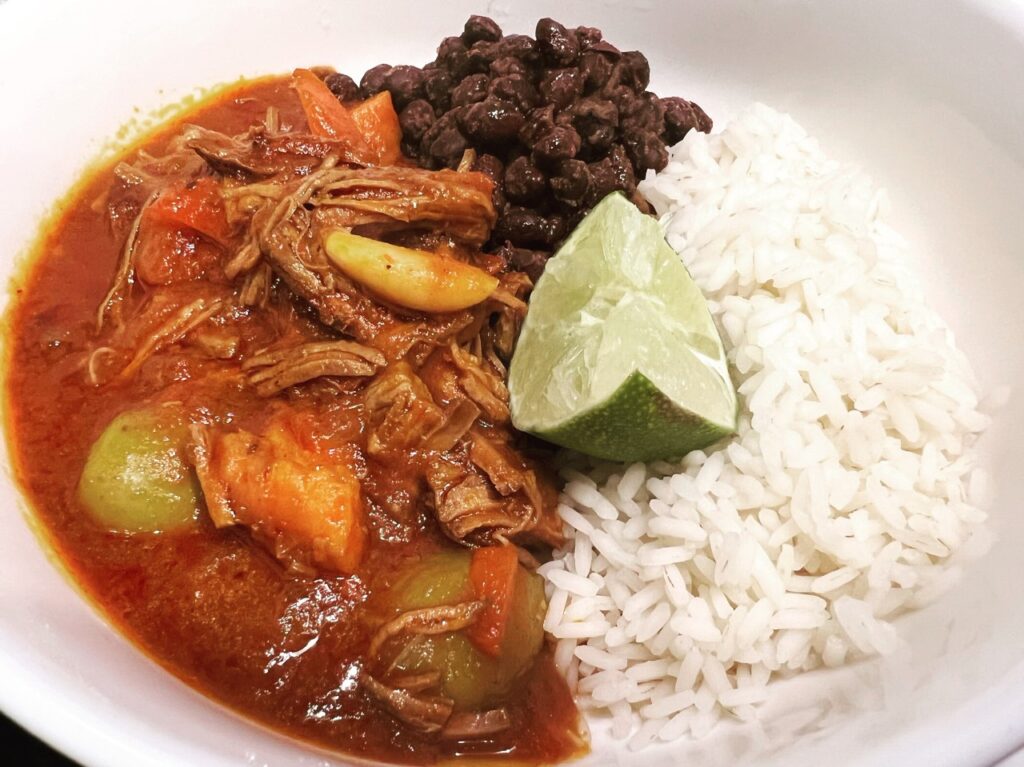
Ropa Vieja

I was so excited when one of the avid contributors to my Food & Wine Chickie Facebook page, Cathy, shared her recipe for Ropa Vieja, one of my favorite Cuban dishes. The dish is named Ropa Vieja as it translates to “old clothes”, a reference to the beef’s shredded/tattered appearance.

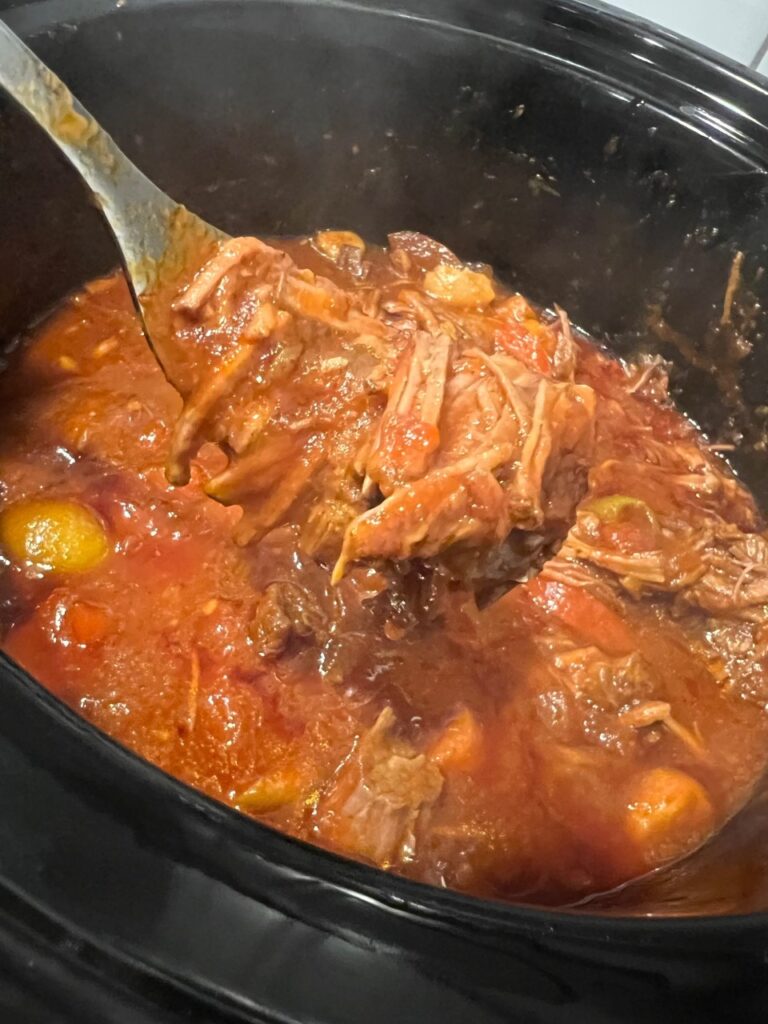
While there are many regional variations of this dish, the basic concept of that of braised flank steak with vegetables that’s cooked until the meat’s VERY tender and can easily be shredded. Cathy’s recipe is cooked in the slow cooker, so set it and forget it. In her recipe, she uses green and red bell peppers, but I prefer all red so the below reflects that…and I added garlic, cause everything’s better with garlic. Many remove the carrots before serving, but I like the sweetness of cooked carrots, so they stay in for me.

I serve my Ropa Vieja with white rice and black beans with a nice squeeze of lime. The meat is also AMAZING in tacos and freezes very well for a few months.

Ingredients”

  • 1 Tbsp. olive oil
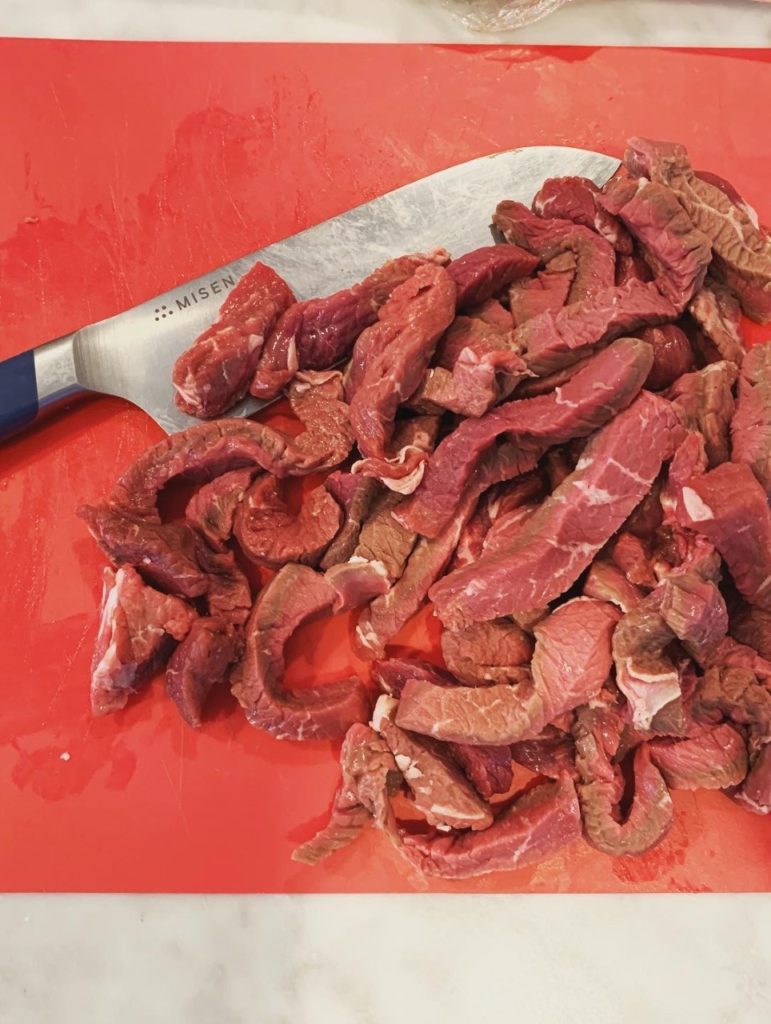
  • 2 – 3-pound flank steak
  • 1 tsp. each salt and pepper
  • 1 red bell pepper, sliced
  • 1 small yellow onion, chopped
  • 1 6-ounce can tomato paste
  • 1 14-ounce can tomato sauce
  • 1 cup of water
  • 2 carrots, chopped
  • 5 garlic cloves, whole
  • 3 bay leaves
  • ½ cup olives with pimiento and ¼ cup of the juice they come in
  • 2 Tbsp. white vinegar
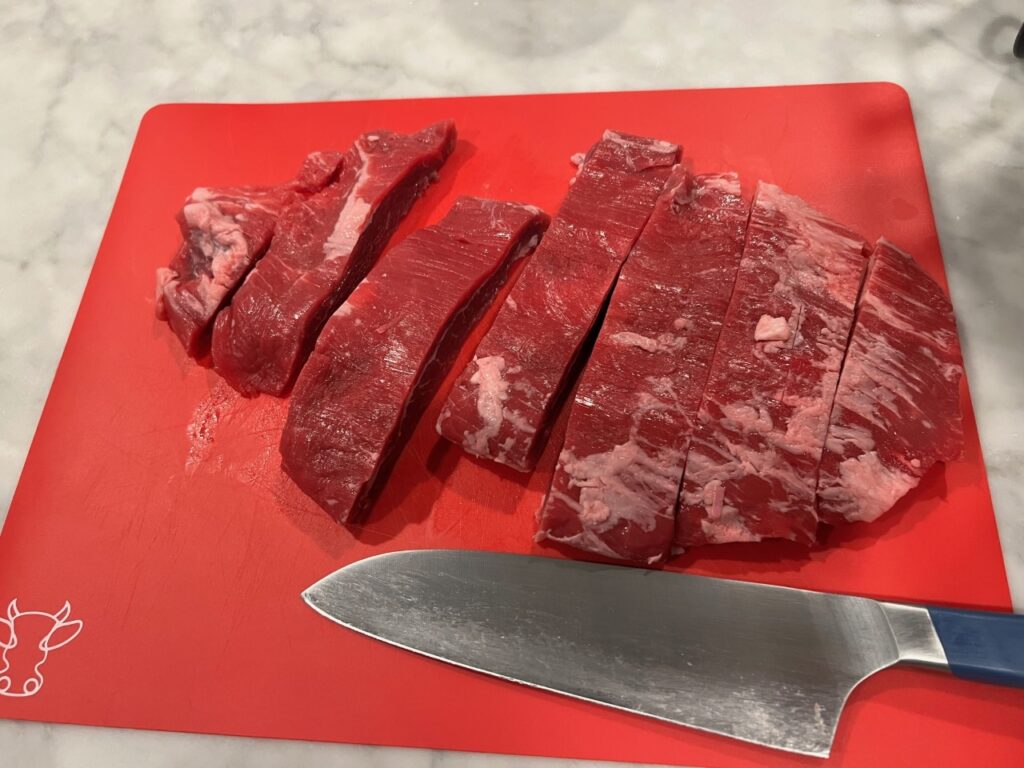
Flank Steak
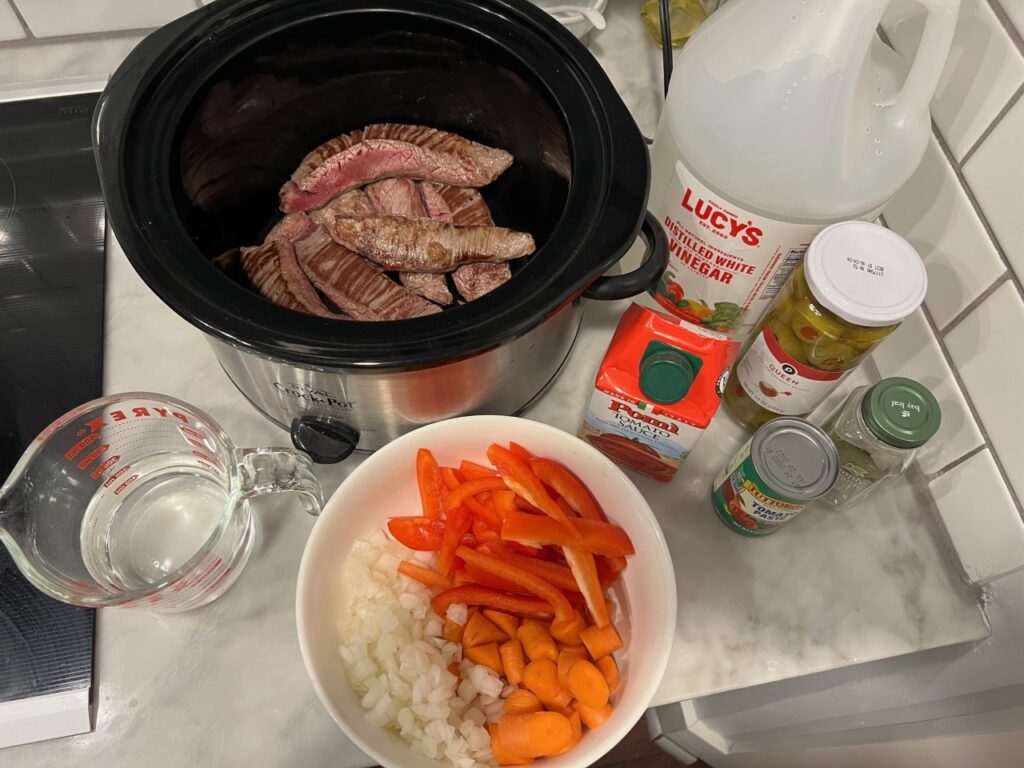
Ropa Vieja Ingredients

Directions:

  1. Over medium-high heat, warm the olive oil in a skillet.
  2. Season the steak with salt and pepper and add to the hot skillet. Brown the meat on both sides, about six minutes total.
  3. Place the browned meat, then all the other ingredients, in the slow cooker. Cook on high for four hours (of 8 hours on low) or until meat is very tender and falling apart. 
  4. With two forks shred apart the meat into stringy strands.
  5. Serve over white rice.

Makes six servings.
Cheers,

Veronique

Easy Pork Schnitzel

Easy Pork Schnitzel

My husband’s Dutch and loves a good schnitzel. We often make this popular German dish using veal or chicken, but perhaps our favorite version is to use pork tenderloin. Pork tenderloin isn’t a cut of meat I purchase often, like its beef counterpart, I just find it too low on fat to produce a juicy, dare I say moist, dish.

Pork Schnitzel

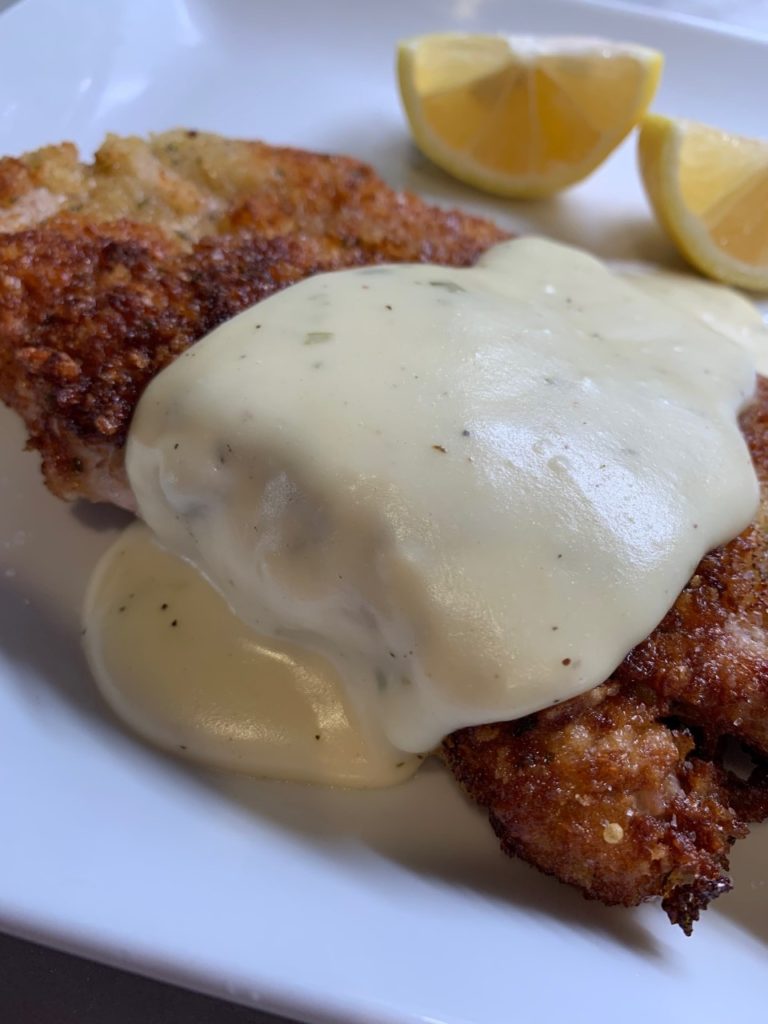
The crunchy exterior and ultra-tender meat are a perfect match for a great schnitzel. I typically serve our pork schnitzel with my Lemon Mustard Cream Sauce and lots of fresh lemons.

Ingredients:

  • 1 pork tenderloin cut into 2-inch-thick portions
  • 2 cups breadcrumbs, I like a mix of regular and Panko
  • 1 cup all-purpose flour, seasoned with 1/2 tsp. each salt and pepper
  • 2 large eggs, beaten
  • ½ cup vegetable oil for frying
  • Lemon Mustard Cream Sauce
  • 2 lemons, cut into quarters
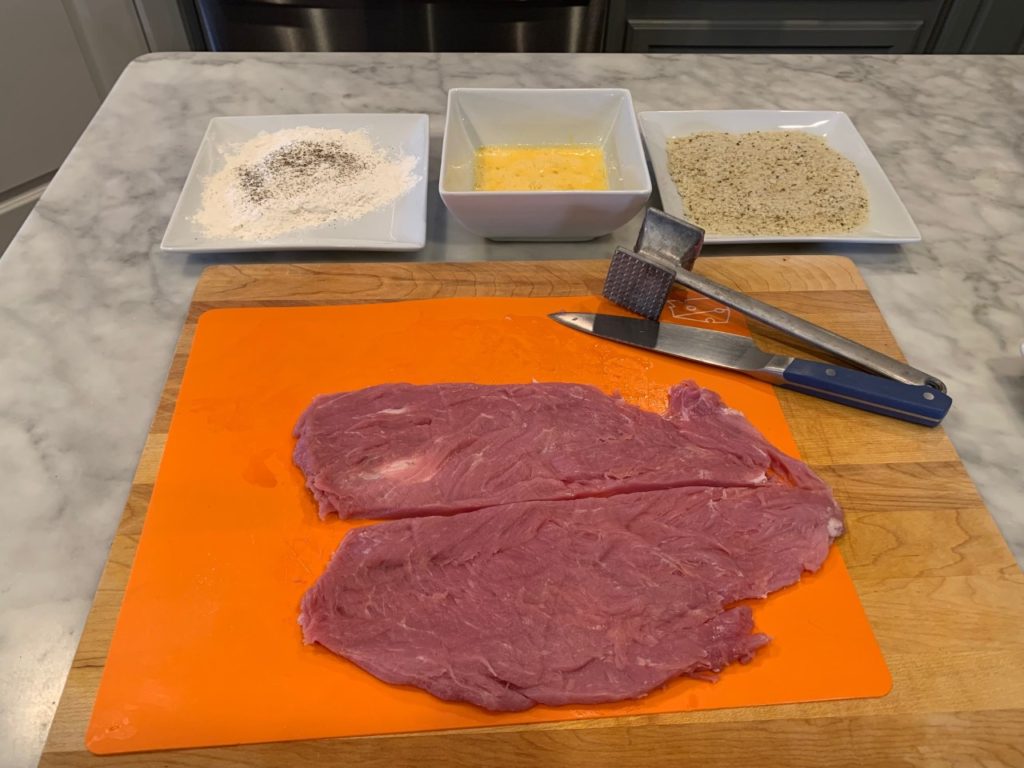
Prepped Ingredients
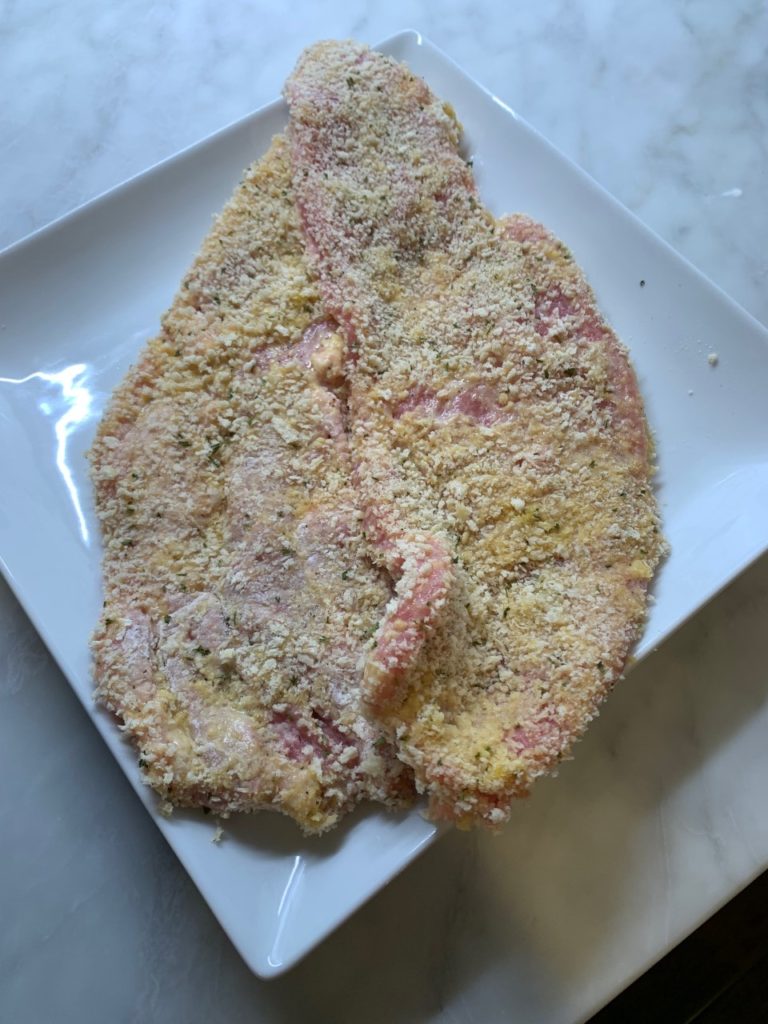
Properly Coated Pork
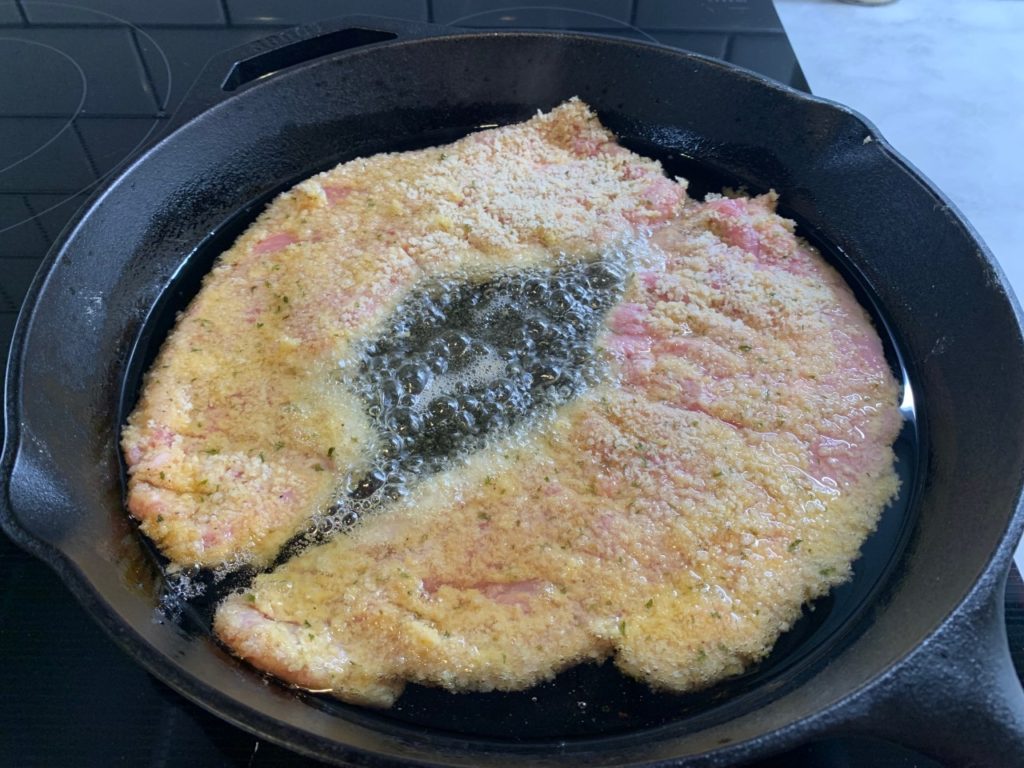
Pork Frying
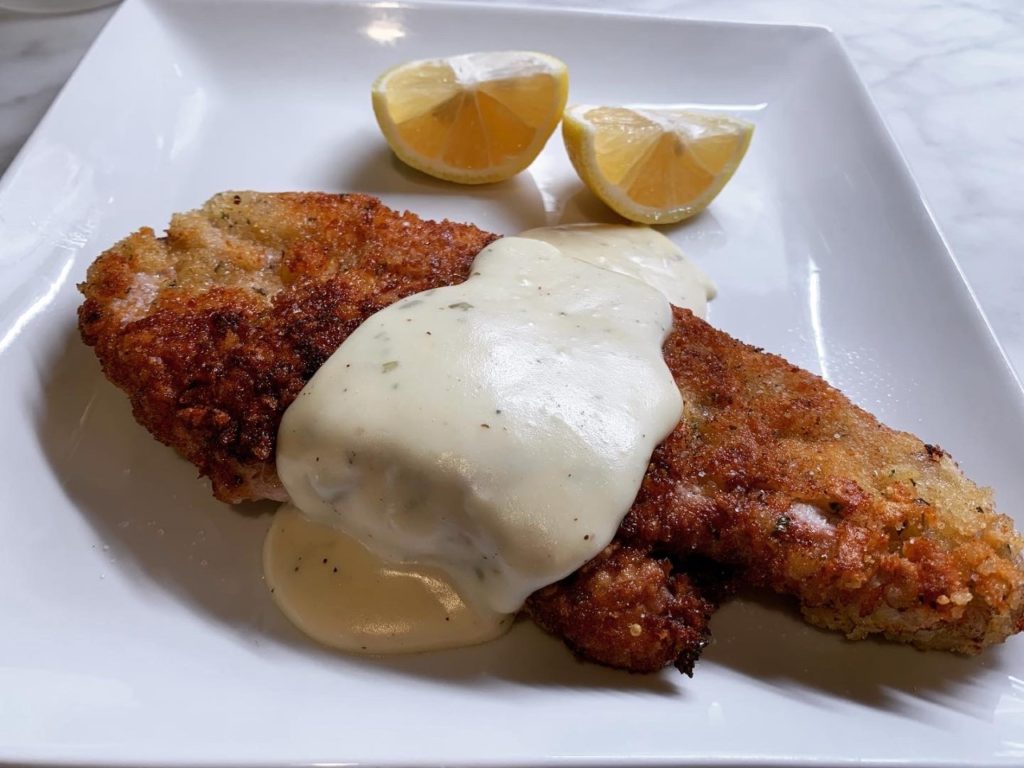
Pork Schnitzel with Lemon Mustard Cream Sauce

Directions:

  1. Place a pork medallion between two layers of plastic wrap and pound with a meat mallet to ¼ inch thick.
  2. Place the breadcrumbs on a plate.
  3. Place the flour on a separate plate.
  4. Scramble the eggs in a shallow dish.
  5. Warm the vegetable oil in a large deep skillet (I use my cast iron pan) over medium-high heat for about 2 minutes. You want the oil hotel so the pork gets crispy and not soggy.
  6. Dredge the pork into the flour to coat, then dip into egg mixture, back into the flour, back in the egg then finally in the breadcrumbs. Lightly pat the breadcrumbs on to ensure a good coating.
  7. Place the coated pork into the hot oil and fry 3 to 4 minutes. Flip the pork and cook and additional 3 minutes, or until the pork is browned and crisp. Fry in batches so the pan doesn’t get crowded causing the oil to cool too much.
  8. Serve hot with the Lemon Mustard Cream Sauce lemon wedges.

Makes two generous portions or up to four if you serve the schnitzel with a starch like mashed potatoes, rice or buttered noodles.

Reverse Seared Roasted Prime Rib

Reverse Seared Roasted Prime Rib

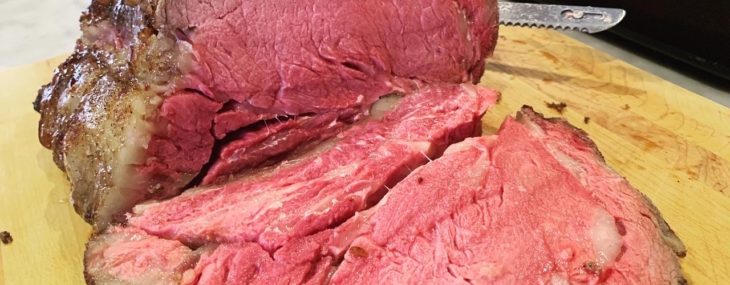
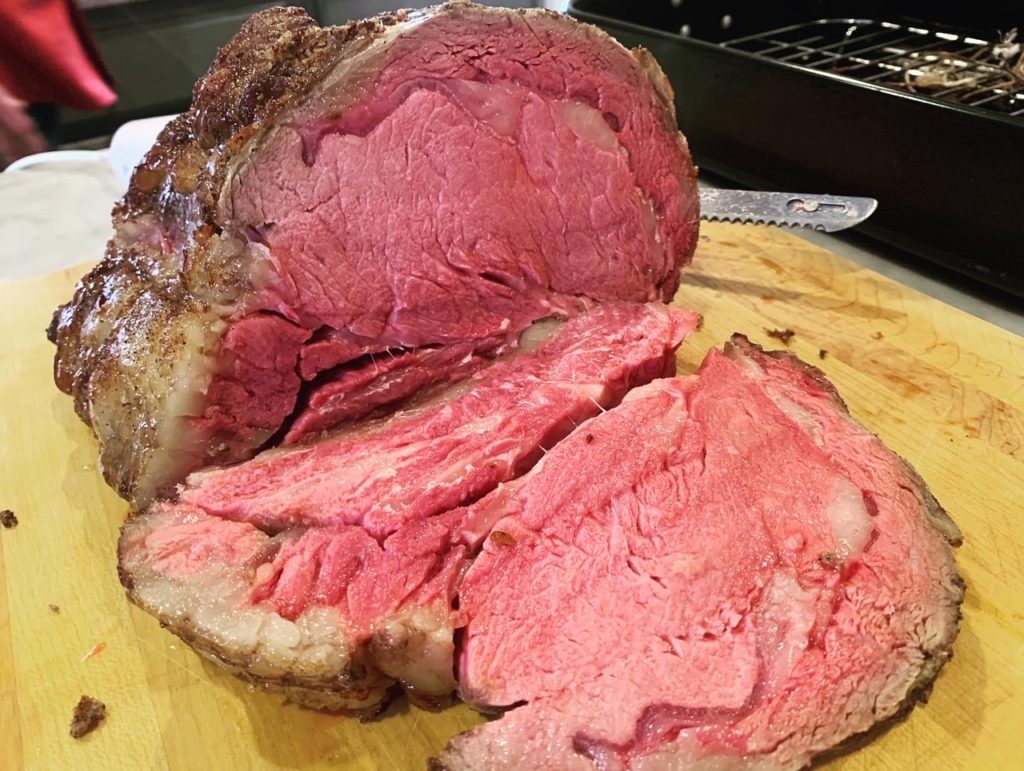
This is the ultimate prime rib technique. I’ve used it the last two Christmases and it produced superior results and I highly recommend it. I very skeptical when I saw the beef would roast at 150 degrees Fahrenheit, but, it’s simply brilliant.

Reasons to love this technique:

  1. Set it and forget it for five ½ – six ½ hours!
  2. It comes out of the oven and MUST rest for 45-60 minutes allowing you to use the oven for other purposes, like making Fail Proof Yorkshire Puddings.
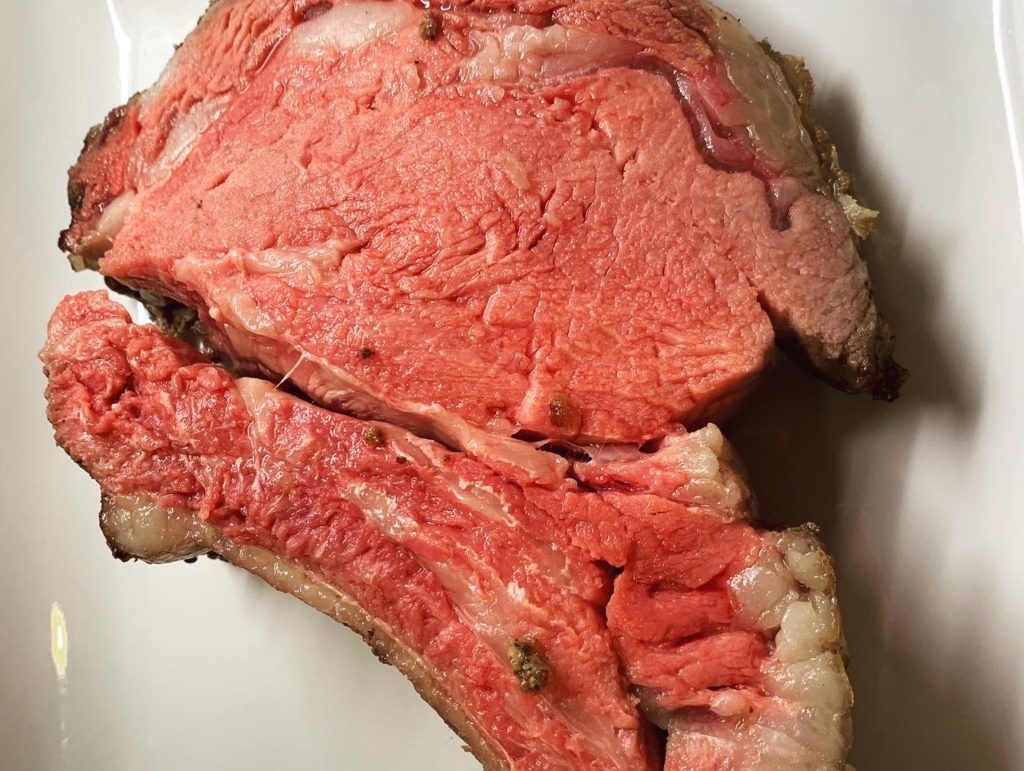
  3. The slow and low temperature creates a perfect cook from edge to edge. No more bullet of raw beef in the center and gray/overcooked meat on the outside.
  4. As long as you keep the cooked beef covered loosely in foil, you can determine the exact time you’ll serve dinner because all you need before slicing is 10 minutes in the hot oven. This is awesome!

Technique:

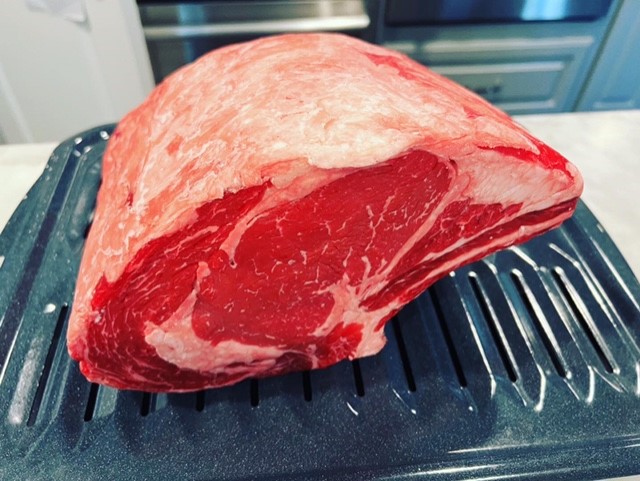
  1. This works with a bone-in (a must), well-marbled prime rib from three-12 pounds. I typically make a four to five-pound roast to feed four-six people.
  2. The day prior to your dinner party, take the beef out of the packaging and place on a rack in a roasting pan and place in the fridge uncovered.
    • The early morning of your dinner, apply a very generous coating of black pepper and kosher salt to the roast and put back in the fridge until ready to cook.
    • Two hours before cooking, take the roast out of the fridge to allow to come to room temperature.
    • Place the roast, still on the rack in the roasting pan, in a 150-175 degree Fahrenheit oven (some ovens won’t stay on at 150 degrees, so raise to 175 degrees if that happens). I cook mine at 150 degrees. Place an instant-read thermometer in the center of the roast (make sure it doesn’t touch a bone). Cook for five ½ – six ½ hours, until the thermometer reads 120 degrees for rare, 130 for medium-rare or 135 for medium. Anything more cooked than medium is a sin, don’t be sinful. For a five-pound roast, mine took just over 6 hours.
    • Once the roast reaches the desired temp, 120 degrees at my home, take out of the oven and tent it loosely with foil. Allow the roast to rest for 45-60 minutes.
    • Raise the oven temp to 500 degrees and place the roast back in the oven, without the foil, for 10 minutes to crisp up on the outside. I only crisped mine up for seven minutes, but will go the full 10 next time for a deeper brown color.
    • Serve at once!
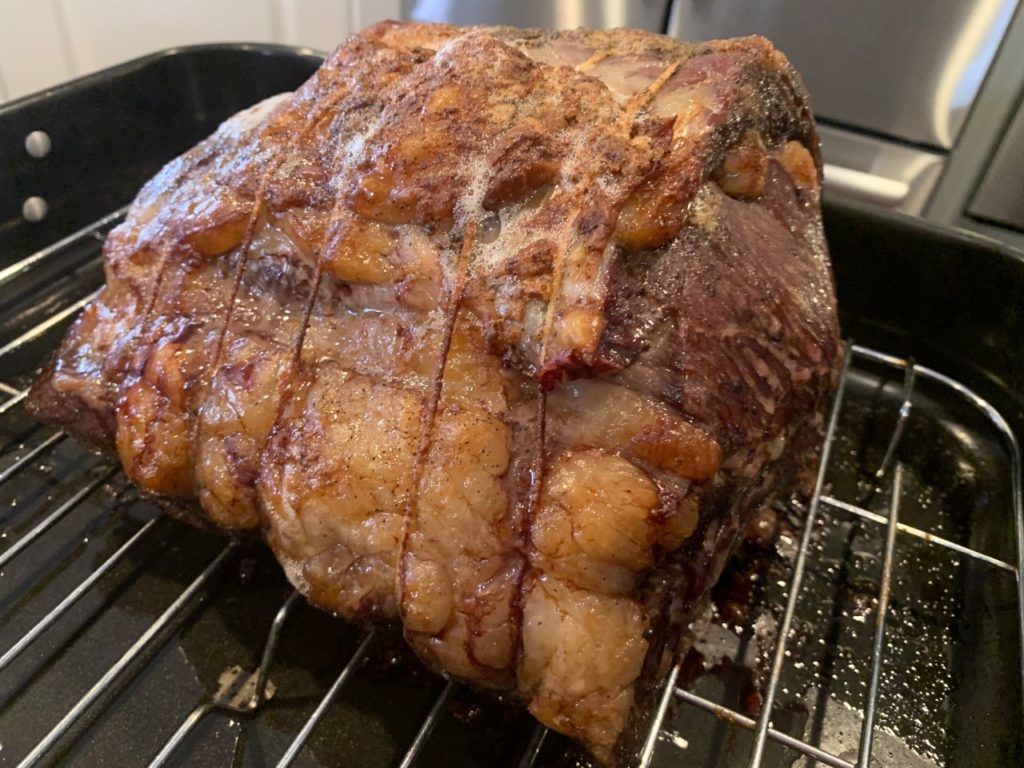
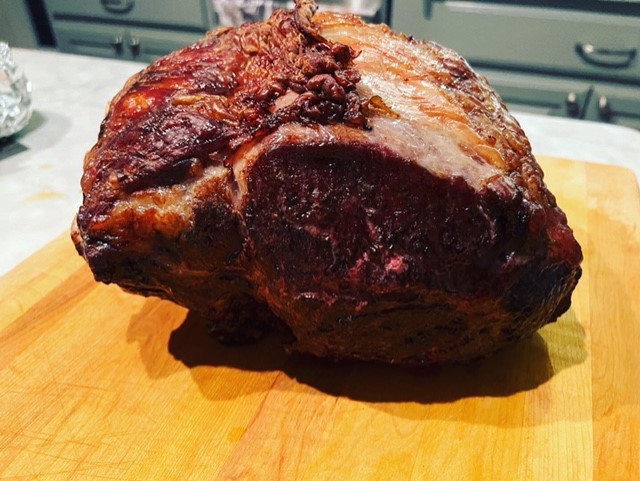
    See the ‘crust’ that forms from sitting overnight in the fridge?
    Look at the yummy crust!

    The fabulous person whose method this is, is J. Kenji López-Alt, a stay-at-home dad who’s moonlighted as a culinary consultant of Serious Eats. Read all about the fascinating testing he did to come up with this perfect method on Serious Eats. This guy’s changed my Christmas dinners forever and I’m very grateful!

    Please let me know how your prime rib turns out when you try this method!

    Cheers,

    Veronique

    Josee’s Beef Stroganoff

    Josee’s Beef Stroganoff

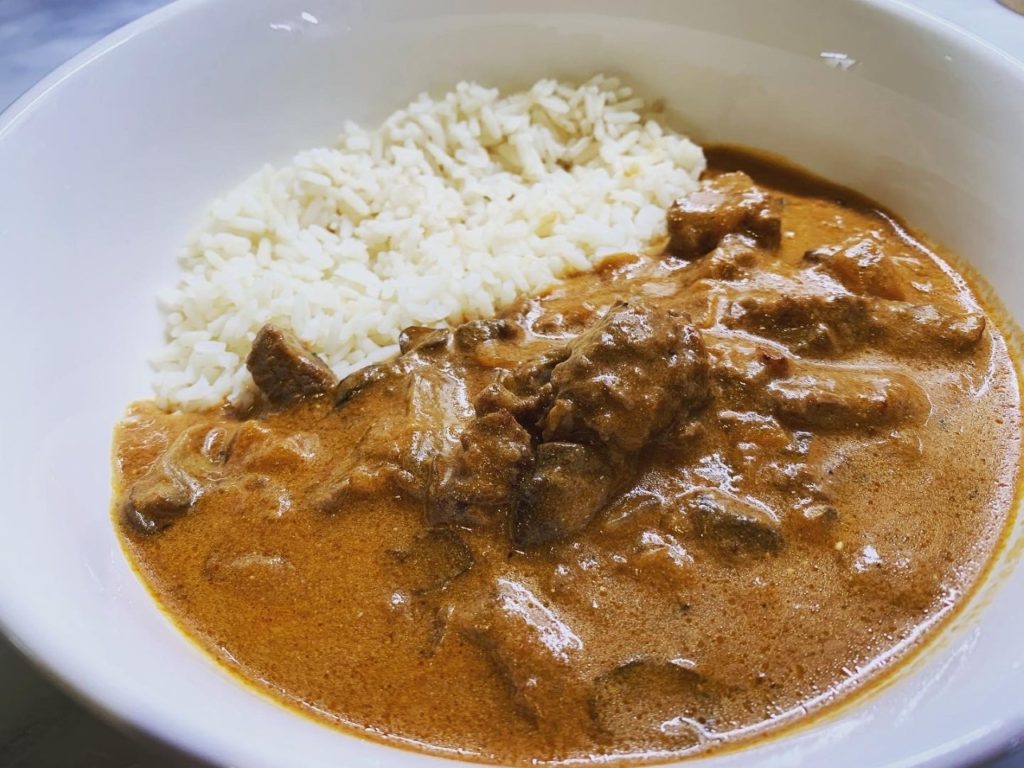
    In our family, my sister makes the very best beef stroganoff. Hers is the recipe my grandma used and it’s rich, comforting and perfect on a cool night.

    Beef Stroganoff was invented and named after Count Stroganoff, a member of a Russian elite family, by his personal chef.

    In the original recipe, beef bouillon granules are added to boiling water to create a broth. I’m simply using beef broth and it’s an adequate substitute.

    Serve this dish the day after making it as it gets better as it sits. You just need a side of long grain white rice for a perfect pairing.

    Ingredients:

    • 2-pound sirloin, sliced into 2” strips
    • 4 Tbsp. all-purpose flour
    • 1 small onion, diced
    • 1/2-pound mushrooms, sliced
    • 3 Tbsp. butter
    • 1/4 cup vegetable oil
    • 2 cups hot beef broth
    • 3 Tbsp. Worcestershire sauce
    • 3 Tbsp. tomato paste
    • 1 tsp. salt
    • 1/2 tsp. black pepper
    • 2 bay leaves
    • 1/ tsp. thyme
    • 1 cup sour cream
    • Cooked white rice
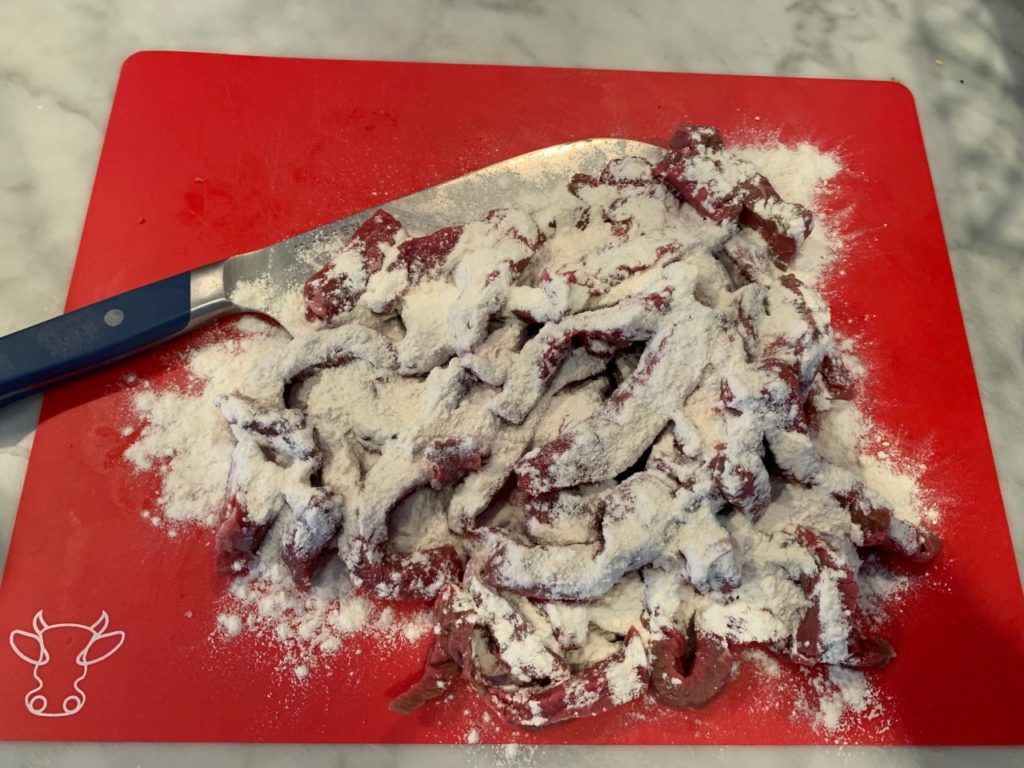
    Cut Beef Into Strips
    Sprinkle Beef with Flour
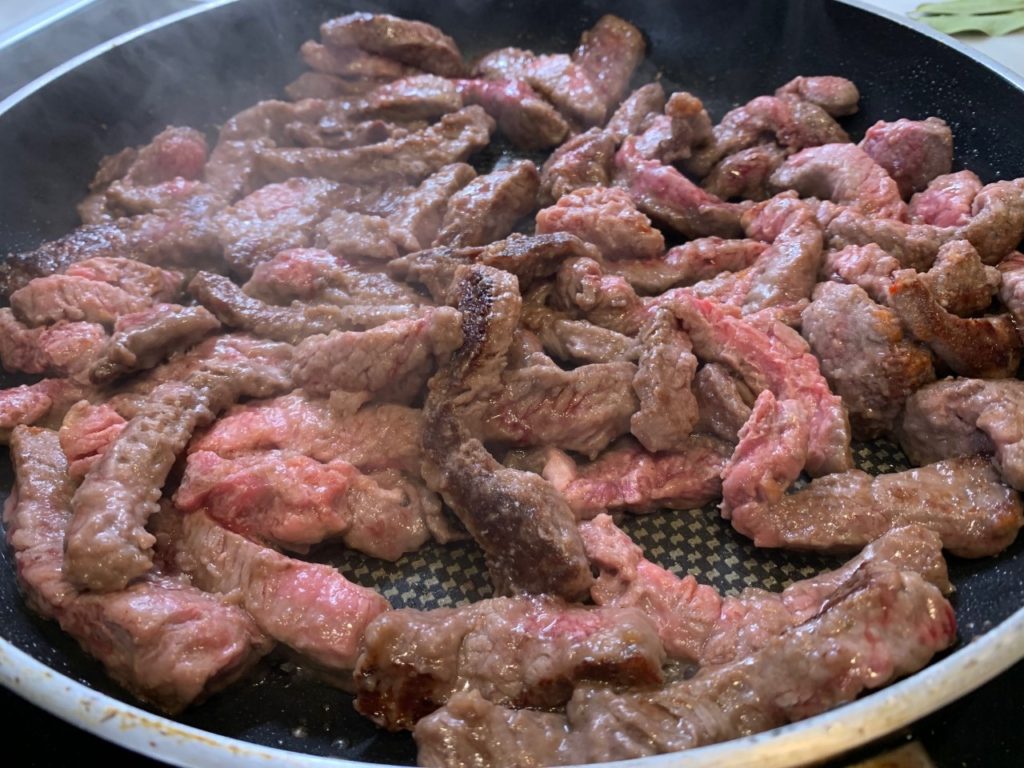
    Sauté Beef
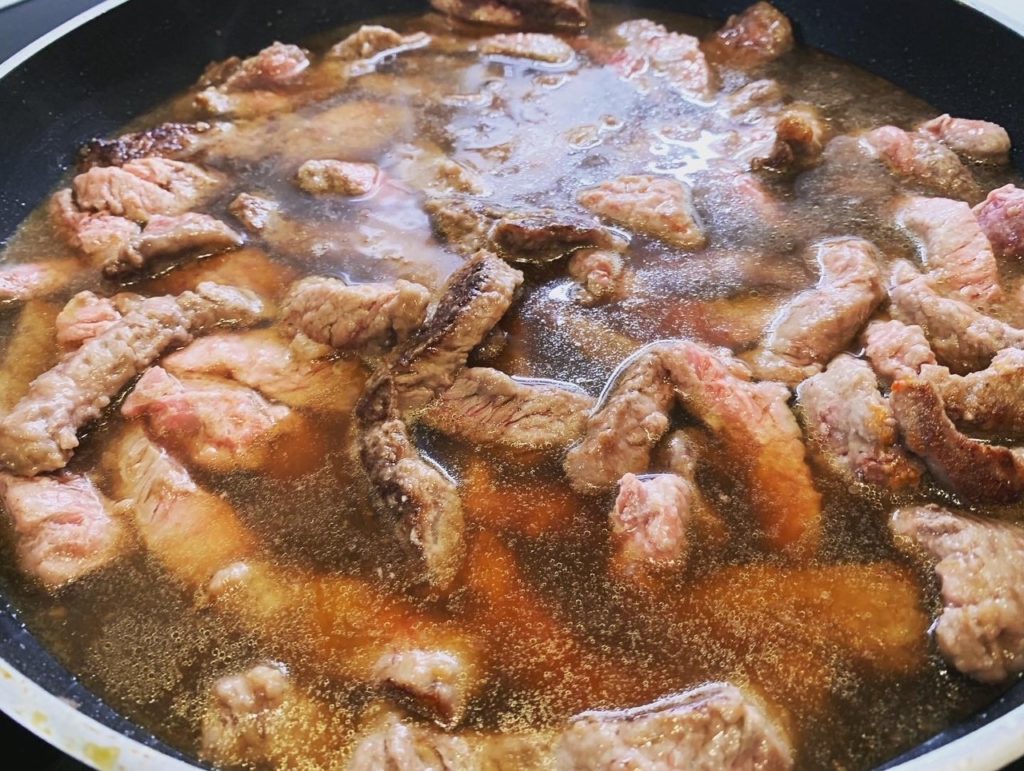
    Add Broth to Beef
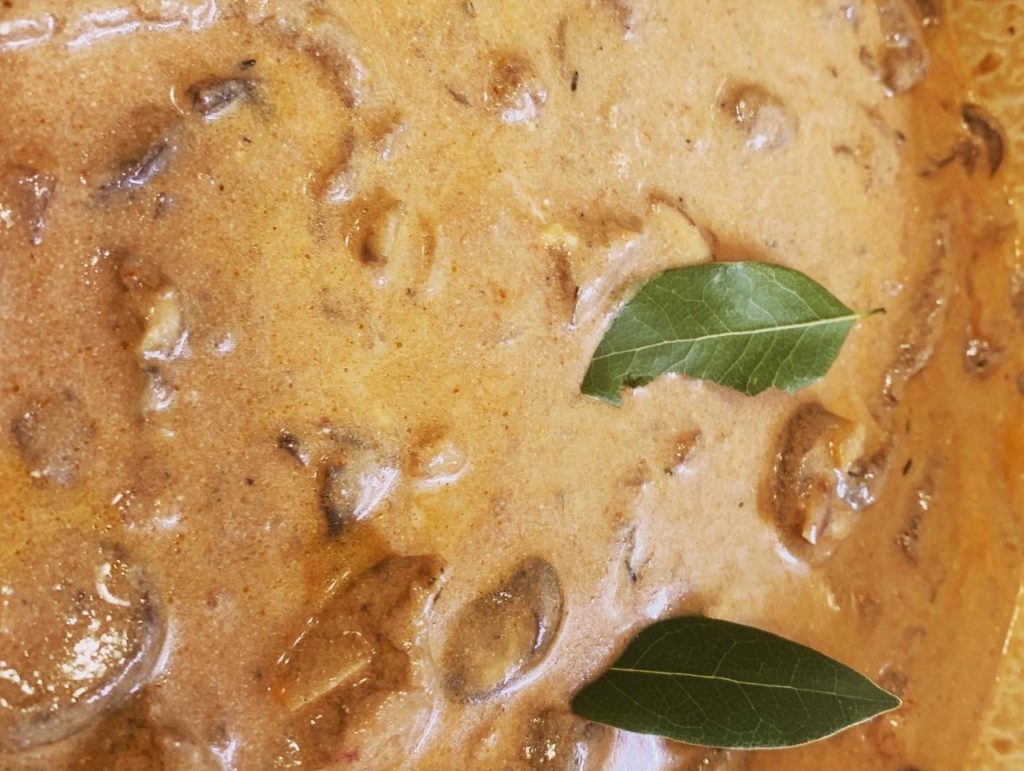
    Beef Stroganoff Simmering

    Directions:

    1. Coat the beef strips with the flour, set aside.
    2. In a medium Dutch oven or heavy pot, sauté the onion and mushrooms with the butter over medium heat until softened, about 5 minutes, stirring frequently.
    3. While the vegetables cook, in a large heavy skillet, heat the oil over medium-high heat. Add the beef strips and cook for about 5-7 minutes until the beef has browned, stirring a few times to prevent scorching. Add the hot broth to the beef and stir to scrape down any brown bits from the bottom of the pan. Cook for 1 minute.
    4. Add the broth and beef to the vegetables and stir to combine.
    5. Add the Worcestershire sauce and tomato paste and stir to combine.
    6. Add the spices and the sour cream and stir again to combine.
    7. Lower the heat to low, cover and simmer for 2 1/2 – 3 hours, stirring occasionally, until the beef is tender.
    8. Serve with rice

    Makes 4-6 servings depending on how hungry your family is.

    Quebec Meat Pies (Pâtés a la Viande or Tourtières)

    Quebec Meat Pies (Pâtés a la Viande or Tourtières)

    Meat pie, pâté a la viande, tourtière….there are so many names for the popular Quebec dish! The idea is a mixture of cooked ground meats baked between two flaky pastries.

    Where I’m from in Quebec, the holidays simply wouldn’t be joyous without a meat pie on our Christmas tables. There are a gazillion versions, typically passed down from generation to generation, and every family claims theirs is the best and THE recipe.

    My one criticism of the meat pie is that depending on how fatty the meats are, the pie can be dry. In my family, we use a mixture of pork and beef and it’s still what I prefer. Once in a while, I add small cubes of potatoes and that’s tasty too. This year, I saw someone on one of my Canadian Facebook pages that said her family uses mashed potatoes in their meat pies. What!!?? Then I thought…mmmm….wouldn’t that make the meat mixture creamy and not crumbly/dry? The answer is 100% YES!! These were the best meat pies I’ve ever had and I’ll always make them with mashed potatoes going forward.

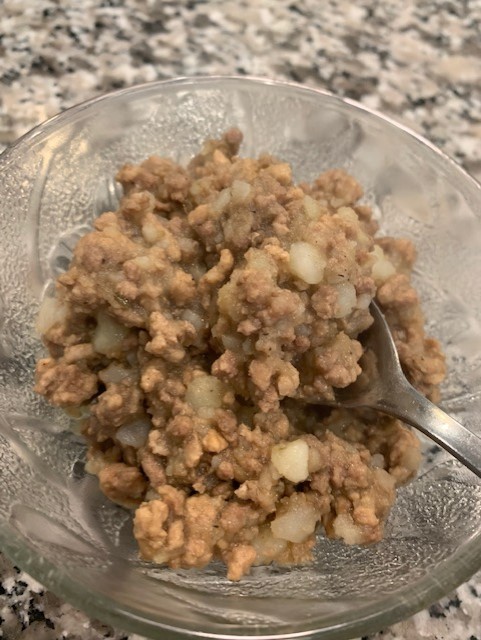
    My Snack of Leftover Mixture

    For this Quebec Tourtière recipe, I make a double batch of my buttery Fail Proof Pie Crust recipe and for the two, double-crusted meat pies. Simply omit the sugar in the crust recipe as this is a savory pie.

    Ingredients:

    • 2 large or 3 medium Russet potatoes, cut into chunks
    • 2 Tbsp. vegetable oil
    • 1 ½ pounds ground beef (80%/20% fat)
    • 1 ½ pounds ground pork
    • 2 small onions, diced
    • 1 cup brewed medium roast coffee
    • 1 cup beef broth
    • ¼ tsp. ground cinnamon
    • ¼ tsp. ground nutmeg
    • ½ tsp. ground clove
    • 2 tsp. salt
    • ½ tsp. black pepper
    • 4 9” pie crusts
    • 1 egg + 1 Tbsp. water stirred well
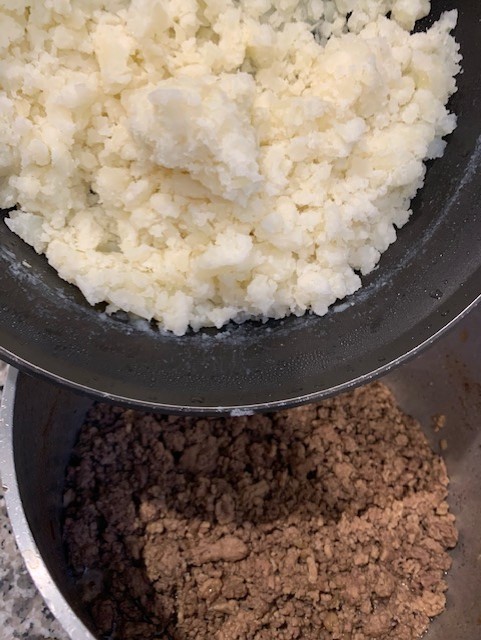
    Mashed Potatoes and Meat Pot
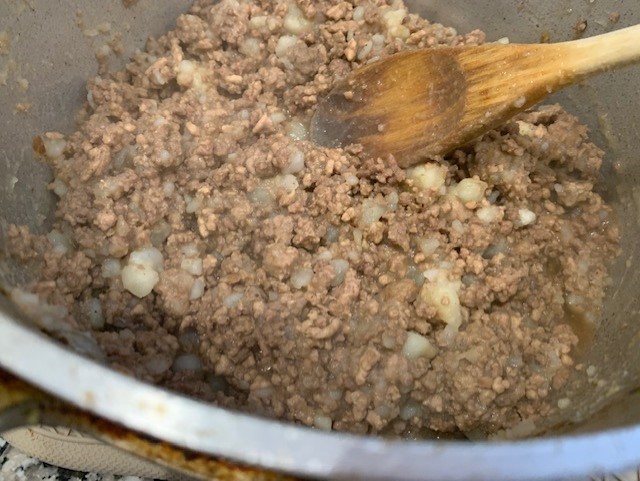
    Meat with the Mashed Potatoes Combined
    Eggy Crust for Sealing
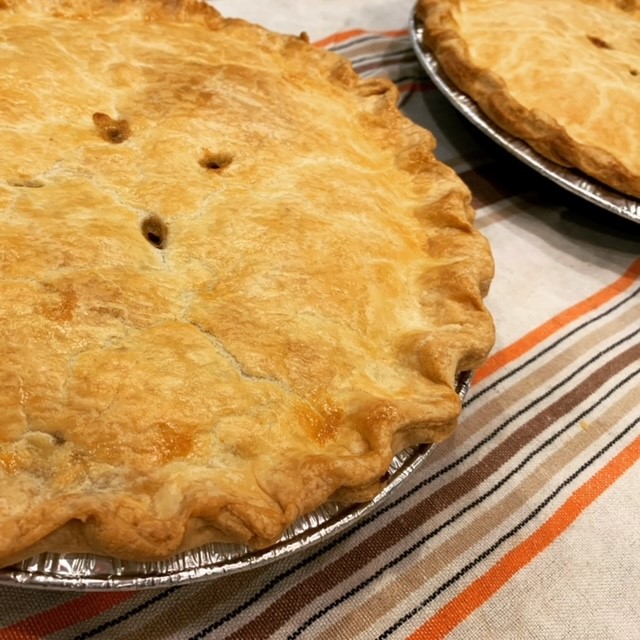
    Meat Pie Ready for Baking

    Directions:

    1. Place the potato pieces in a medium saucepan and cover with water. Over high heat, bring the water to a boil then turn the heat down to medium and simmer for about 20 minutes, until the potatoes are fork tender. Drain very well and return the potatoes to the pan to dry for a few minutes then mash well with a potato masher. Set aside.
    2. In a large saucepan over medium-high heat, warm the oil then add the ground beef and the ground pork and cook for 4-5 minutes, stirring occasionally, until no longer pink. Add the onion and continue cooking for 3-4 minutes until the onion has softened. Add the coffee, broth and all the spices and stir well. Cook over medium heat for 10 minutes until some of the liquid has evaporated. Add the mashed potatoes to the meat mixture and still until well-distributed and the potatoes have absorbed the liquid.
    3. Preheat oven to 350 degrees.
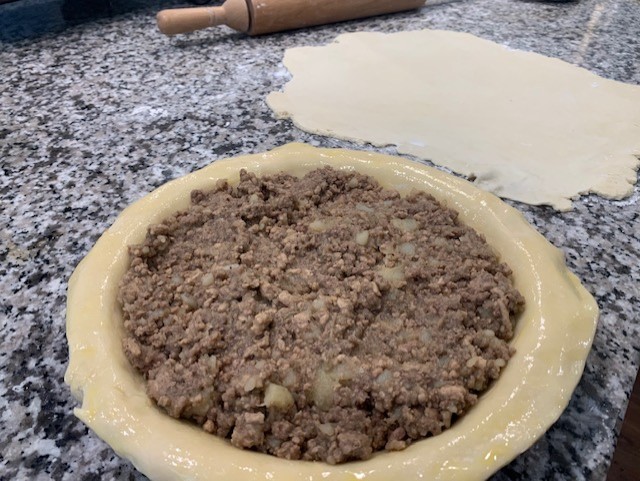
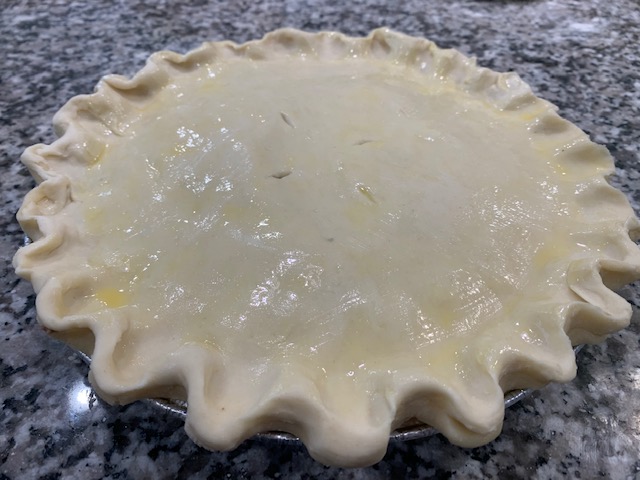
    4. Place a pie crust in each of two 9” pie plates. Add enough of the meat mixture to the two pies so that the meat is a bit above the height of the pie plate (you may have some leftover meat which is delish eaten out of a bowl as a side treat). With wet fingers from dipping in water, wet the crust on the lip of each pie to create the ‘glue’ that will adhere to the top crust. Cover with the remaining two crusts and crimp the bottom and top crusts together to ensure they’re sealed. Cut some slits in the top crusts to create a way for extra moisture to escape. Brush the egg mixture over the pies. Place the pies in the oven and bake for 45 minutes, until the pies crusts are golden brown.
    5. Enjoy the pies right away or cool completely and place in zip top bags then in the fridge for up to 4 days or in the freezer for up to 2 months. To reheat, bring the pies to room them and bake in a 325-degree oven for about 10 minutes.

    Makes two 9” meat pies serving 6-8 each.

    Cheesy Bacon Chicken Bake

    Cheesy Bacon Chicken Bake

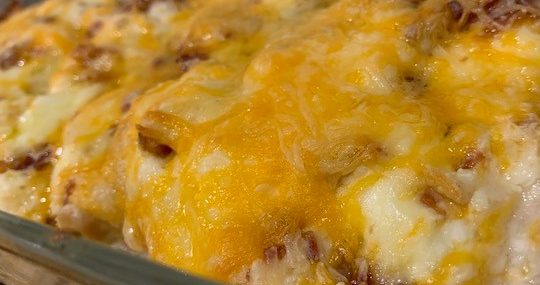
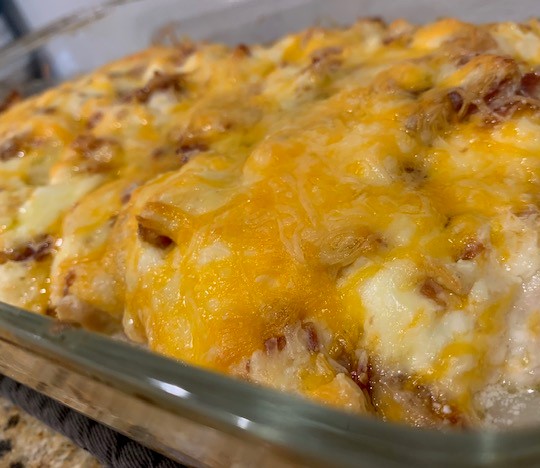
    While baked chicken recipes can be boring and sometimes even bland, this easy weeknight Cheesy Bacon Chicken Bake recipe is just the opposite.

    It came to me as we were trying to empty our freezer and fridge before our move out of state. We had some chicken breasts in the freezer, that I thawed, and a block of cream cheese and some pre-cooked bacon to use up, so the Cheesy Bacon Chicken Bake was born.

    This low carb recipe comes together in mere minutes and is perfect for weeknights or an easy weekend dinner. You could add things like cubed ham instead of bacon or add cooked spinach or cooked mushrooms and it would be delicious. The shredded cheese you use can also be changed to Swiss or Colby or Jack, or whatever you have on hand.

    The chicken can be served with rice or a side salad for those living the keto life.

    Ingredients:

    • 4 boneless, skinless breasts halves, sliced in half horizontally (you’ll have 8 pieces)
    • 1/3 cup mayonnaise (I used Duke’s)
    • 8 ounces cream cheese, softened
    • 2 cups shredded sharp Cheddar cheese, divided
    • ½ tsp. each salt, pepper and garlic powder
    • 8 slices cooked bacon, chopped into bite size pieces
    • Chopped scallions, optional

    Directions:

    1. Preheat the oven to 375 degrees.
    2. In a rectangular baking dish (I used an 11’x7” Pyrex) place the chicken breasts in an even layer (a bit of overlap is fine).
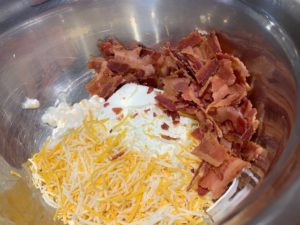
    3. In a medium bowl, combine the mayo, cream cheese, 1 cup shredded Cheddar, the spices and chopped bacon.
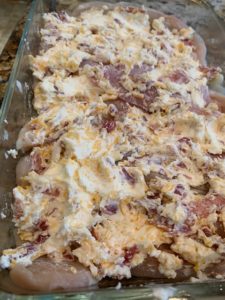
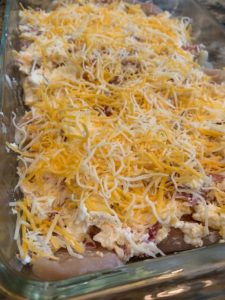
    4. Top the chicken with the cheese/bacon mixture then top that with the rest of the Cheddar.
    5. Bake for 35-40 minutes or until the internal temperature of the chicken is 165 degrees and the cheese has melted and is lightly golden.
    6. Garnish with the scallions, if using.

    Serves 4.

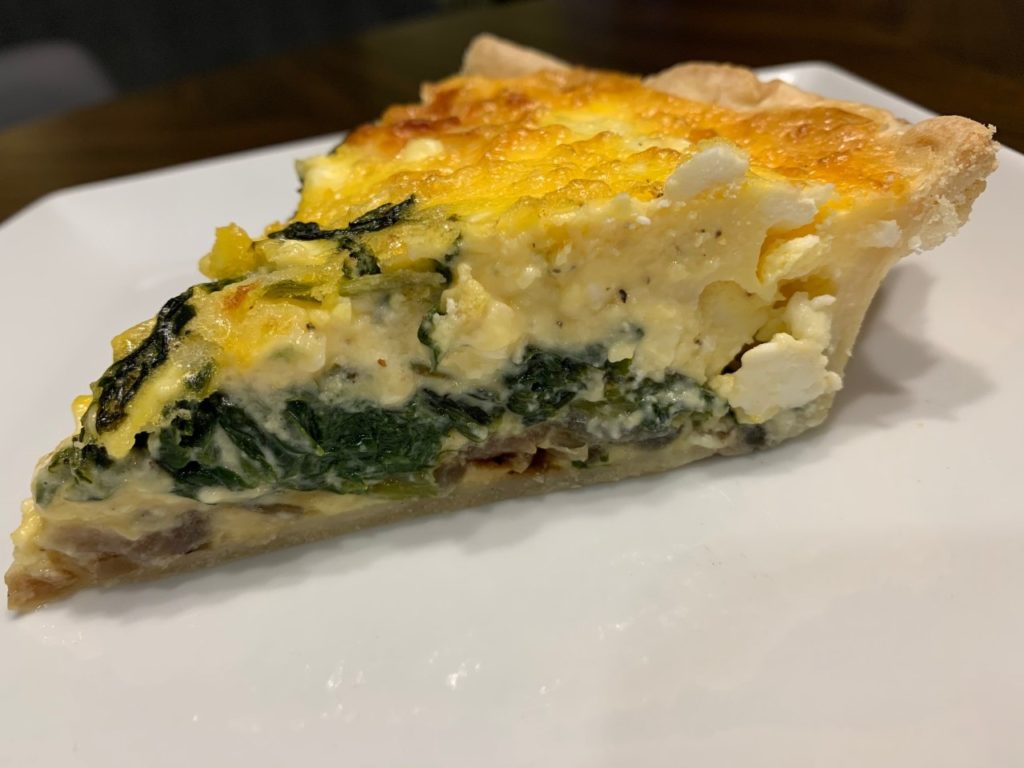
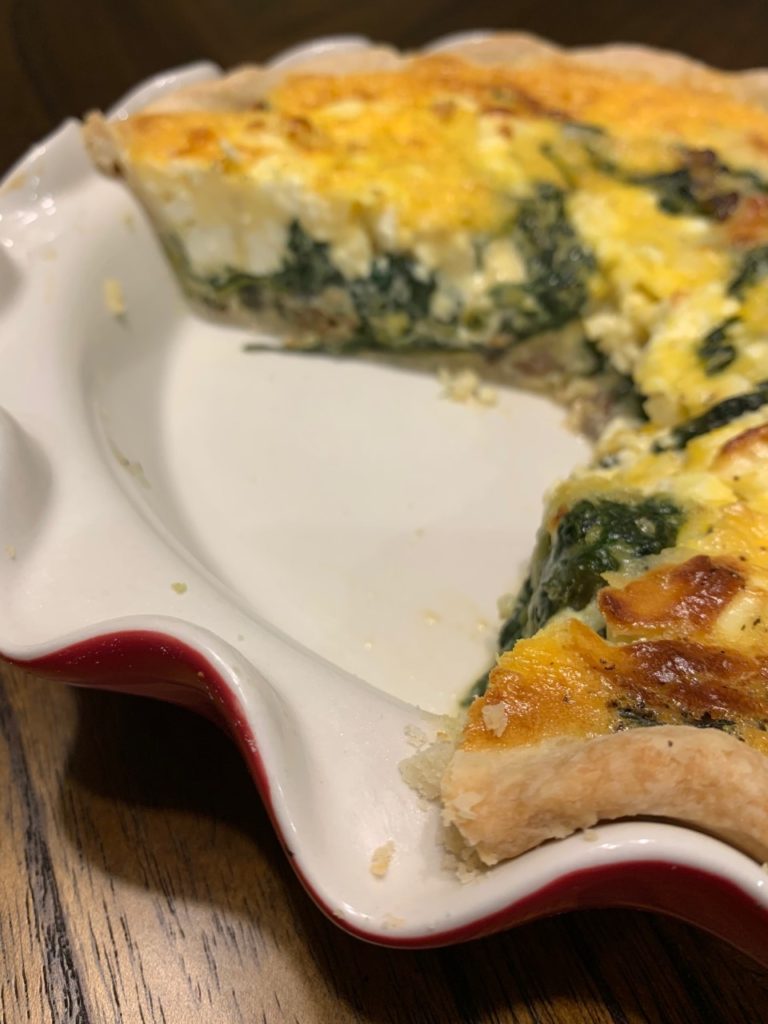
    Mediterranean Spinach and Feta Quiche

    Mediterranean Spinach and Feta Quiche

    I recently hosted a Greek-themed dinner party when I overbought a ton of ingredients (surprise surprise). With a buttery pie crust in the freezer, lots of sautéed spinach, Feta cheese, eggs and red onions on hand, I decided on a Mediterranean quiche!

    Quiches are so versatile as they’re a great way to use up leftovers. This version is a vegetarian quiche but adding cooked bacon, leftover roast chicken or diced ham would also be great.

    I think the crust is the most important part of a good quiche and I provide the EASY way to make a fail proof crust below where you put all the ingredients in the food processor and let it do the work – try it!

    You’ll see that I added some Mozzarella for that cheesy stringy pull but replacing with all Feta would also work well.

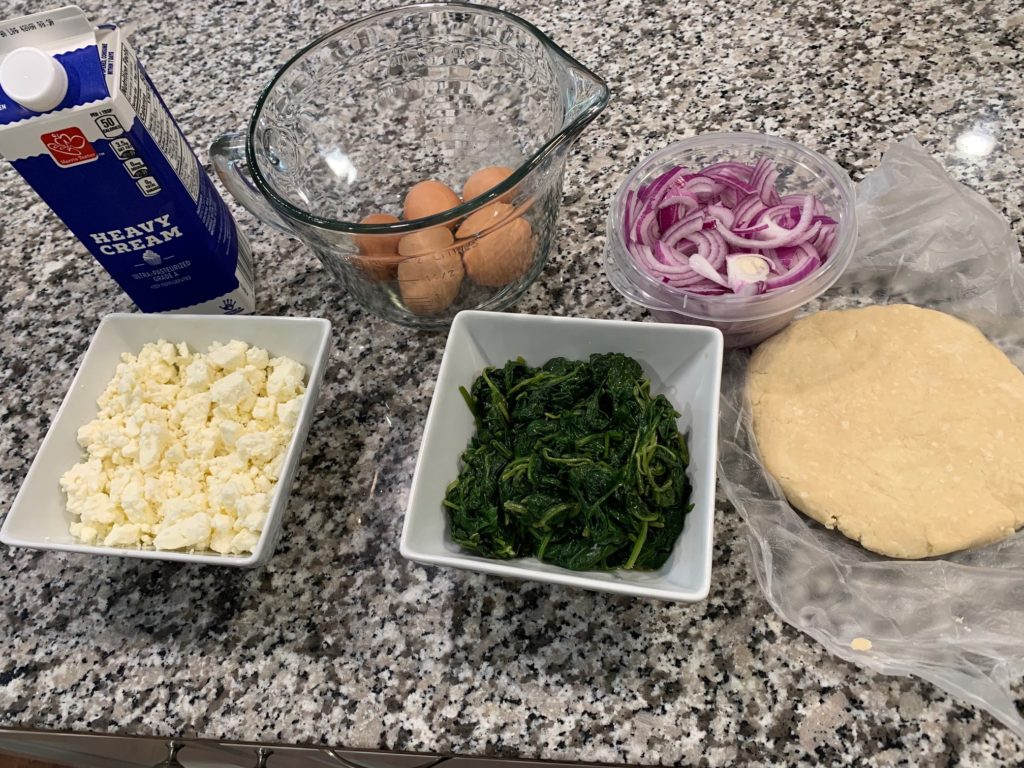
    Ingredients:

    • 1 pie crust, homemade or store-bought
    • 1 Tbsp. vegetable oil
    • ½ medium red onion, thinly sliced
    • 6 large eggs
    • 1 cup heavy cream
    • ½ tsp. each salt, freshly cracked pepper and oregano
    • Big pinch of ground nutmeg
    • 2 cups cooked spinach, squeezed dry
    • 1 cup crumbled Feta cheese
    • 1 cup shredded Mozzarella cheese

    Directions:

    1. Preheat oven to 375 degrees.
    2. Add the pie crust to a 9″ pie plate and place in the freezer for 15 minutes.
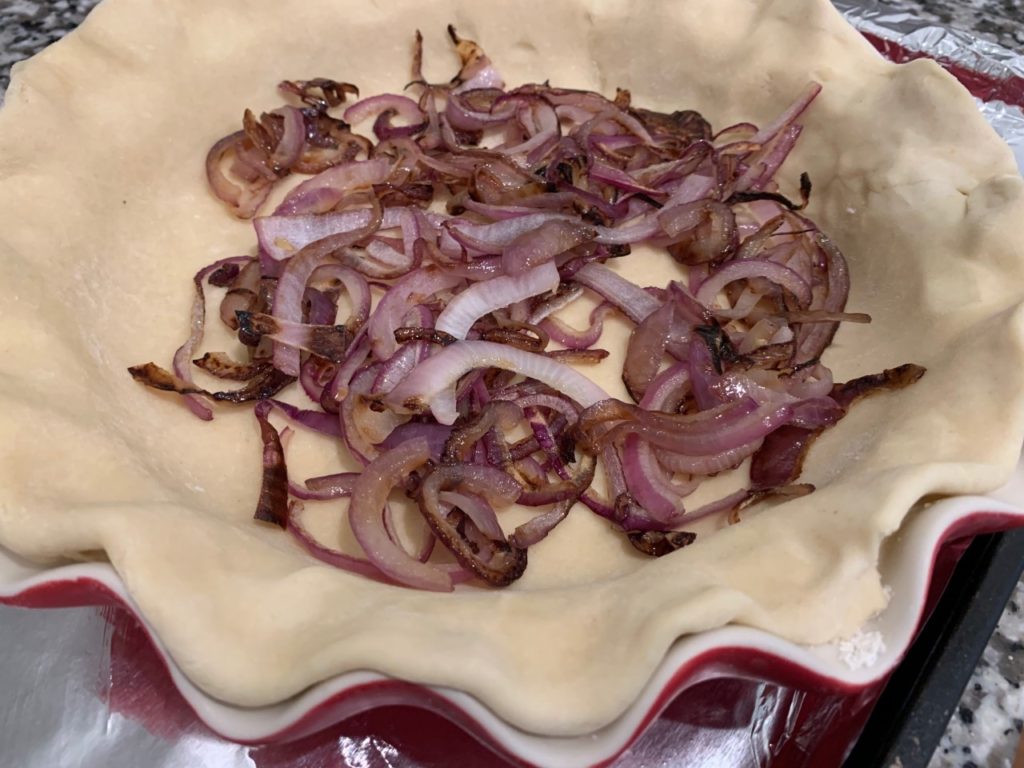
    3. In a medium sauté pan over medium high heat, add the oil and sliced onion. Cook stirring frequently until the onions have softened, about 4 minutes. Take the pan off the heat and allow to cool for 10 minutes.
    4. In a large bowl, whisk together the eggs, cream and the spices for 60 seconds.
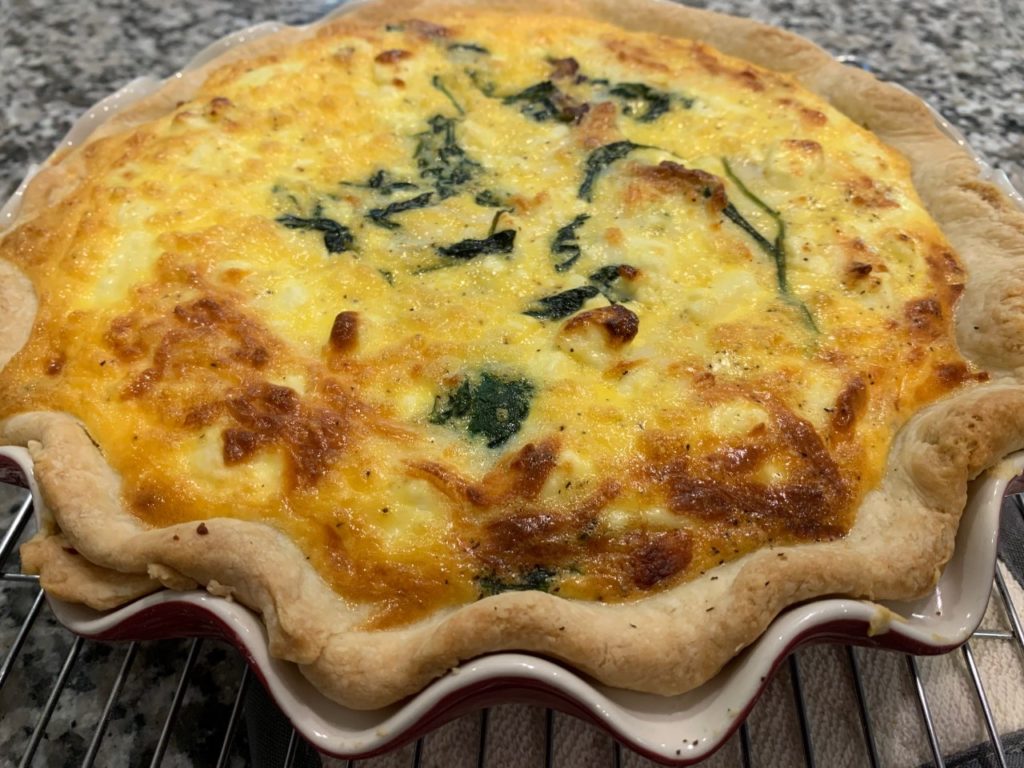
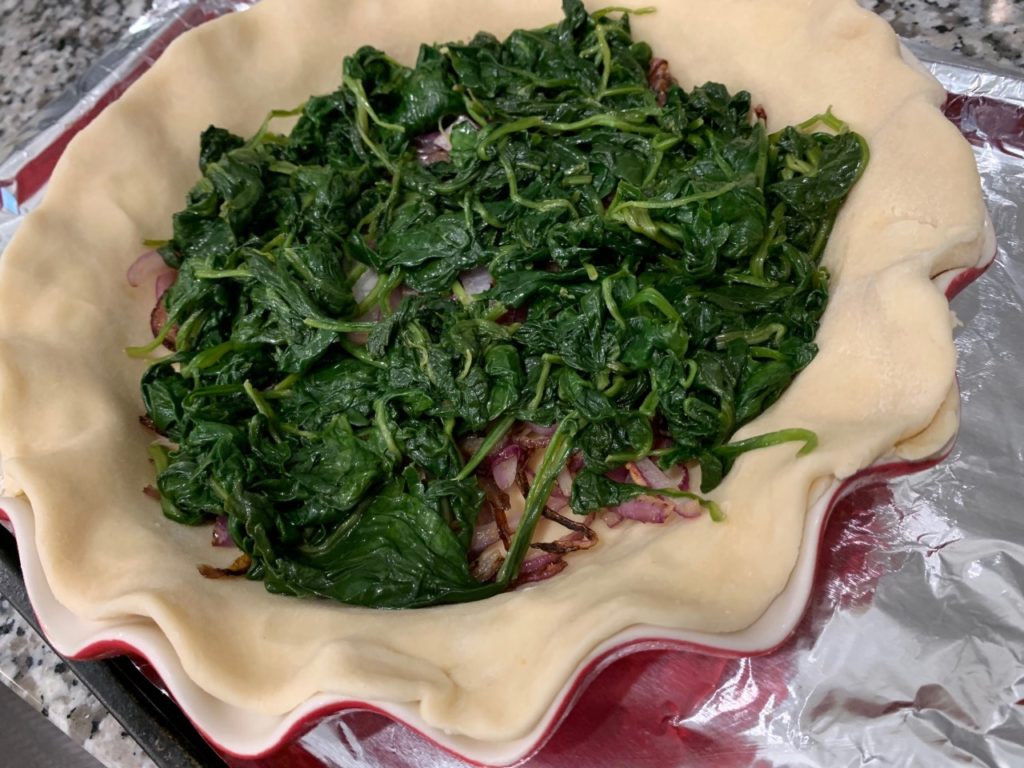
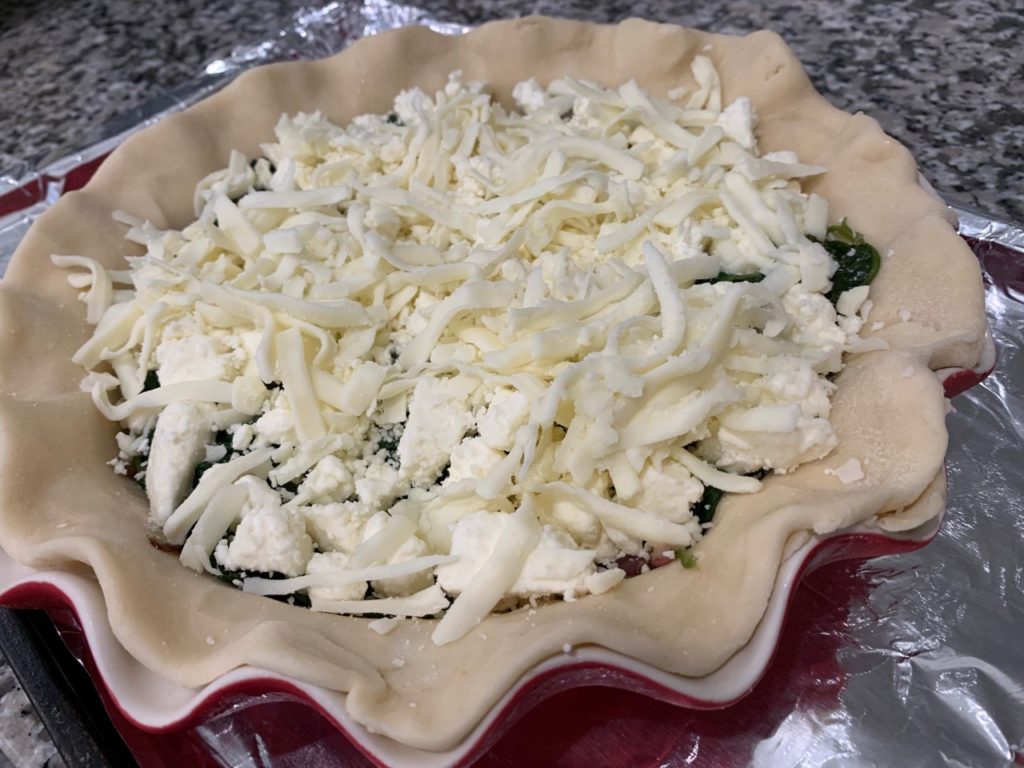
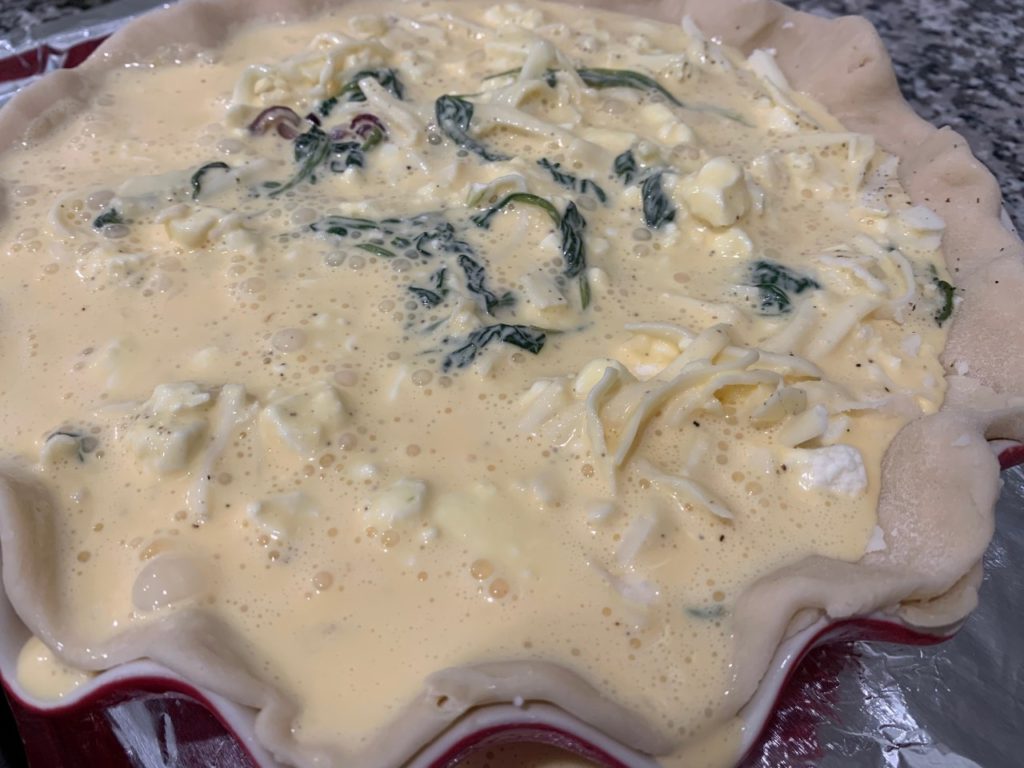
    5. Top the pie crust with the sautéed onion, then the spinach, then the Feta and then the Mozzarella. Place the pie plate on a baking sheet in case of spills. Carefully pour the egg mixture over the cheeses and place the quiche in the oven to bake for 40-45 minutes. The quiche is done when the center is no longer giggly. If the surface of the quiche browns quicker than the allotted time, cover loosely with foil.
    6. Allow to cool 15 minutes before serving. The quiche is great at room temperature.

    Makes 6-8 servings.
    No Stick Grilled Sockeye Salmon

    At my home, we love to grill. This undoubtedly comes from living in South Florida for 20+ years before relocating to NJ. There, we grilled several times a week and we’ve continued that now that we live in the northeast.

    One thing I love to grill is fish. No mess in the kitchen, no fishy smell for several days – easy peasy! I know what typically intimidates folks about grilling fish is that it can stick and be a huge disaster. It really doesn’t have to be that way.

    First, there are many products on the market you can place your fish on when grilling. Everything from a cedar plank to a silicone mat to a rectangular grill pan.

    Second, pick the ‘right’ fish. As a starting point, salmon is a great fish to grill as you can place on the grates skin side down which help protects the flesh from sticking.

    Third, put the fish on the medium-hot grill, close the lid and leave it alone! The fish needs time to form an outer ‘crust’ which will make it way easier to flip or remove from the grill, but in order for that to happen, you need to leave it alone to cook for a bit!

    Finally, one of my favorite tricks to ensure fish won’t still to the grill is to place the fish on lemon slices. The lemon helps protect the fish from the direct grates and also flavors it as it cooks. A winning recipe in my book!
    Ingredients:

    • 1 ½ – 2 pounds of sockeye salmon (I use a whole side)
    • Juice of one lemon
    • Olive oil for coating
    • Pinch of salt and black pepper
    • Zest of one lemon
    • 8-10 slices of lemon
    • 2 lemons, halved (optional)

    Directions:

    1. Light a grill to medium-high heat. Allow the grill to get up to temperature with the lid closed.
    2. Place the salmon skin side down on a work surface or platter. Pour the lemon juice and the oil then add the salt, pepper and zest and massage that mixture all over the flesh of the fish.
    3. Open the lid of the grill and place the lemon slices, two side by side, horizontally on the grill grates (see pic for a visual). Place the salmon skin side down onto the lemon slices. Close the grill lid and cook for 8-10 minutes, until the flesh is firm but not dry. If using, place the four lemon halves, flesh side down, on the grill for the last 5 minutes of the fish cooking time.
    4. Remove the fish from the grill, peel off the skin (this will be very easy after grilling) and serve with a squeeze of the grilled lemons.

    Serves 2-4 depending on your side dishes.