I’ll Have What She’s Having

I’ll Have What She’s Having

I'll Have What She's HavingCraft cocktails are all the rage and I’ve been experimenting with small batch liquors and various aromatics for a couple years now. Last week, I was approached about publishing some cocktail recipes and this one seemed to be tailor-made for me! The drink was created by Ian Hardie of Huckleberry Bar in Brooklyn.

Caorunn is handcrafted and small batch Scottish gin that is infused with handpicked botanicals, inspired by Celtic tradition.

Ingredients:

  • 1 1/2 parts Caoruun
  • 1/2 parts St. Germain
  • 1/2 parts Aperol
  • 3/4 parts lemon juice
  • 2 dashes Peychaud’s bitters

Directions:

  1. Shake all ingredients and add to a coupe glass.
  2. Garnish with a grapefruit twist.

Makes one drink.

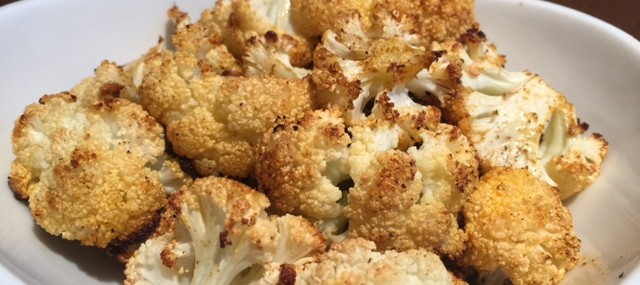
Spiced Roasted Cauliflower

Spiced Roasted Cauliflower

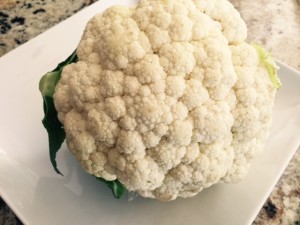
Cauliflower HeadI’ve been roasting vegetables every Sunday this winter to use for various meals during the week. While I have favorites, Brussels sprouts, butternut squash and beets, cauliflower is also delicious roasted, as I’ve come to find out recently.

The wet ‘rub’ below can be altered to suit your own personal tastes.

Ingredients:

  • 1 medium head of cauliflower, about 2 pounds
  • ½ cup olive oil
  • 1 tsp. smoked paprika
  • 1 tsp. ground cumin
  • ½ tsp. each salt and pepper
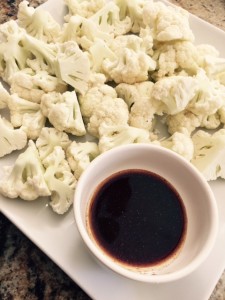
Cauliflower Florets & Rub

Cauliflower Florets & Rub

Directions:

  1. Preheat oven to 400 degrees. Line a baking sheet with aluminum foil.
  2. Cut cauliflower into florets, removing thicker stems. Place the florets in the lined baking sheet.
  3. In a small bowl, whisk together the oil, smoked paprika, ground cumin, salt and pepper.
  4. Pour the wet rub over the cauliflower and toss to coat using your hands.
  5. Roast the cauliflower, turning occasionally, until it is browned and tender, about 20 minutes.

Yields 2 side dishes.

Souper Easy Clam Chowder

Souper Easy Clam Chowder

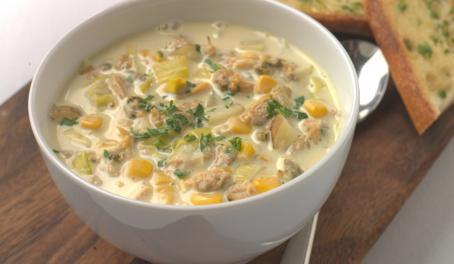
Clam ChowderThere’s the constant debate of white or red clam chowder. For me, there’s no contest that white, thick, velvety New England-style chowder is where it’s at.

Ingredients:

  • 6 bacon slices, chopped
  • 1 1/2 large onions, chopped
  • 1 1/2 pounds russet potatoes(2 large), peeled, cut into 1/2-inch pieces
  • 1 large red bell pepper, chopped
  • 3 10-ounce cans baby clams, drained, liquid reserved
  • 2 cups milk
  • 1/2 cup bottled clam juice
  • 2 15-ounce cans cream-style corn
  • 1 Tbs. Thyme

Directions:

Cook chopped bacon in heavy saucepan over medium heat until fat is rendered and bacon begins to brown.  Add onions and sauté 10 minutes.  Add potatoes and red pepper and sauté 1 minute.  Add reserved liquid, milk, and bottled clam juice.  Simmer chowder uncovered until vegetables are tender, 15 minutes.

Add corn and clams to chowder; simmer 5 minutes.  Mix in thyme and salt and pepper.

4 Serving

Meyer Lemon Madelaines

Meyer Lemon Madelaines

Meyer LemonsI just can’t help myself when I see Meyer lemons in the grocery store – I need to get them! Does it matter I had no plans to bake last weekend? No! I went ahead and bought a big bag of the bright yellow, juicy and sweet lemons.

While I would typically go for my standard Meyer Lemon Tart, I was in the mood for cookies, so when I saw this recipe by The Little Kitchen, I jumped at the chance to try my antique madeleine pan.

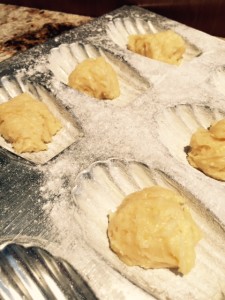
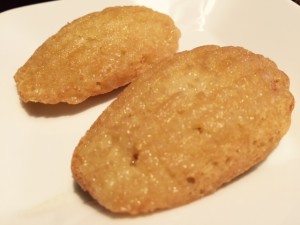
One tip, you might be tempted to overfill the madeleine pan with batter – don’t! You want a somewhat thin cookie that’ll be crisp on the outside (see photo below). Also, if you have two madeleine pans, you can bake all the cookies at once. I only have one pan, so I need to bake one batch, wait for the pan to cool then rebutter and flour for the second batch.

Right amount of batter

Right amount of batter

Madelaines Ingredients:

  • 2 cups all-purpose flour
  • ½ tsp. baking soda
  • 1 tsp. baking powder
  • ¼ tsp. salt
  • 1 ¼ cups granulated sugar
  • 1 ½ Tbsp. zest of two Meyer lemons
  • 2 tsp. pure vanilla extract
  • 3 large eggs
  • 1 cup (2 sticks) unsalted butter, melted and cooled
  • 2 Tbsp. Meyer lemon juice
  • ½ cup fat free plain Greek yogurt

Meyer Lemon Glaze Ingredients:

  • 1 cup powdered sugar
  • 1 Tbsp. Meyer lemon juice
  • 2 Tbsp. milk
Glazed Meyer Lemon Madelaines

Glazed Meyer Lemon Madelaines

Madelaines Directions:

  1. Preheat oven to 350 degrees. Butter and flour a madeleine pan.
  2. In a medium bowl, mix the dry ingredients: flour, baking soda, baking powder and salt). Set aside.
  3. In another medium bowl, add sugar, lemon zest and vanilla extract and mix together with a rubber spatula. Using a whisk, add the eggs, one at a time, to the sugar mixture. Whisk in melted butter, lemon juice and the Greek yogurt. In two batches, fold in flour mixture being careful not to over combine. Chill the batter for 5 to 10 minutes in the refrigerator.
  4. Using a teaspoon as a measure, spoon batter into Madeleine pan cavities. Bake for 9 to 12 minutes.
  5. Cool for 1 minute then flip over onto a baking rack and allow to cool for two minutes. Once cool enough to handle, wash you pan, butter and flour it and bake the second dozen cookies.  

Meyer Lemon Glaze Directions (While the cookies cool, make the glaze):

  1. In a small bowl, combine the powdered sugar, lemon juice and milk and whisk until a smooth glaze has formed, about 1 minute.
  2. Drip the glaze over the cookies with a spoon and serve immediately. If storing cookies, don’t add glaze until ready to serve. Cookies are best when served right after baking.

Makes 2 dozen madelaines.

Blackberry Overnight Oatmeal in a Jar

Blackberry Overnight Oatmeal in a Jar

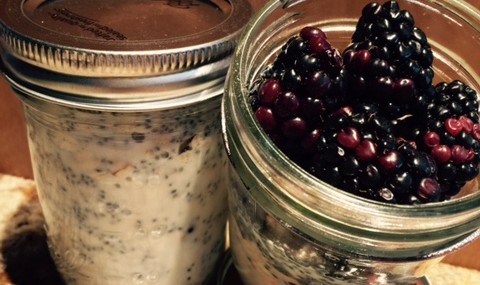
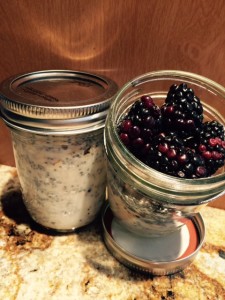
Blackberry Oatmeal in a JarYes, I admit, I’m slightly addicted to overnight oatmeal…..any oatmeal actually. It’s just such a comforting little number to start one day’s with.

While I’ve shared the recipe for overnight cold oatmeal in a previous post, I wanted to show how it looks when you make it with blackberries – YUM!!

Please let me know via Facebook or Twitter if you try this simple and delish recipe!

Cheers,

Veronique

Loaded Potato Skins

Loaded Potato Skins

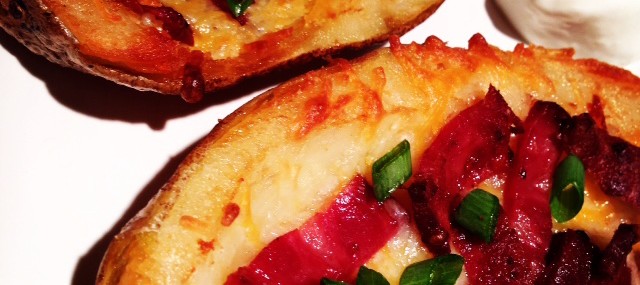
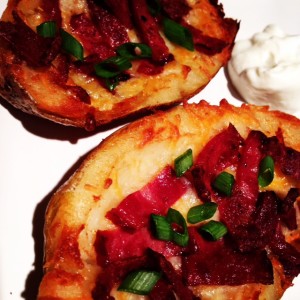
Potato SkinsWhen I came to the USA in 1985, I can’t say I’d ever heard of potato skins. When this Canadian girl got introduced to the treats at our local TGI Fridays, I was hooked.

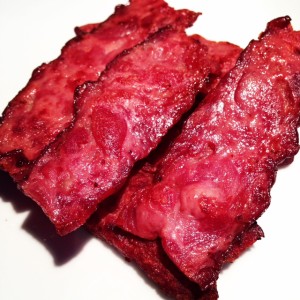
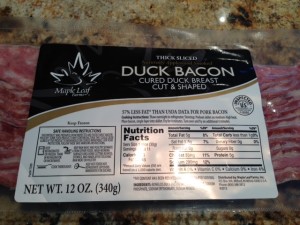
I hadn’t had potato skins in years but when I was sent some samples of Maple Leaf Farms duck bacon right before the Super Bowl, I decided to resurrect the indulgent bites to have during the game.

You’ll see that I fried the skins but that’s because I was frying other items. It’ll give you skins that are crunchy and perfect, but if deep-frying scares you, skip that step and simply bake them an additional 3 minutes.

Cooked Duck Bacon

Cooked Duck Bacon

Ingredients:

  • 2 Russet potatoes
  • Vegetable or peanut oil for frying, optional
  • 6 ounces duck bacon, cooked and crumbled (could use other bacon type)
  • 4 ounces sharp Cheddar
  • 2 scallions, cut
  • Sour cream (optional)

Microwave Potatoes Directions:

  1. Scrub the potatoes and poke several times with a small knife.
  2. Wrap the potatoes in paper towel and microwave for 5-8 minutes, or until the potato is soft. Remove from the microwave, allow to cool for 2 minutes, cut in half, lengthwise then scoop out some of the flesh with a spoon, leaving the skin and a layer of flesh intact.
Maple Leaf Duck Bacon

Maple Leaf Duck Bacon

Potato Skins Assembly Directions:

  1. Preheat oven to 400 degrees.
  2. In a deep-fryer, bring the oil to 350 degrees. Carefully add the four half potatoes to the hotel oil and cook for about 5 minutes, or until golden brown. Drain on paper towels.
  3. Place the four half potatoes on a baking sheets, flesh side up.
  4. Divide the cheese between the potatoes then top with the bacon. Place in the oven and cook for 5 minutes or until the cheese is mostly melted. Turn the broiler on and broil on high for 2 minutes. Remove from the oven and carefully place the potato skins on a platter, sprinkle with scallions and serve with sour cream, if using.

Makes 4 potato skins.

Seared Duck Magrets (Duck Breasts)

Seared Duck Magrets (Duck Breasts)

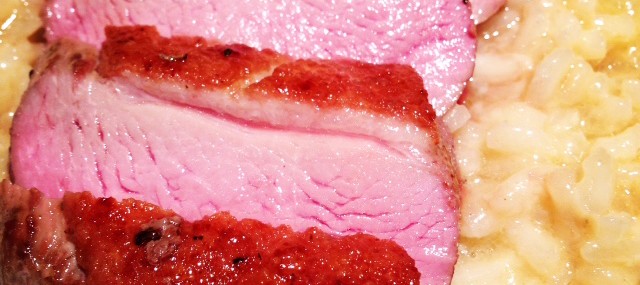
Seared DuckA few weeks back, I was sent some samples of Maple Leaf Farms duck that I literally prepared multiple ways. As simple as it is, I just find seared duck magrets/breasts to be one of my very favorite dishes, to make and eat.

I served this duck over a simply-prepared Porcini Mushroom Risotto but it would have also been great served with Duck Fat and Bacon Fingerling Potatoes using the duck fat rendered from cooking the magrets.

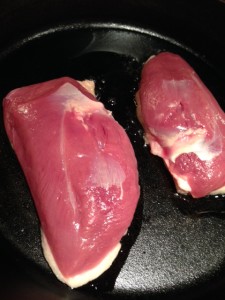
Duck Searing

Duck Searing

Ingredients:

  • 2 7 – 8-ounce magrets de canard (duck breasts)
  • ½ tsp. salt
  • 2 Tbsp. butter
  • 2 Garlic cloves cut in matchstick pieces
  • 4-5 springs of fresh thyme
  • Sauce au Cassis
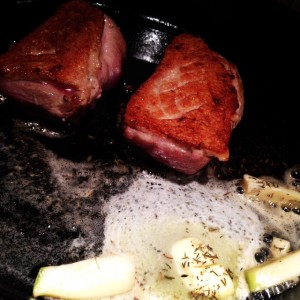
Duck Basting

Duck Basting

Directions:

  1. With the duck magrets cold from the refrigerator, use a sharp knife to score the layer of fat on the top of the duck diagonally to create a crisscross pattern – cut halfway through the fat but not into the meat.
  2. Preheat oven to 400 degrees.
  3. Massage the salt all over the duck breasts. In a cold heavy-duty, oven-proof skillet, place the duck breasts, fat side-down, over medium-low heat. Allow the duck fat to render slowly for about 5 minutes, draining the fat from the pan into a heat-proof container for later use.
  4. Add the butter, garlic and thyme to the pan and turn the heat up to medium and continue cooking for another 5 minutes, basting the duck with the butter/garlic/thyme mixture, until the skin has browned and is crispy. Flip the duck to flesh-side down and place the skillet in the oven for about 5 minutes, until medium-rare (about 130 degrees on a thermometer).
  5. Place the duck on a platter, cover loosely with foil and let rest for 5-10 minutes.
  6. Turn the duck skin side down on a cutting board and slice thinly.
  7. Serve with the Sauce de Cassis.

Makes 2 generous servings.

Sauce au Cassis

Sauce au Cassis

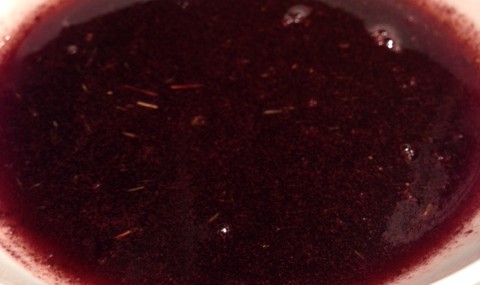
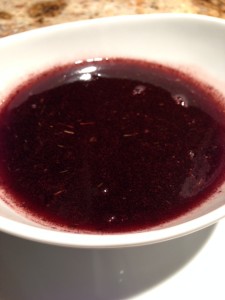
SauceThis reduction is what I typically serve over duck but it could be great over other poultry, over lamb or even beef.

Sauce:

  • ½ cup beef broth
  • ½ cup red wine
  • ¼ cup crème de cassis
  • 1 Tbsp. cassis jam (or mixed berries)
  • 2 Tbsp. butter
  • 2 generous pinches of salt

Directions:

  1. In a small saucepan over high heat, add all the ingredients except the butter, bring to a boil and reduce the liquids by half, about 5 minutes. Can be made up to this point until ready to serve, just reheat over medium heat and go to step 2.
  2. Lower heat to medium-low and add the butter and the salt. Don’t allow the mixture to boil again. Swirl the pan to ensure the butter is getting gently incorporating into the sauce.

Makes about 1 cup.

Fluffy Quinoa 101

Fluffy Quinoa 101

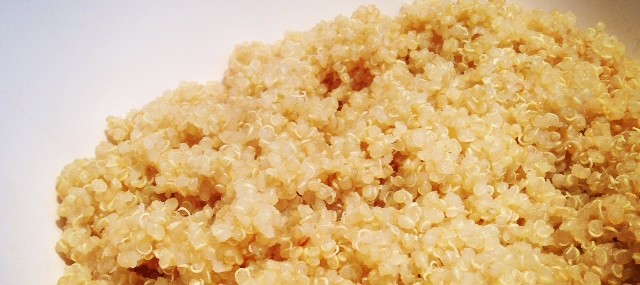
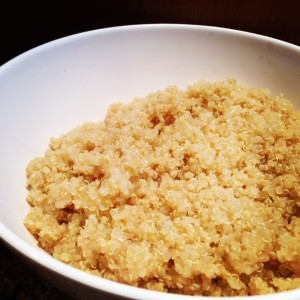
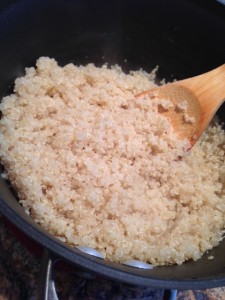
Fluffy QuinoaMy bestie, Gloriann, has been a fan of Quinoa for a long time and kept telling me what a fab kitchen staple is it. Once I tried it, I was hooked. It’s great as a simply side dish served like one would serve rice but is versatile enough for a salad or other mainstays like stuffing for a squash or eggplant.

Quinoa provides all nine essential amino acids and is a gluten-free protein source, so good for you!

Success in making Quinoa is to be sure you rinse it very well for about 3 minutes under cool running water to remove the saponin, a bitter-tasting coating that some people might be sensitive to.

I typically cook my Quinoa in a cup of chicken broth and a cup of water but if you prefer a completely vegetarian version, just use two cups of water.

Makes about two cups of cooked Quinoa.

Ingredients

  • 1 cup uncooked quinoa, rinsed
  • 2 cups of chicken (or vegetable) broth or water (or one cup of each)
  • ½ tsp. each garlic powder, salt and pepper
Cooked Quinoa

Cooked Quinoa

Instructions

  1. In a small saucepan over high heat, combine the broth/water, garlic powder, salt and pepper and bring to a boil.
  2. Lower the heat to medium-low and add the rinsed quinoa, cover and simmer for 20 minutes, or until water has evaporated.
  3. Leaving the cover on the pan, let the Quinoa stand for five minutes.
  4. Uncover, fluff the Quinoa with a fork and either use right away or cool completely and store in an airtight container for up to a week.


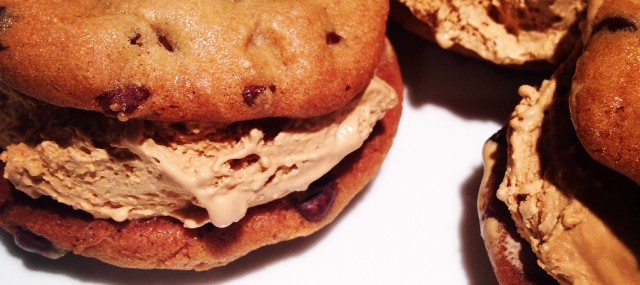
Talenti Sea Salt Caramel Gelato Sandwich

Talenti Sea Salt Caramel Gelato Sandwich

Ice Cream SandwichI know this isn’t much of a “recipe” since the gelato is store-bought, BUT, this is by far the BEST commercial gelato I’ve had, so I thought I’d share the wealth (no, I’m not being compensated by Talenti, it’s just a great product).

Ingredients:

Filling Ice Cream Sandwich


Directions:

  1. 15 minutes before assembling, take the gelato out of the freezer and place on a counter to soften slightly.
  2. Using a small ice cream scoop, place two gelato balls on the flat side of a cookie. Top with a second cookie, so the flat side is on the gelato side. Smoosh, technical baking term, the cookies slightly so the gelato spreads across the cookie for a guaranteed bite of cookie/gelato throughout the whole sandwich.
  3. Repeat with the other 3 sandwiches. Place the sandwiches in the freezer in an air-tight container until ready to serve.

Makes 4 sandwiches.