There are many theories as to the true origin of the Red Velvet Cake. Whether you believe it to be a southern traditional devil’s food cake tinted red with beet juice, a northern one dating back to the 1950s when Pillsbury Bake-Off contests were held at the Waldorf-Astoria and where the cake was possibly introduced or one first served at Eaton’s department store, and named Lady Eaton, in Canada, one thing is certain, this cake is loved by all.
My first try at this cake dates back to the early 1990s when I realized someone had switched the tiny bottle of red food coloring with a green one in a kit of four mini bottles. This left me with only one small red bottle that resulted in my cake being Pepto-Bismol pink. These days, one can find red food coloring in 1-ounce bottles that simplify the process.
Ingredients:
- 2 1/2 cups cake flour
- 1 tsp salt
- 1 tsp baking powder
- 2 tbsp unsweetened cocoa powder
- 2 ounces red food coloring
- 1 1/2 cups granulated sugar
- 1/2 cup (1 stick) butter, at room temperature
- 2 large eggs, at room temperature
- 1 tsp pure vanilla extract
- 1 cup buttermilk
- 1 tsp white vinegar
- 1 tsp baking soda
Directions:
- Preheat oven to 350 degrees. Using cooking spray or a bit of softened butter, coat two 9-inch round cake pans.
- In a medium bowl, combine the flour, salt and baking powder.
- In a small bowl, blend the food coloring and cocoa powder with a teaspoon to create a smooth mixture.
- In the bowl of an electric mixer, cream the sugar and the butter until light and fluffy, about three minutes, scraping down the sides of the bowl with a rubber spatula every minute.
- Add the eggs to the butter mixture, one at a time, mixing well after each one.
- Add the food coloring mixture and mix well, about 1 minute, scraping down the sides of the bowl with a rubber spatula.
- Add half of the flour mixture to the creamed butter mixture, then add half of the buttermilk. Add the rest of flour mixture, then the rest of the buttermilk. Be sure to scrape down the sides of the bowl with a rubber spatula to ensure the batter in completely blended without white streaks of batter.
- In a small bowl, combine the vinegar and the baking soda with a teaspoon to form a bubbly mixture. Add the mixture to the cake batter and stir gently until just combined.
- Pour half of the batter evenly in each cake pans and place them in the preheated oven. Bake for 25-30 minutes.
- Cool the cakes in their pans for 10 minutes then remove the cakes from the pans and allow to cool completely on wire racks.
- Using a serrated knife, slice each cake in half horizontally. Place one of the 4 cake slices on a large platter or cake stand, and cover with a thin layer (about 1/2 cup) of Cream Cheese Frosting using an offset spatula or butter knife. Repeat process with the remaining 3 slices, ensuring that the top layer is the flattest slice – this will ensure a smooth surface for the finished cake.
- Crumb coat the entire cake with a thin layer of frosting (about a cup) then refrigerate for 30-60 minutes. Finish frosting the cake with the rest of the frosting then refrigerate. Serve within a day at room temperature.
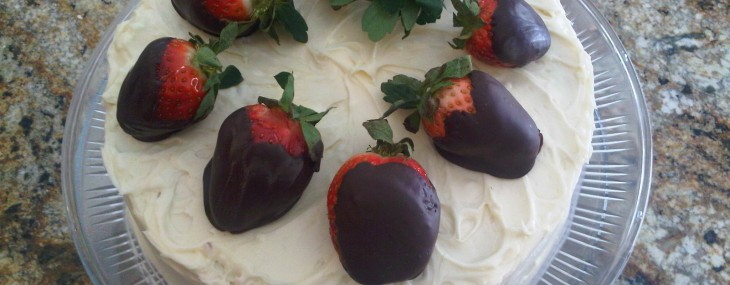
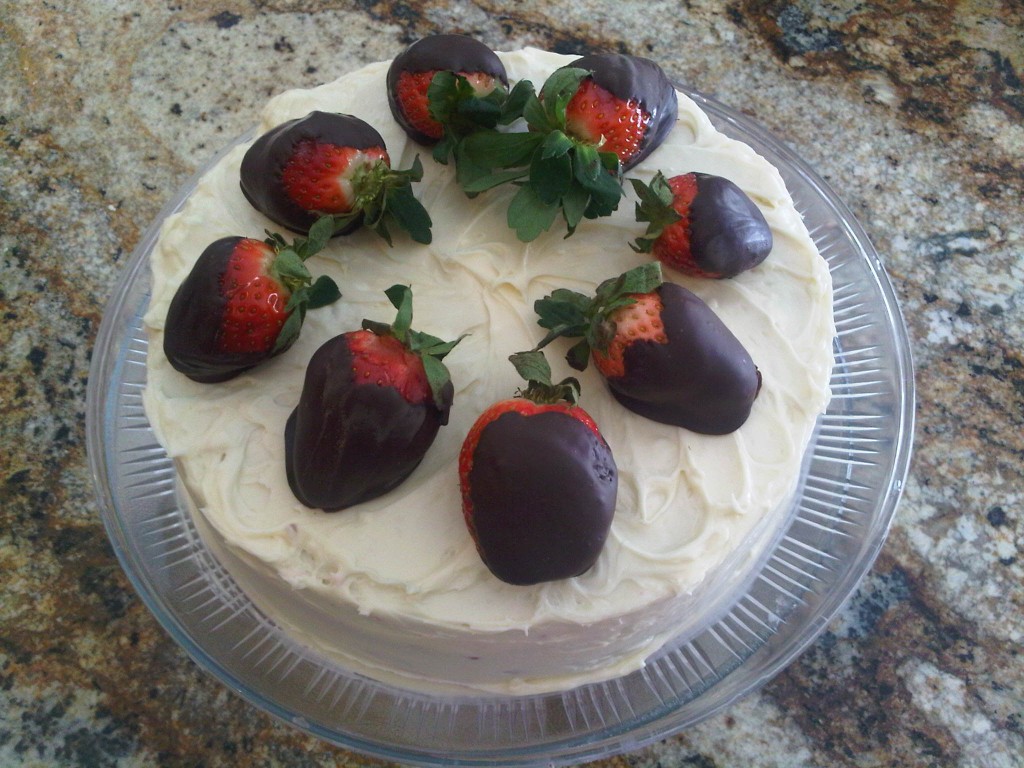
Notes: To be extra festive, I dipped large strawberries into 3 ounces of dark chocolate that I microwaved in a small bowl for 90 seconds, stirring every 30 seconds.


Recent Comments